Unlike with Substance Designer I am not new to the process of texturing using Substance Painter. Rather it is simply something I need to continue to refine for me to eventually be able to create professional standard textures for my assets.
:: Texturing Examples ::
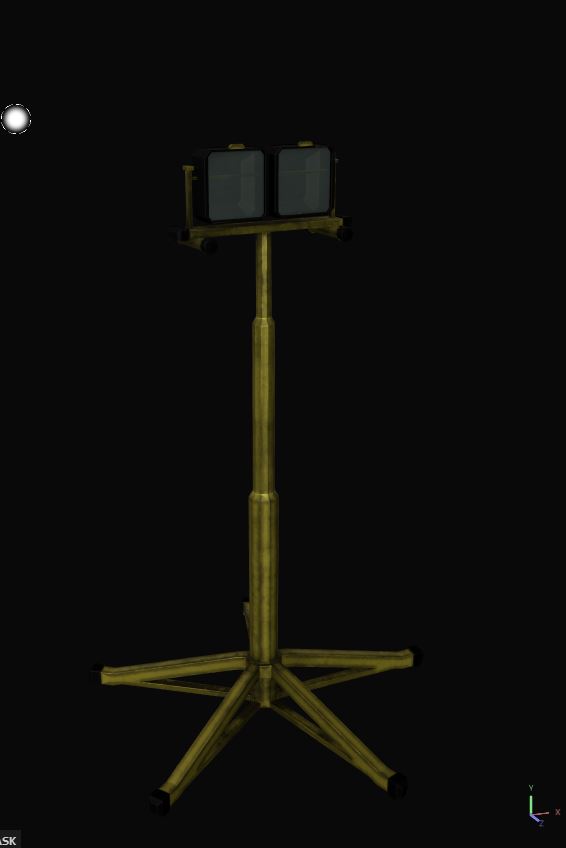
Below you can see a few of the examples of my texturing. Many of these processes have remained unchanged from when I first explored the software in my first year of study. However I have become more comfortable manipulating things such as opacity channels in order to create realistically dirtied glass for models such as lights of windows (Fig.1,2)

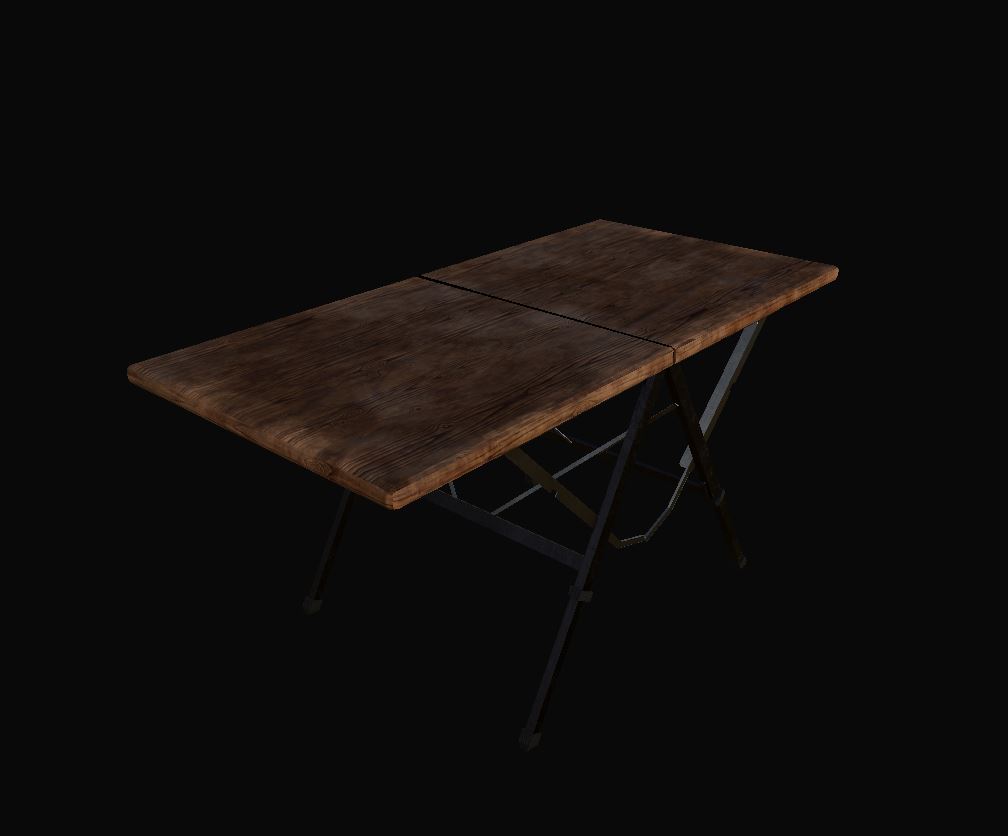
I also took efforts to rely less on the premade materials that come pre-loaded within substance painter. When not relying on things such as wood grains for instance I would use basic colour fill layers and then apply various generators to get the effects I was looking for. For example, if I was creating a plastic top for a table (Fig.3) I would set a fill layer to the colour I want and then add extra generators to create a more custom finish than simply using the ‘plastic rough’ pre made material would. This was so I could demonstrate to a potential studio that I was able to create convincing PBR materials from scratch rather than relying on the pre made options.

I found also that the texturing when done well could really bring together what otherwise is a rather lacklustre asset. Take the rock based models I had created in ZBrush for example (Fig.5) when untextured they don’t even particularly look very rock like, however by simply adding the right textures with convincing height blends you are able to create a good impression of a mineral rock.


It was personally very important for me to get the texturing right with this environment. I would have said that my texturing was the weakest aspect of my workflow so I wanted to really hone this when creating this environment.
:: Adding Photoshop ::
One additional aspect of professional texturing I wanted to be sure to demonstrate was implementing photoshop in my environment. It is expected in a studio that you are comfortable using photoshop to create textures in Substance Painter, so by demonstrating this I come across as capable to potential employers.
Part of my environment uses a note board, which presents a perfect opportunity to add photoshop elements into my textures. This asset is where a lot of the visual storytelling in my environment comes from, so it is very important to get this right. Doubly so, as where most of the environment frames are from a distance one of the close ups I did imagine even in my blockout shots was of this notice board.
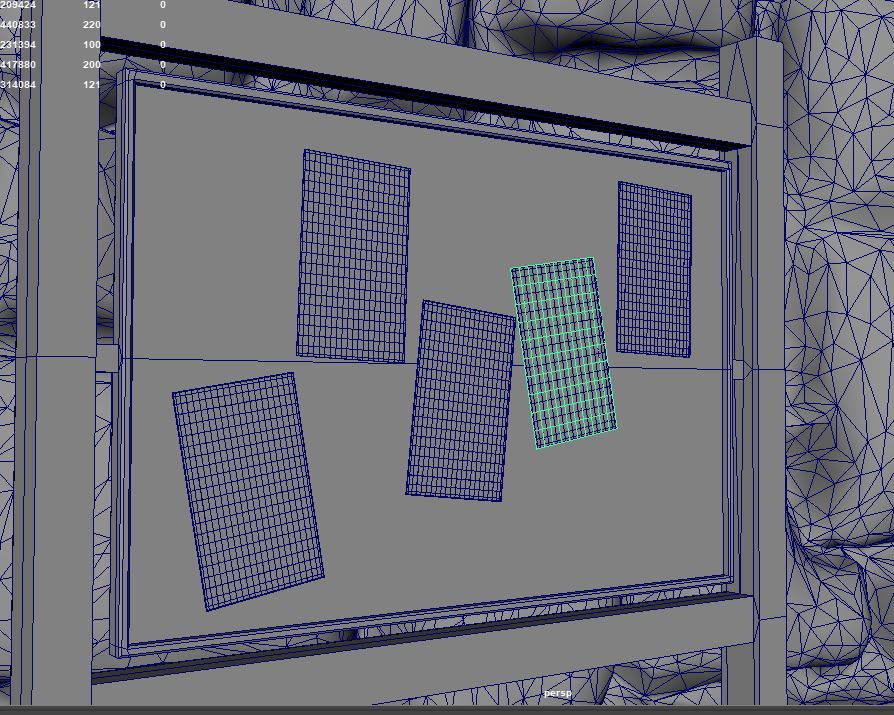
I was to create five different bulletin boards to sit on my notice board. These in terms of the modelling are simple planes (Fig.7) however by adding the right textures to these planes I am able to add a lot of context to the frames the viewer is seeing. Making my environment seem much more professional and thought through to any studios viewing my final renders.
:: Sourcing Images ::
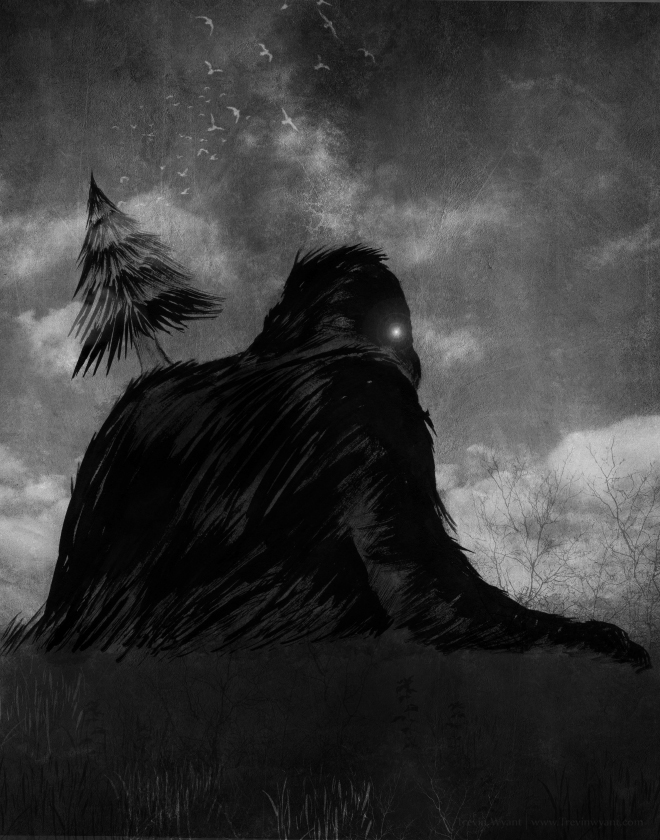
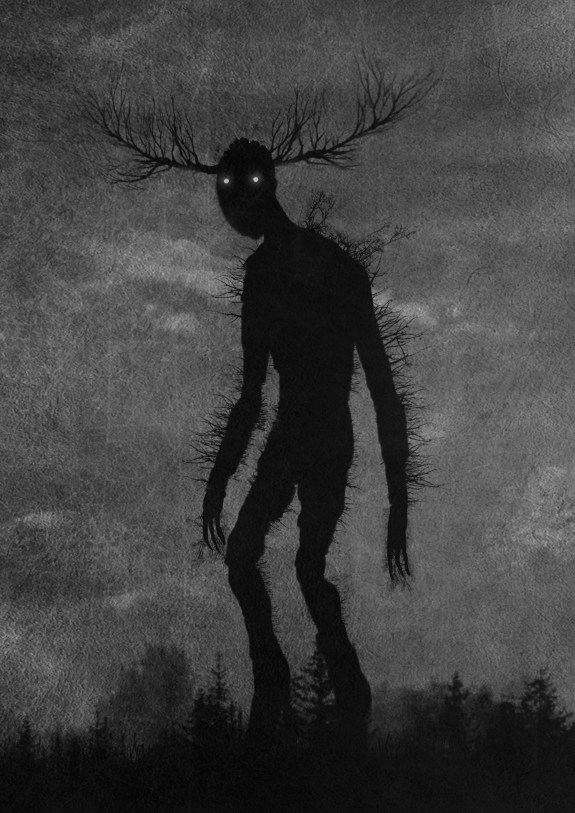
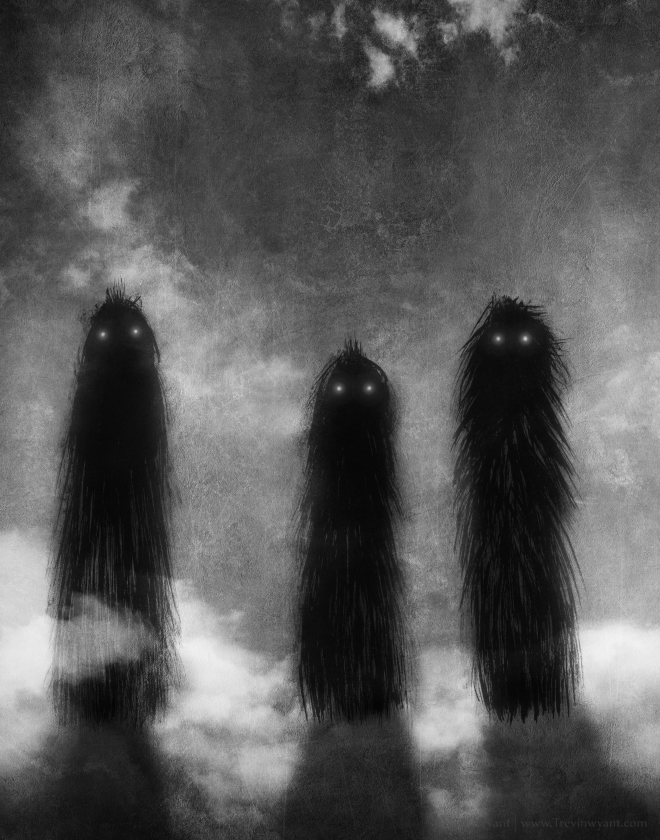
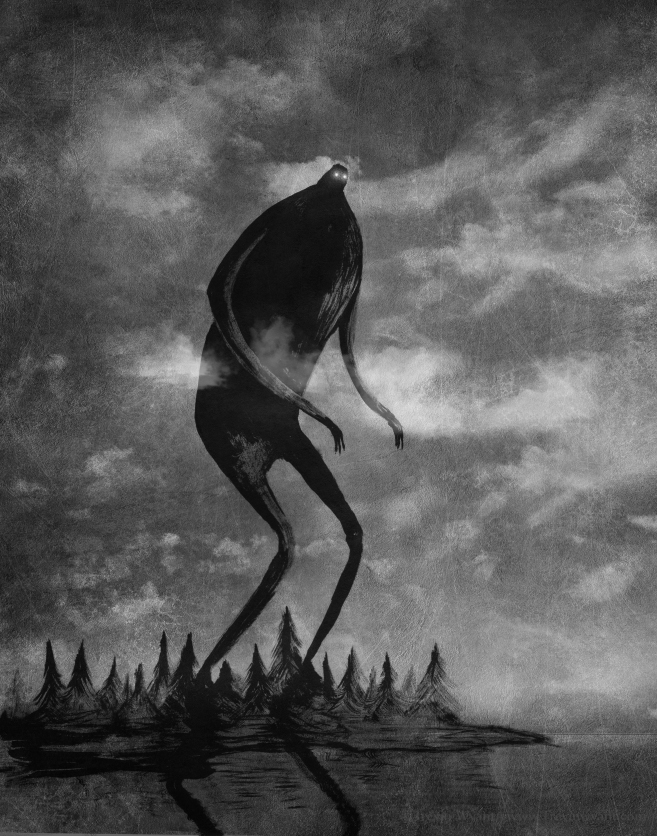
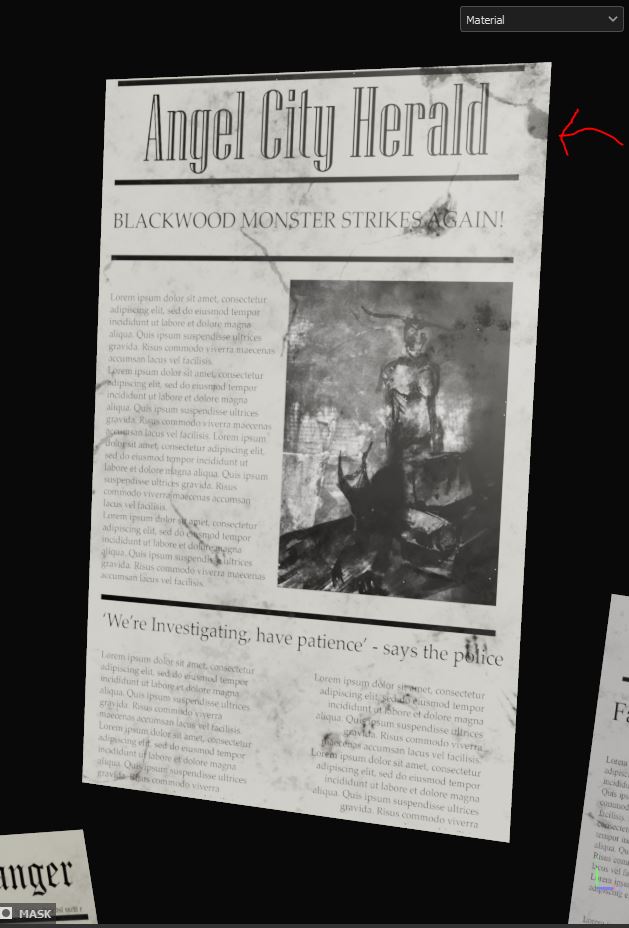
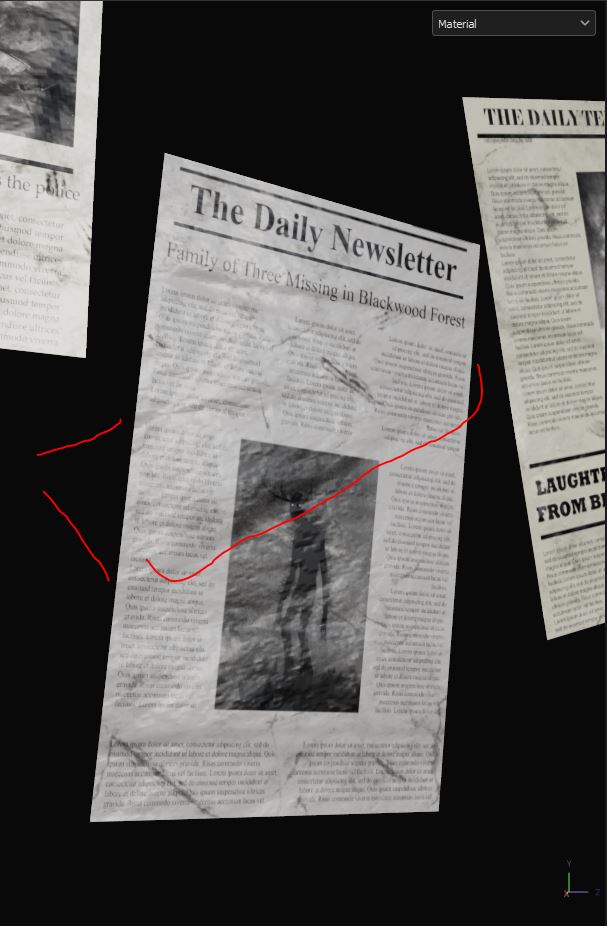
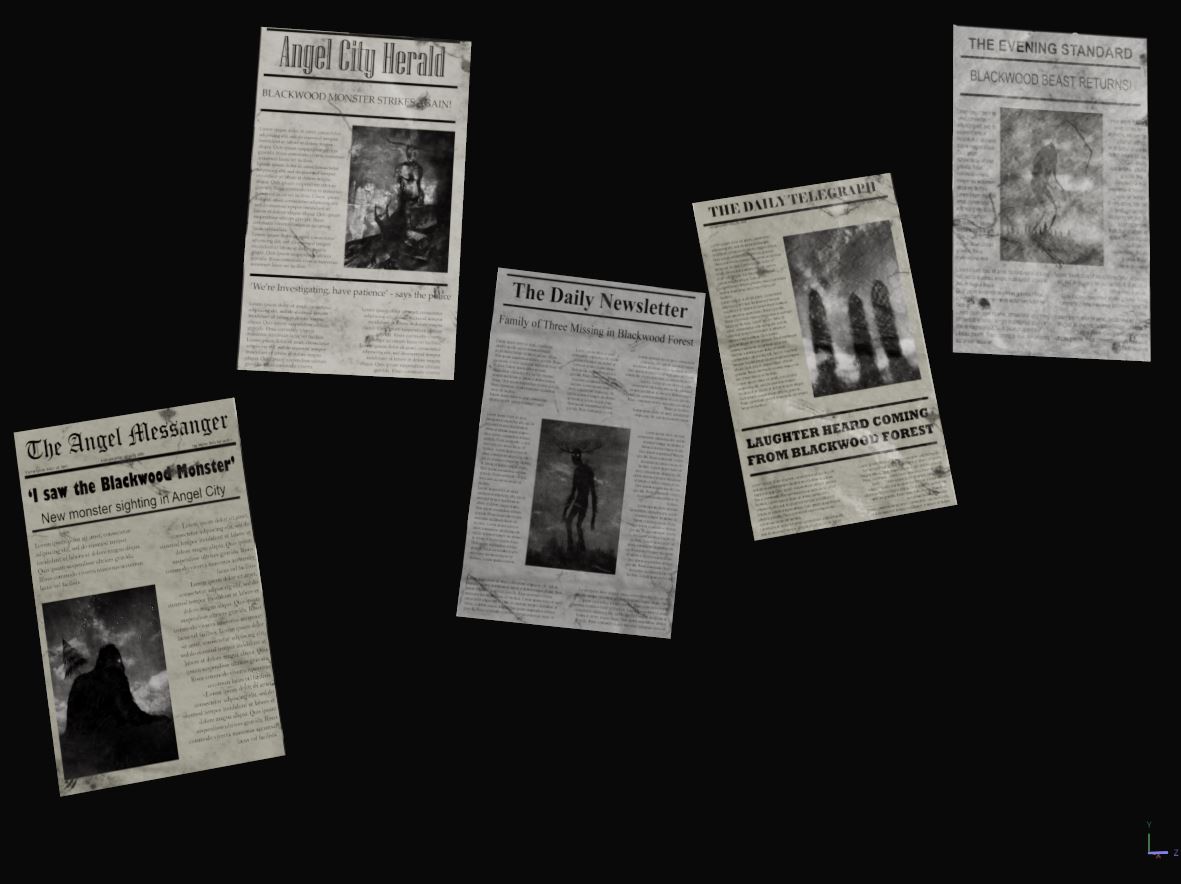
Imagining the environment as a forest clearing, I needed to visually establish a reason for there to be a expedition camp sight in the forest. I was to do this by create newspaper covers warning of some monster in the woods of a small village. The viewer can then decipher that we are in the mentioned woods, creating a world around my scene. For these newspaper covers I would need a selection of black and white monster images, I could create these myself however this would be a large time sink and considering the size they will be in the final environment I don’t think this a good use of time.

I used the above images and created different faux newspaper covers in photoshop. Each of which included different headlines and cover story headlines setting the scene for the environment (Fig.8). These were then imported as alpha masks and stamped onto the planes in Substance Painter.
I could have left it there however, the alpha masks import with a shiny finish which doesn’t suit there purpose as a newspaper cover. So to make the asset look like it belonged in the scene more I added extra layers ontop. One of which added darker dirt areas (Fig.9) which you would expect for a newspaper which has been on display in a muddy forest clearing and the other added rumples to make the papers seem used (Fig.10).
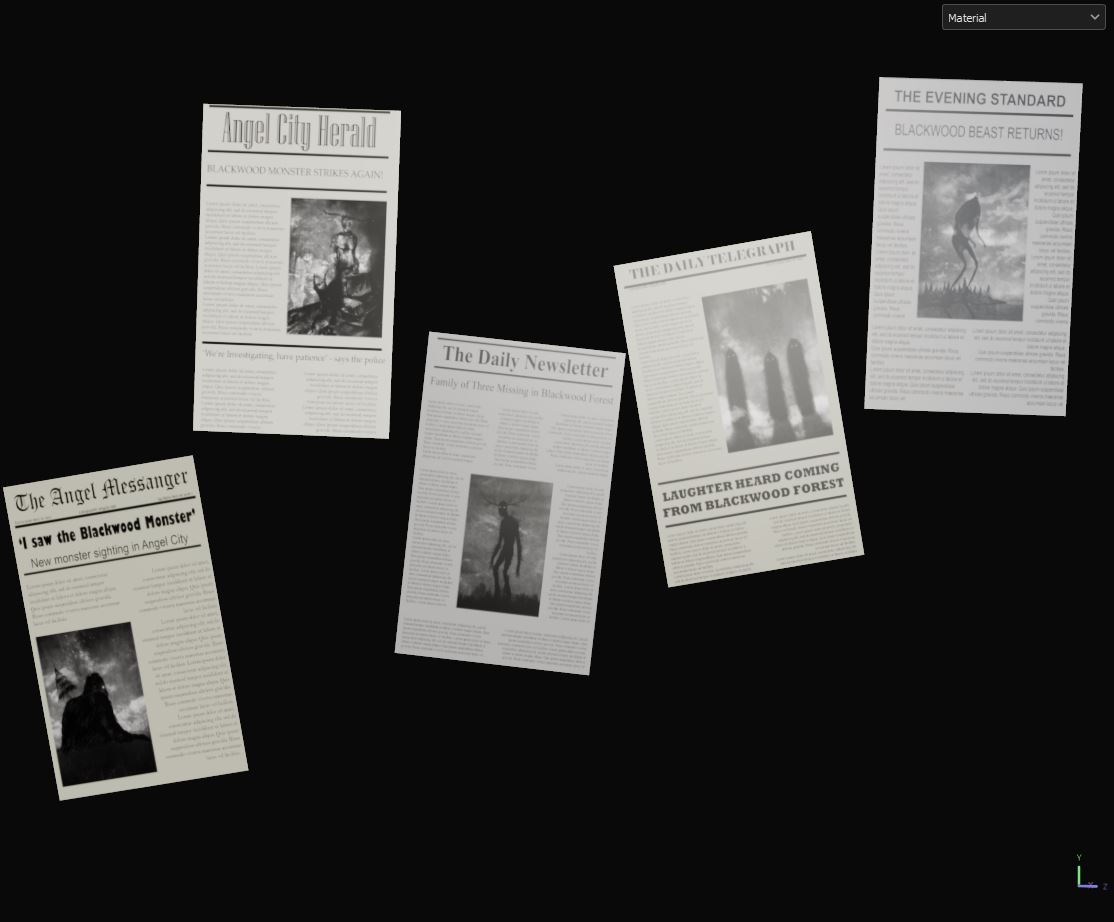
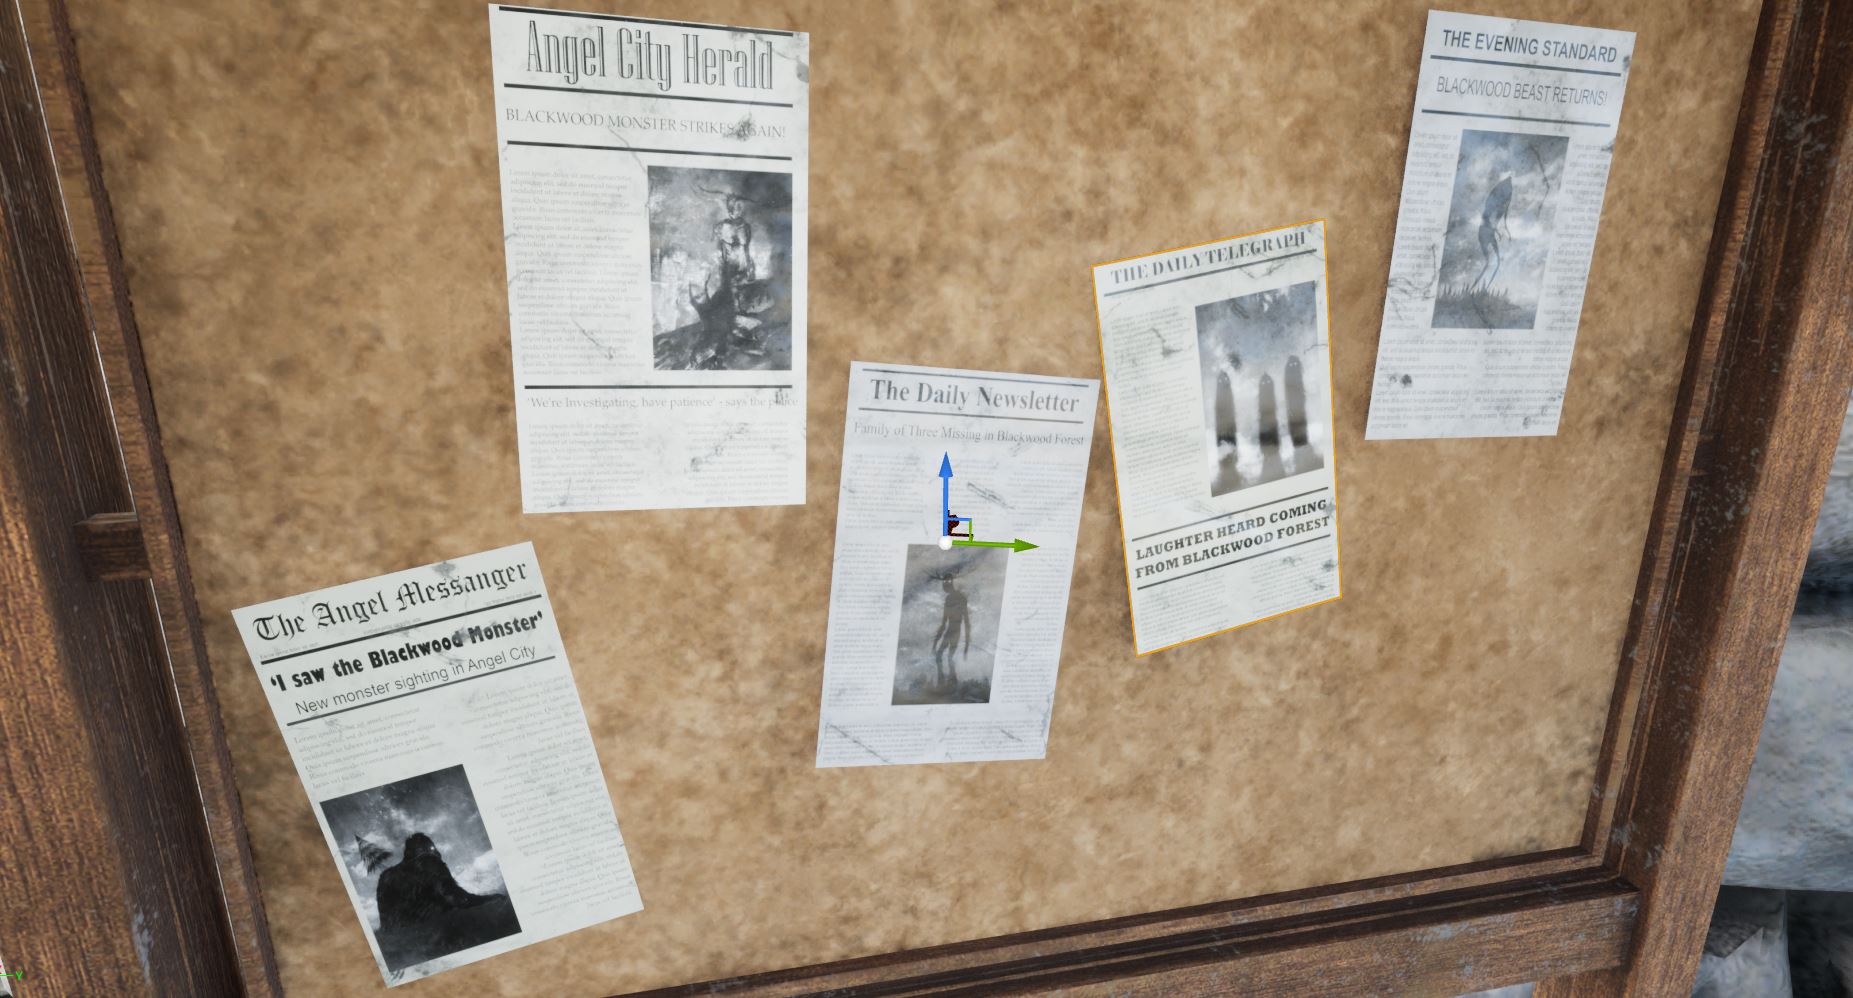
The final placement of these papers really helps set the stage for the environment and shows that I have considered showing a compelling environment from a digital storytelling perspective. Which is ultimately what a 3D environment artist is when placed in a studio.
Similar to when I created the corrugated steel for the container I feel this is another moment where I can demonstrate how I have progressed as an artist over the three years of study. I attempted to use photoshop with my textures during my first year (Fig.12) however the result was a slightly blurred and strangely shiny logo that didn’t look like it fit with the rest of the model.
By taking the extra time to add the dirt and crumpling effects in addition to the alpha stencil created in photoshop I am able to show studios that I can use photoshop adequately as apart of my texturing process. Opening up a whole world of possibilities for creating real life looking models. Faded stickers on electrical equipment for example can really make a model seem real, which is done through using photoshop as I have done here with the newspaper covers.
:: Summary ::
In this post I have shown how I have textured my models, experimenting more with creating bespoke materials from the ground up as opposed to relying on the pre made materials from the software shelf. I’ve also demonstrated how I have progressed when it comes to implementing photoshop into my texturing process.
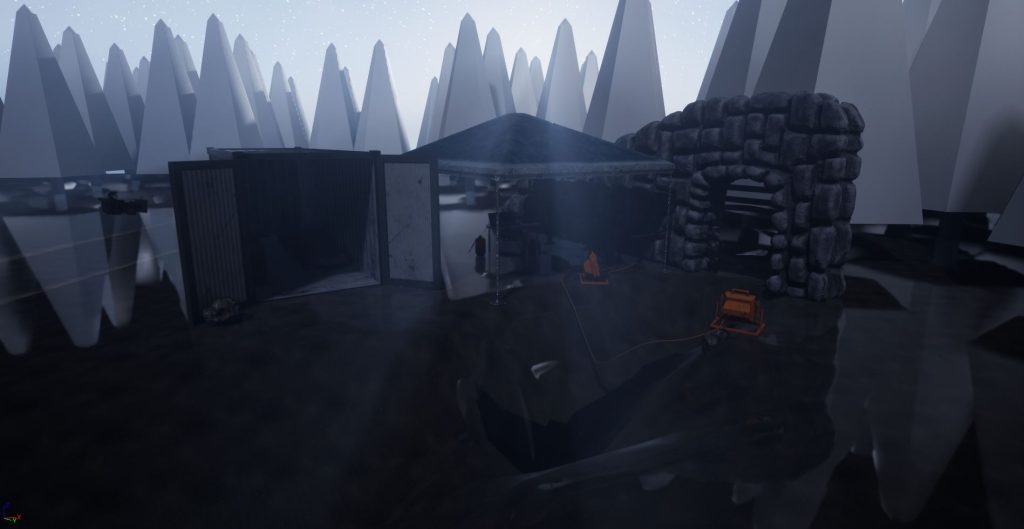
At this stage the environment is very nearly done, requiring only the implementation of trees and some refinement to the scene lighting before I can gather my final renders.
:: References ::
Wyant, T (2016) ‘Monsters In Black & White’ [Online Images] Available online: https://www.behance.net/gallery/44011709/Monsters-In-Black-White [Accessed 20/07/2023]