With my environment almost complete it is time to address the final few things I need to do before I can begin gathering my final renders and reflections of the environment.
:: Tree Creation ::
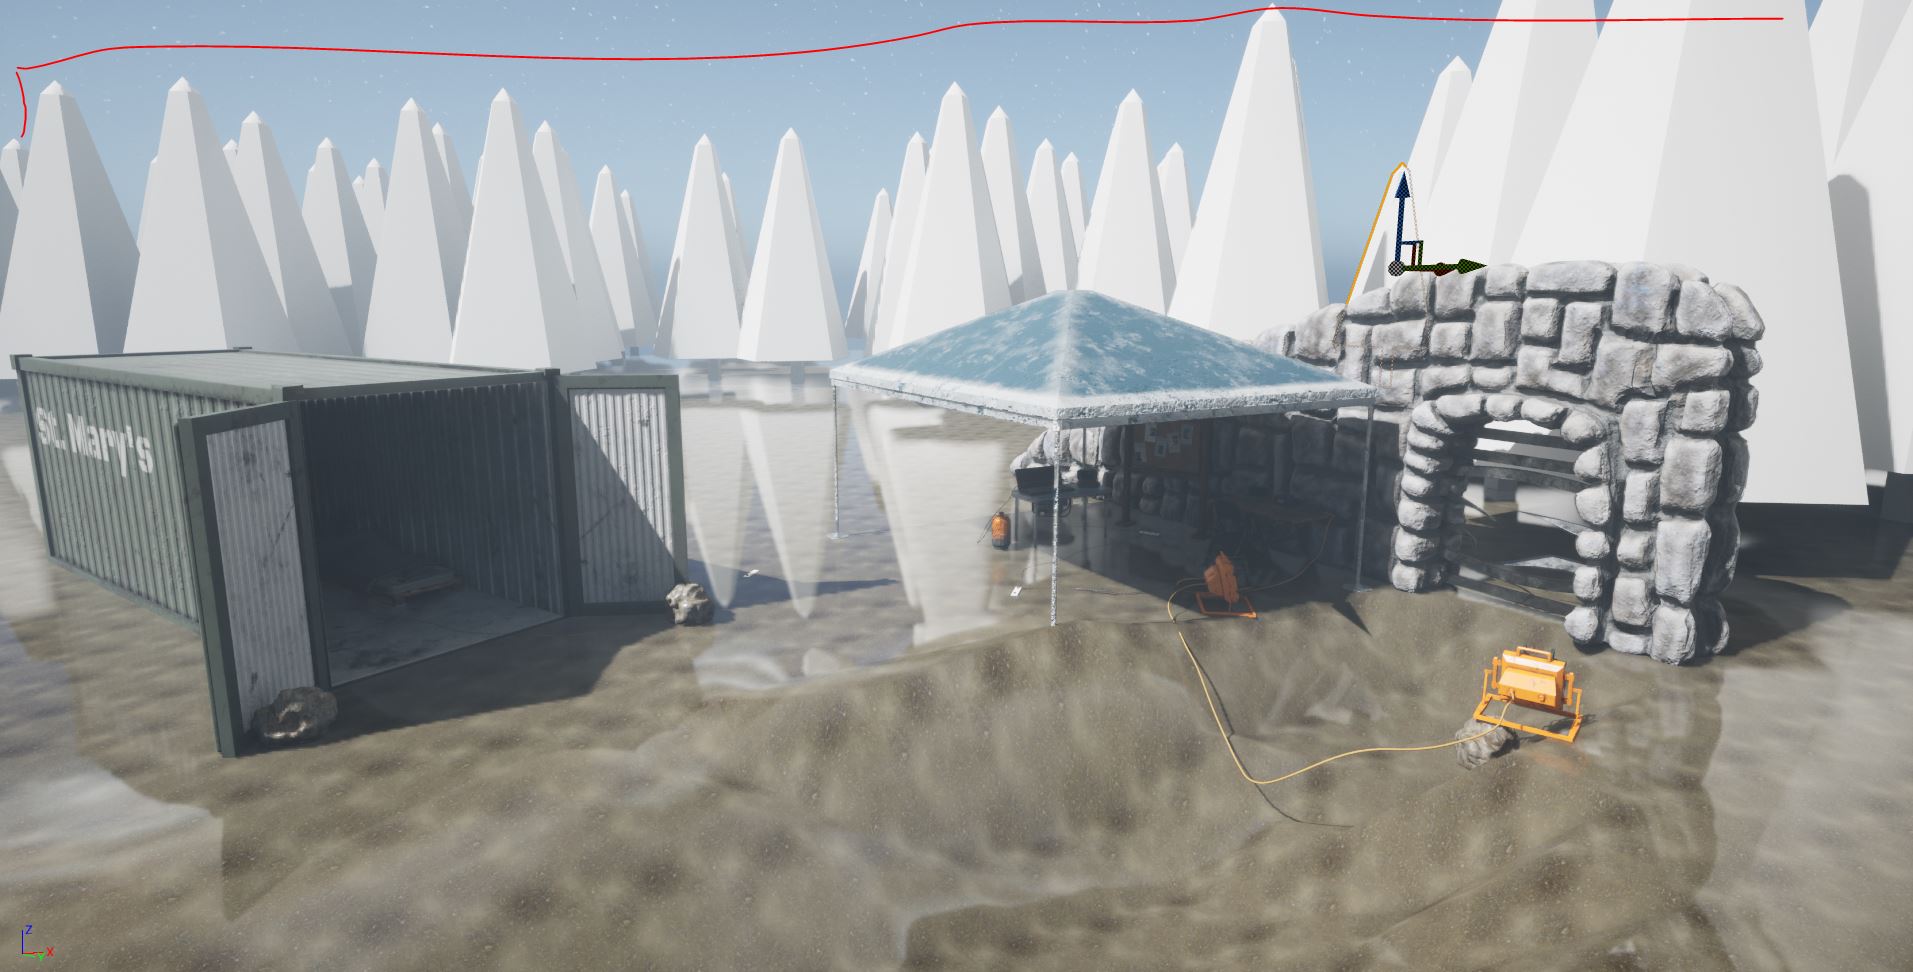
The last aspect of my blockout environment, the trees are perhaps the most important part of the scene, for while they are not hero props they do serve as the backdrop for the entire scene, and are present in practically all of the final render shots I established back in my proposal documentation (Fig.1).
Similar to when creating materials in Substance Designer it is important to note that foliage artists are there own profession for a reason. You could spend years learning the intricacies of creating realistic looking trees and bushes for an environment. For this environment however I really only need a few realistic looking trees which I can spread around the backdrop of my scene to create the clearing.

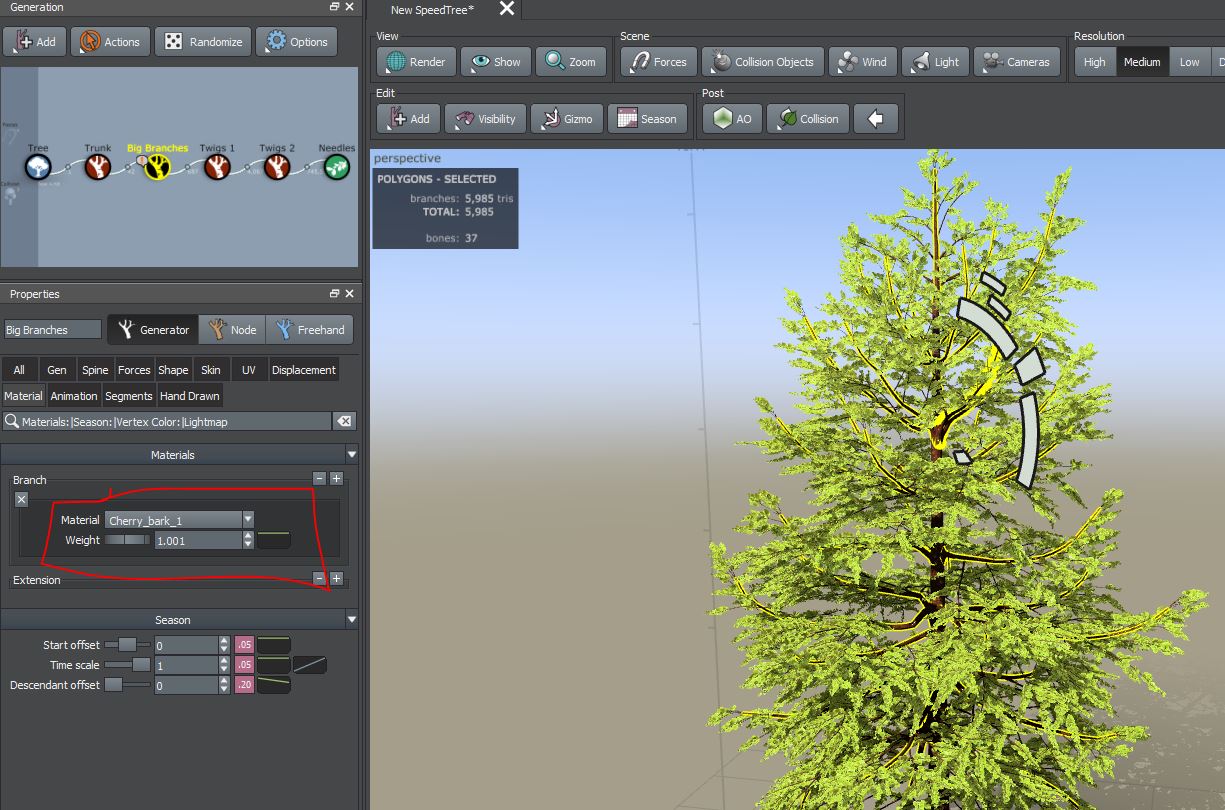
When I was creating character models for my immersive design project I found an industry standard software called Daz 3D, which swiftly gives you a number of pre-set mannequins to create rough figures for you to later edit. This is a common practise in industry to speed up workflow in a studio environment. I found with this project that where character artists have Daz 3D as a head start foliage artist have a software called Speedtree(Fig.2). This software gives you a host of pre made tree templates which you can then customize for your project.
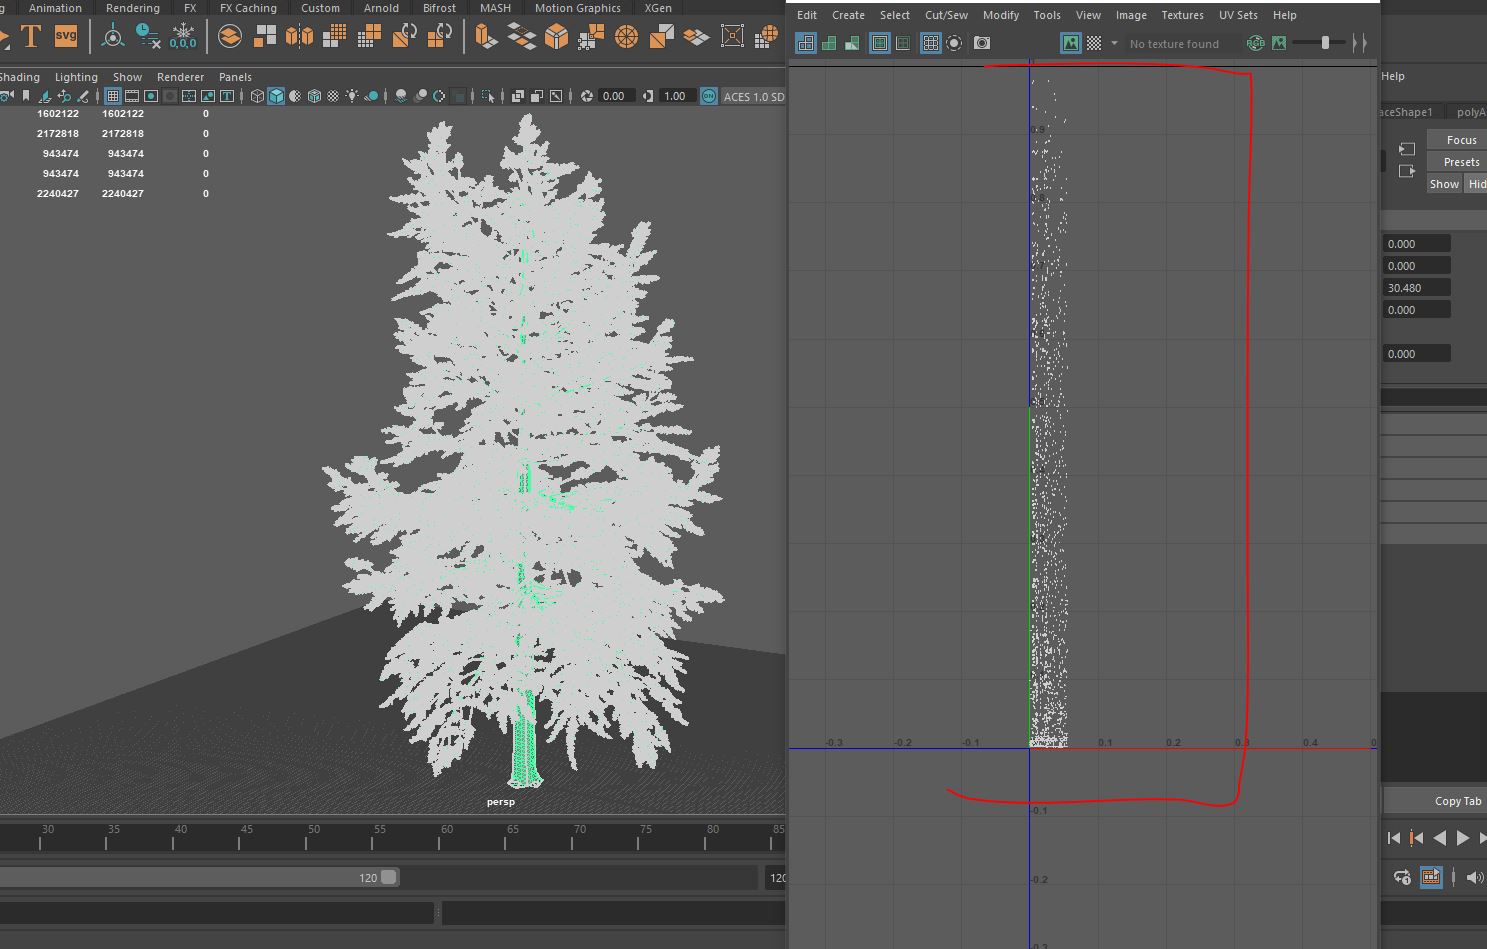
So, texturing in Substance Painter seemingly out, I needed to instead texture the trees within the Speedtree software itself (Fig.5). This would present its own challenges as while there are example materials which I could use it does mean that there would be no low poly model to bake information too, meaning that the forest full of trees will quickly affect Unreal Engine’s performance.
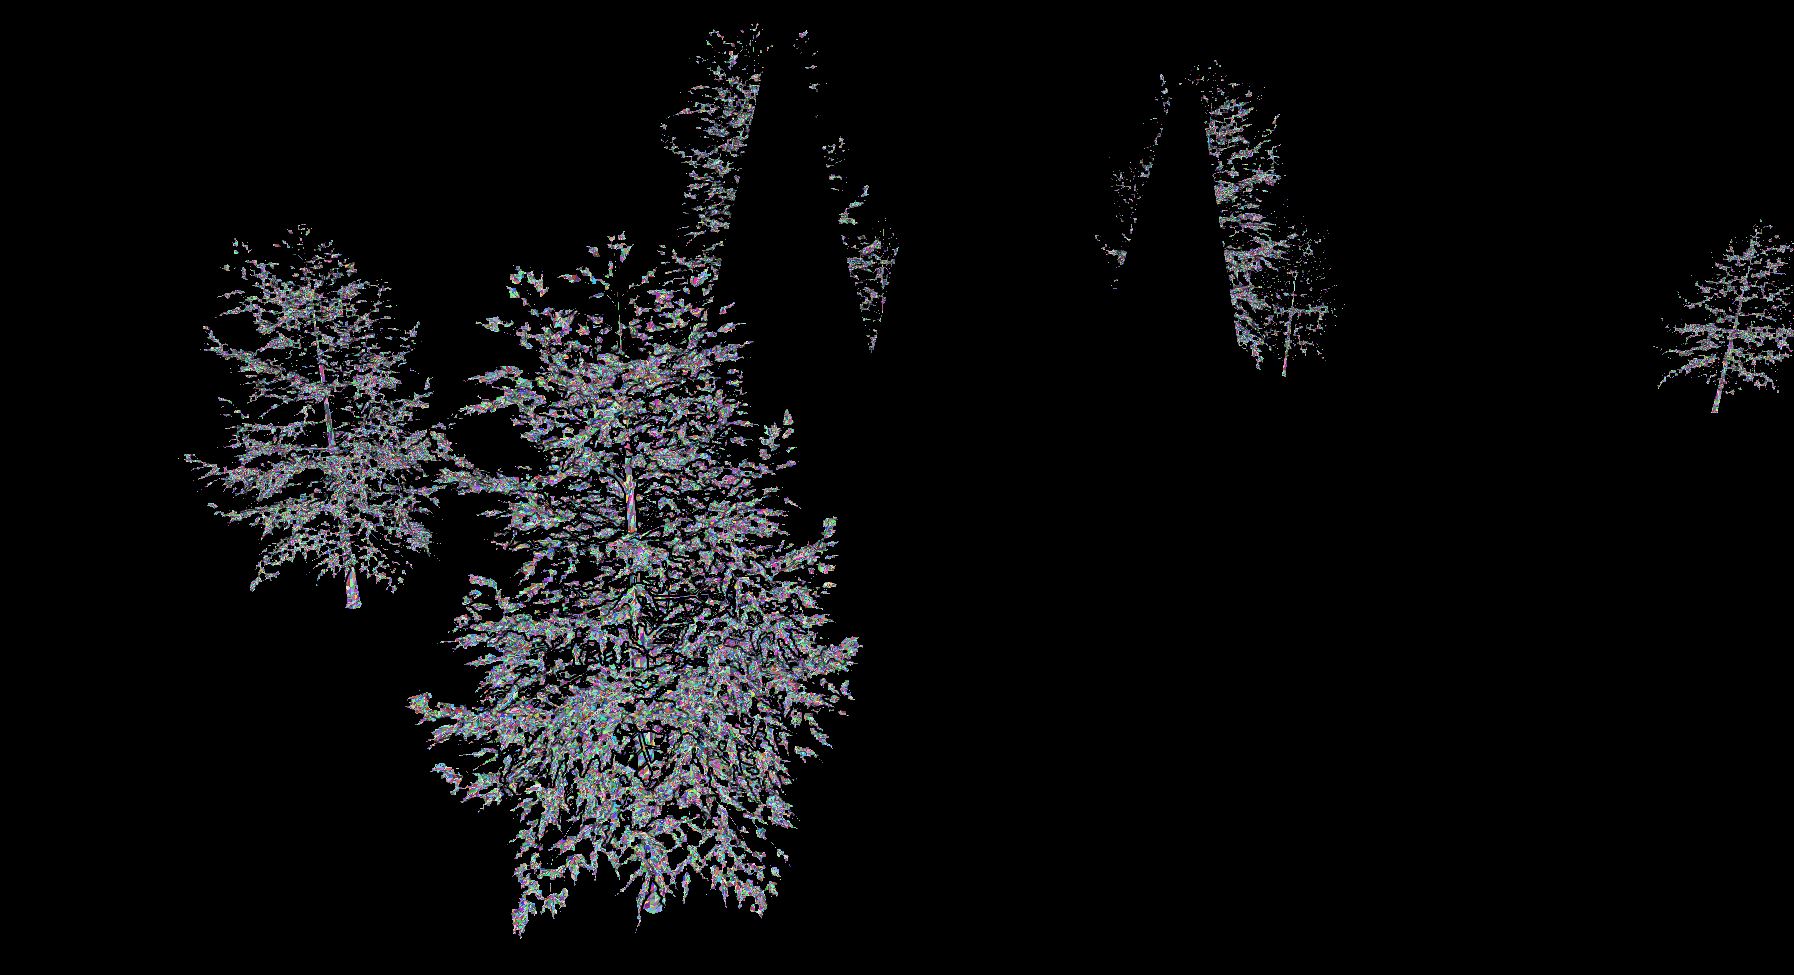
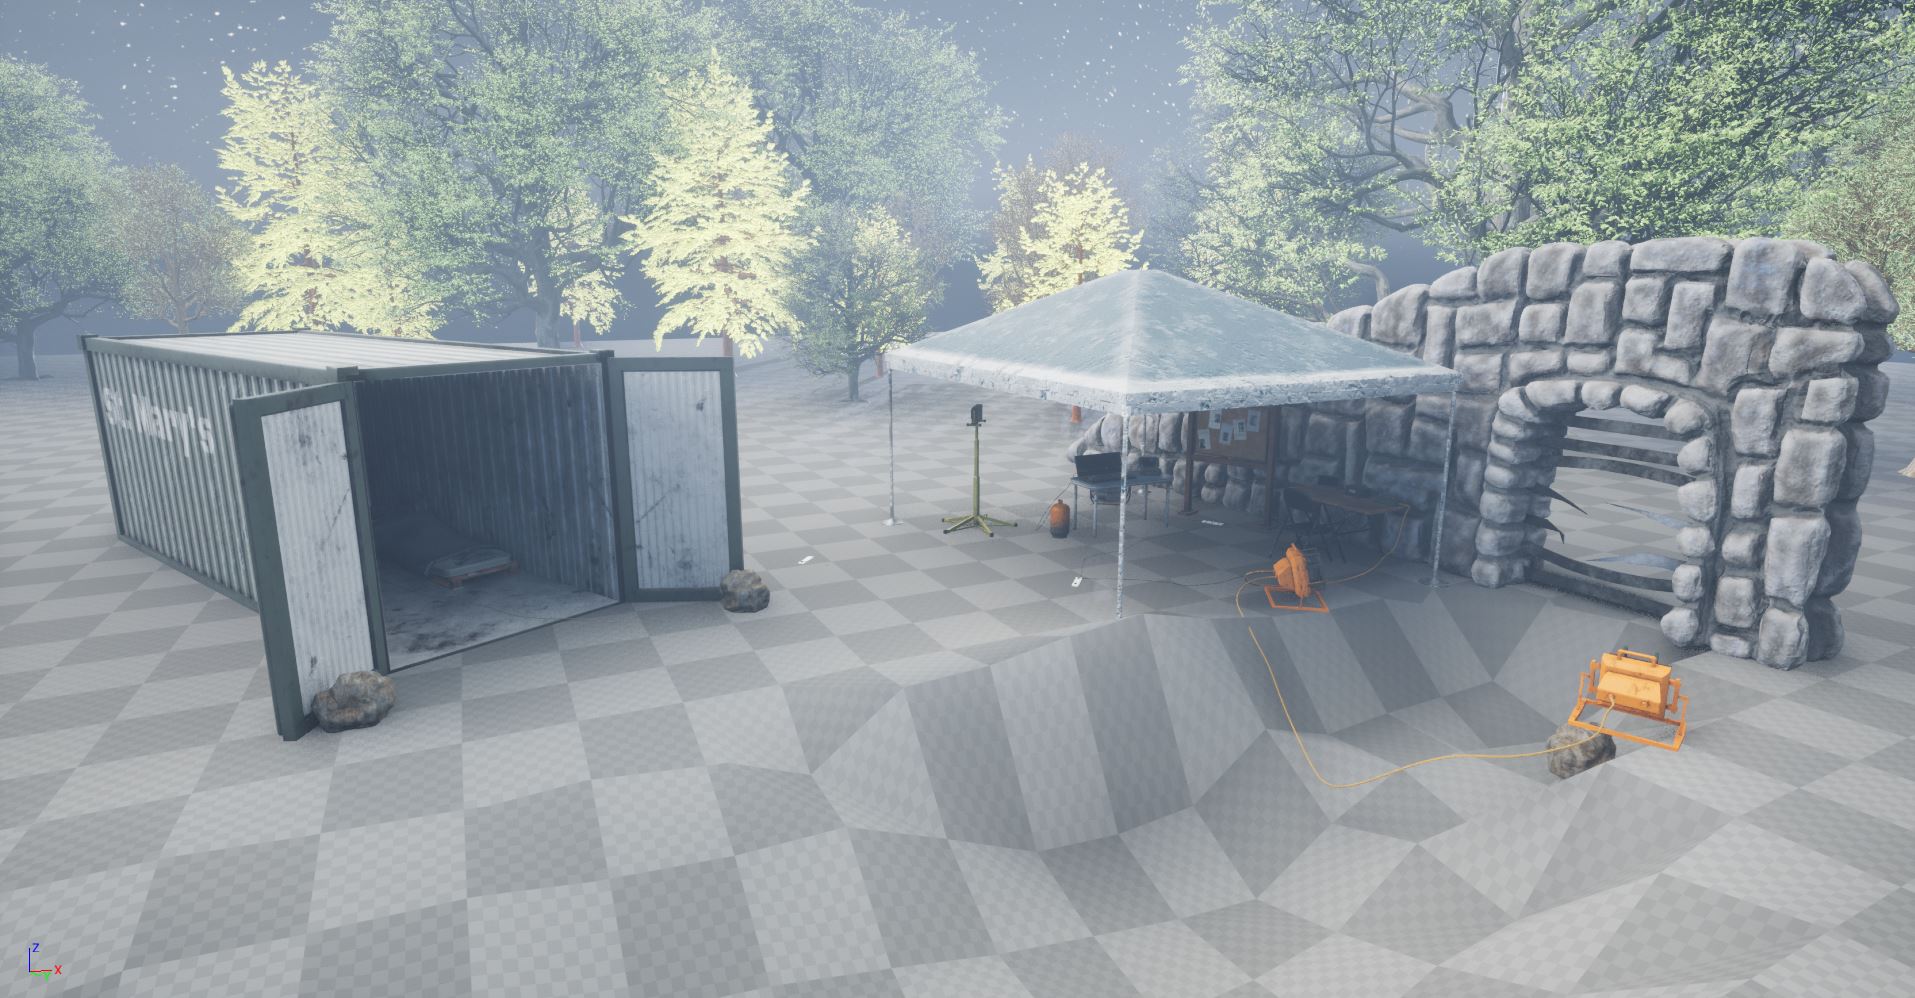
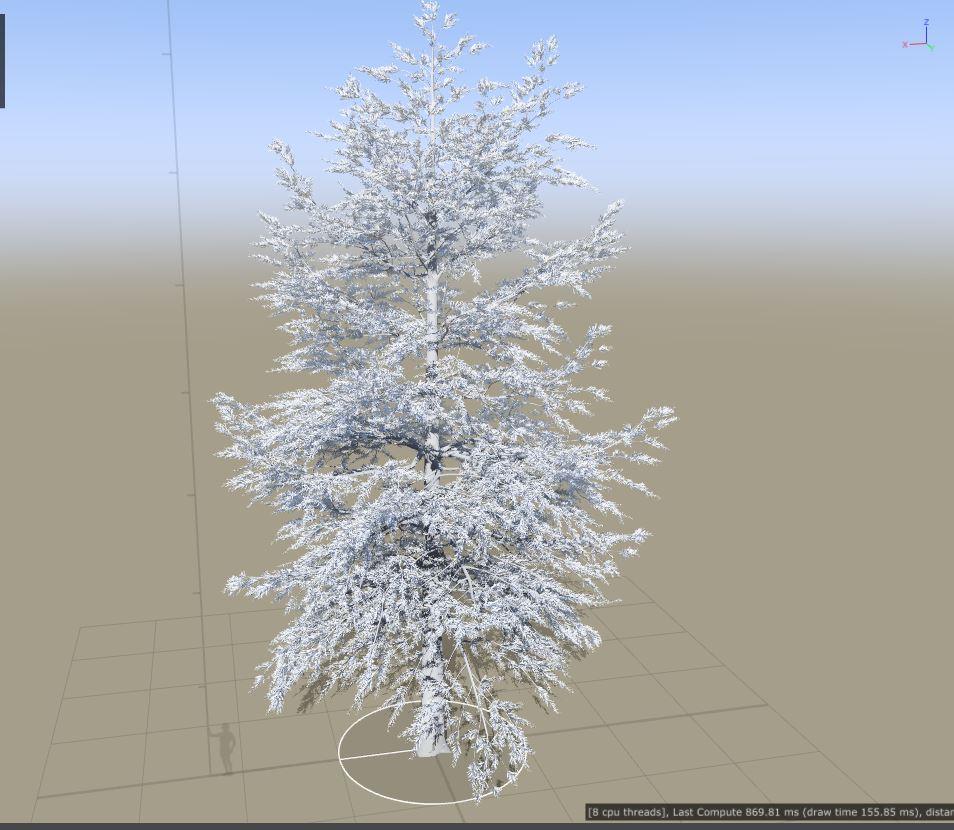
I discussed nanite at length in my proposal document, and why its not a good idea to rely on a tool unuiqe to one game engine. However in this case I didn’t see a way around using the tool. As such I did use nanite on the tree models I ported into the scene (Fig.6). I also noticed that the trees brought from Speedtree appeared to have Lod’s already loaded (Fig.7). Which was nice to see as while I had planned to incorporate this technique into my modelling I found it wasn’t needed for the scale of the environment I was creating.
With the trees in place, I now had all of my static assets in place, only really leaving the lighting. However, I didn’t feel comfortable leaving the environment in its current state just yet.
:: Ground Texture Edit ::
Every time I looked at my environment, I simply couldn’t ignore the poor tiling of my ground texture. I experimented further, removing all water, and spreading the edge wetness as far as it could go, trying to cover the ground as a mud. However, I found some spots of dry dirt also making the tiling very noticeable (Fig.7)


I had to go back to my substance file to change my material (Fig.8) where I removed the water and edge wetness before finding a node which spread dirt over the scene, crucially this node is not available once ported into Unreal Engine but by spreading the dirt to its fullest I am able to create a dull dirt texture which tiles much nicer when brought into the scene (Fig.9).
It’s a shame I had to remove the puddles from the material however I simply don’t think the tutorial I followed intended for the material to be tiled out across vast landscapes as I need for my environment, so this compromise at least allows me to have used my own custom texture.
:: Adding Water ::
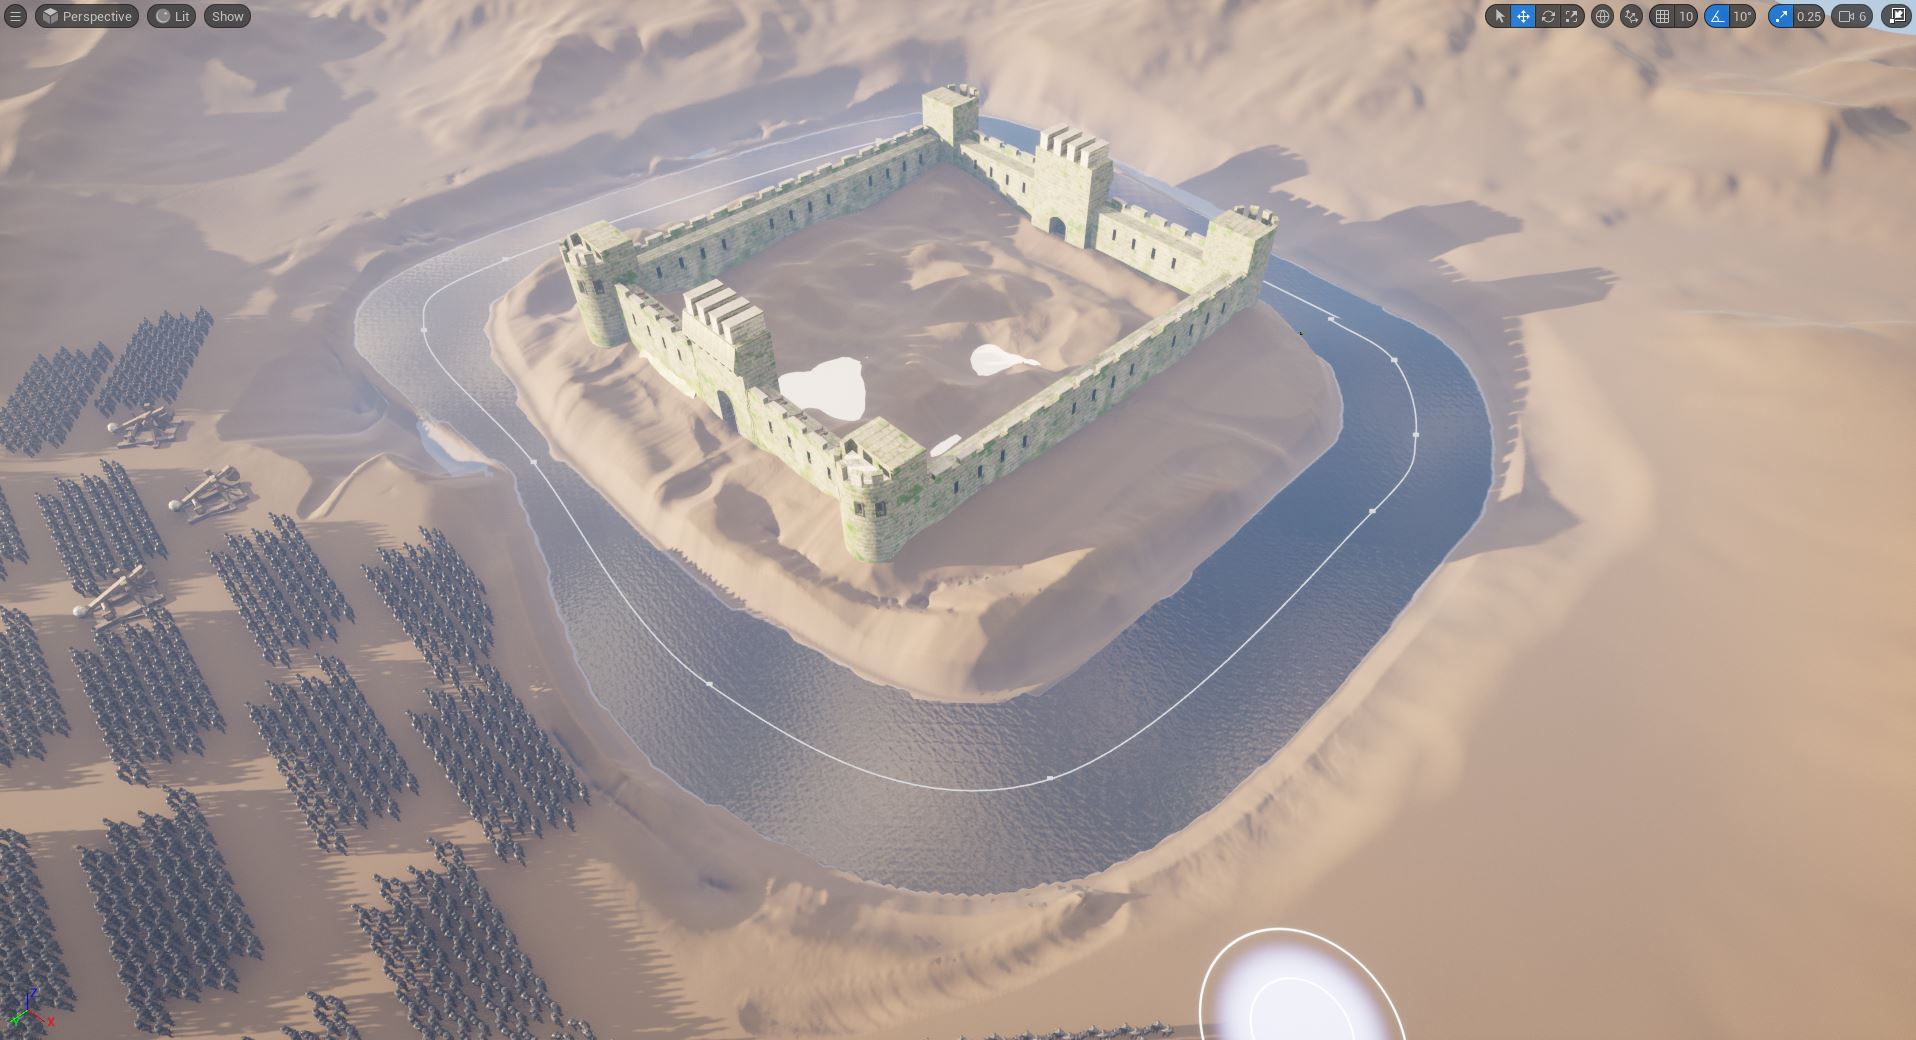
Next I need to create the water that runs through the scene. There is a plug in within Unreal Engine 5 that allows you to create rivers and lakes (Fig.10) and I have some experience with this tool having used in during my VFX assignment last semester, however I noticed at the time that the tool is only in beta and it massively effects the performance of Unreal Engine on my computer (Fig.11).
Also I have discussed how it is not good practise to rely on a tool unique to a single game engine, while I have had to use nanite I feel it good to not use another Unreal specific plug in in this scenario.
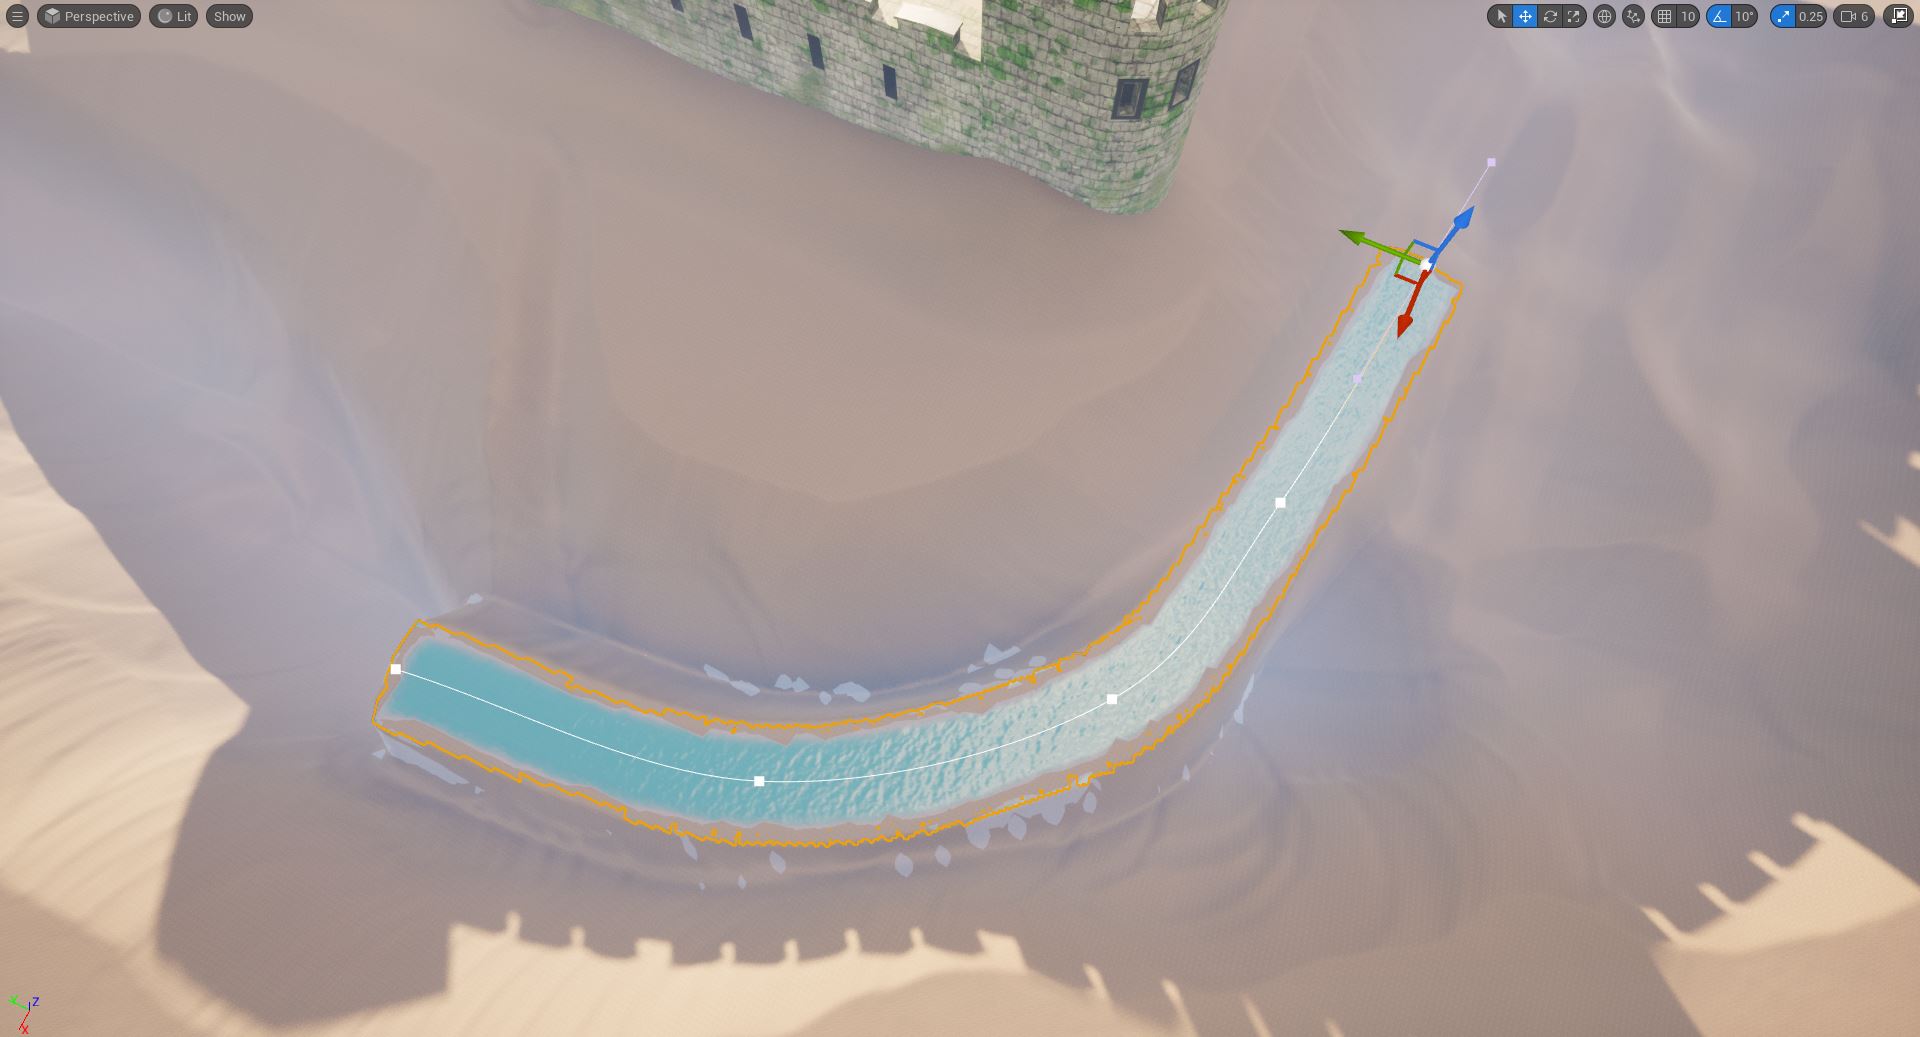
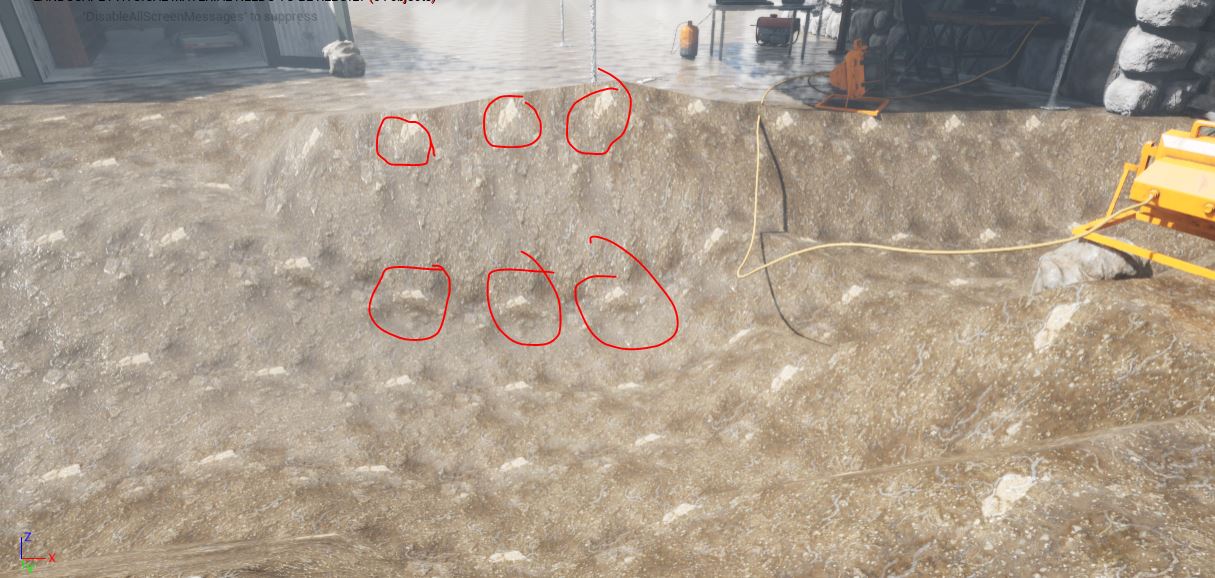
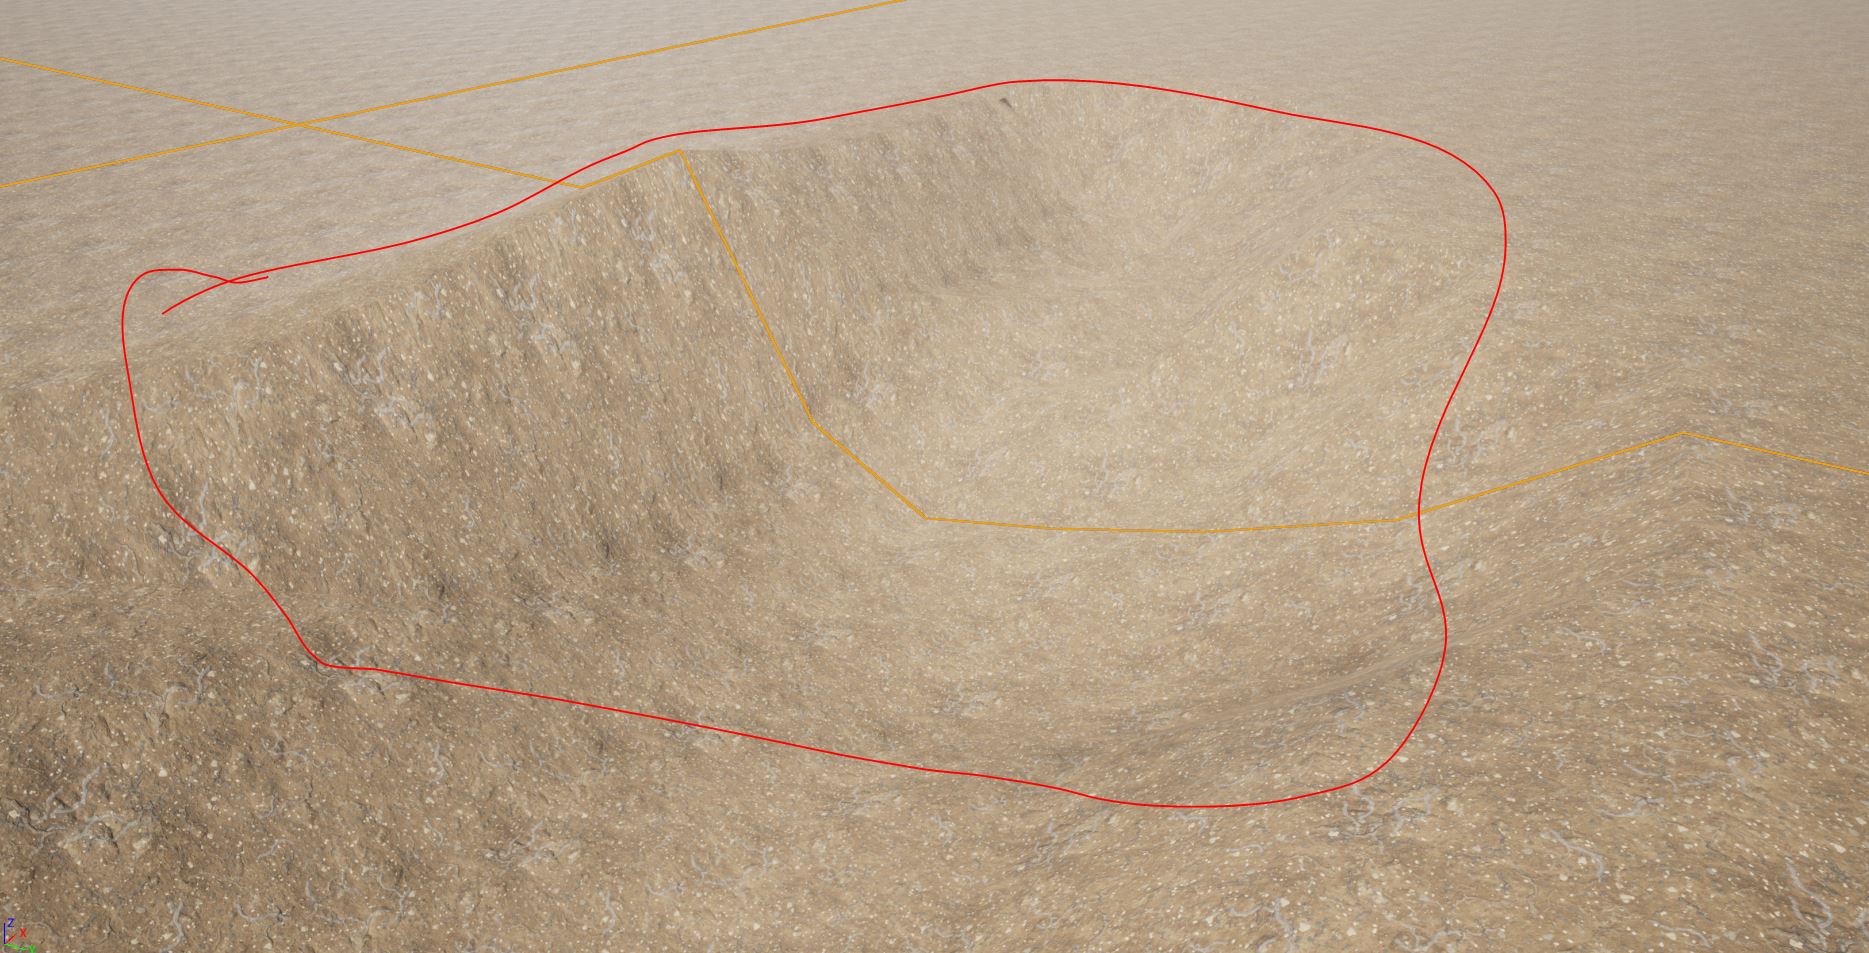
I decided I would manually create a plane of water to place within my landscape. To do this I first had to smooth the area where I would be placing the asset (Fig.11) before creating a model and texturing the model within Substance Painter and placing the model within the landscape of my environment (Fig.12).
In order to create a smooth transition to the water asset I actually raised the landscape so it completely covered the asset before then wording away the surface to make it appear as though the water has worn away a channel in the earth naturally (Fig.13)
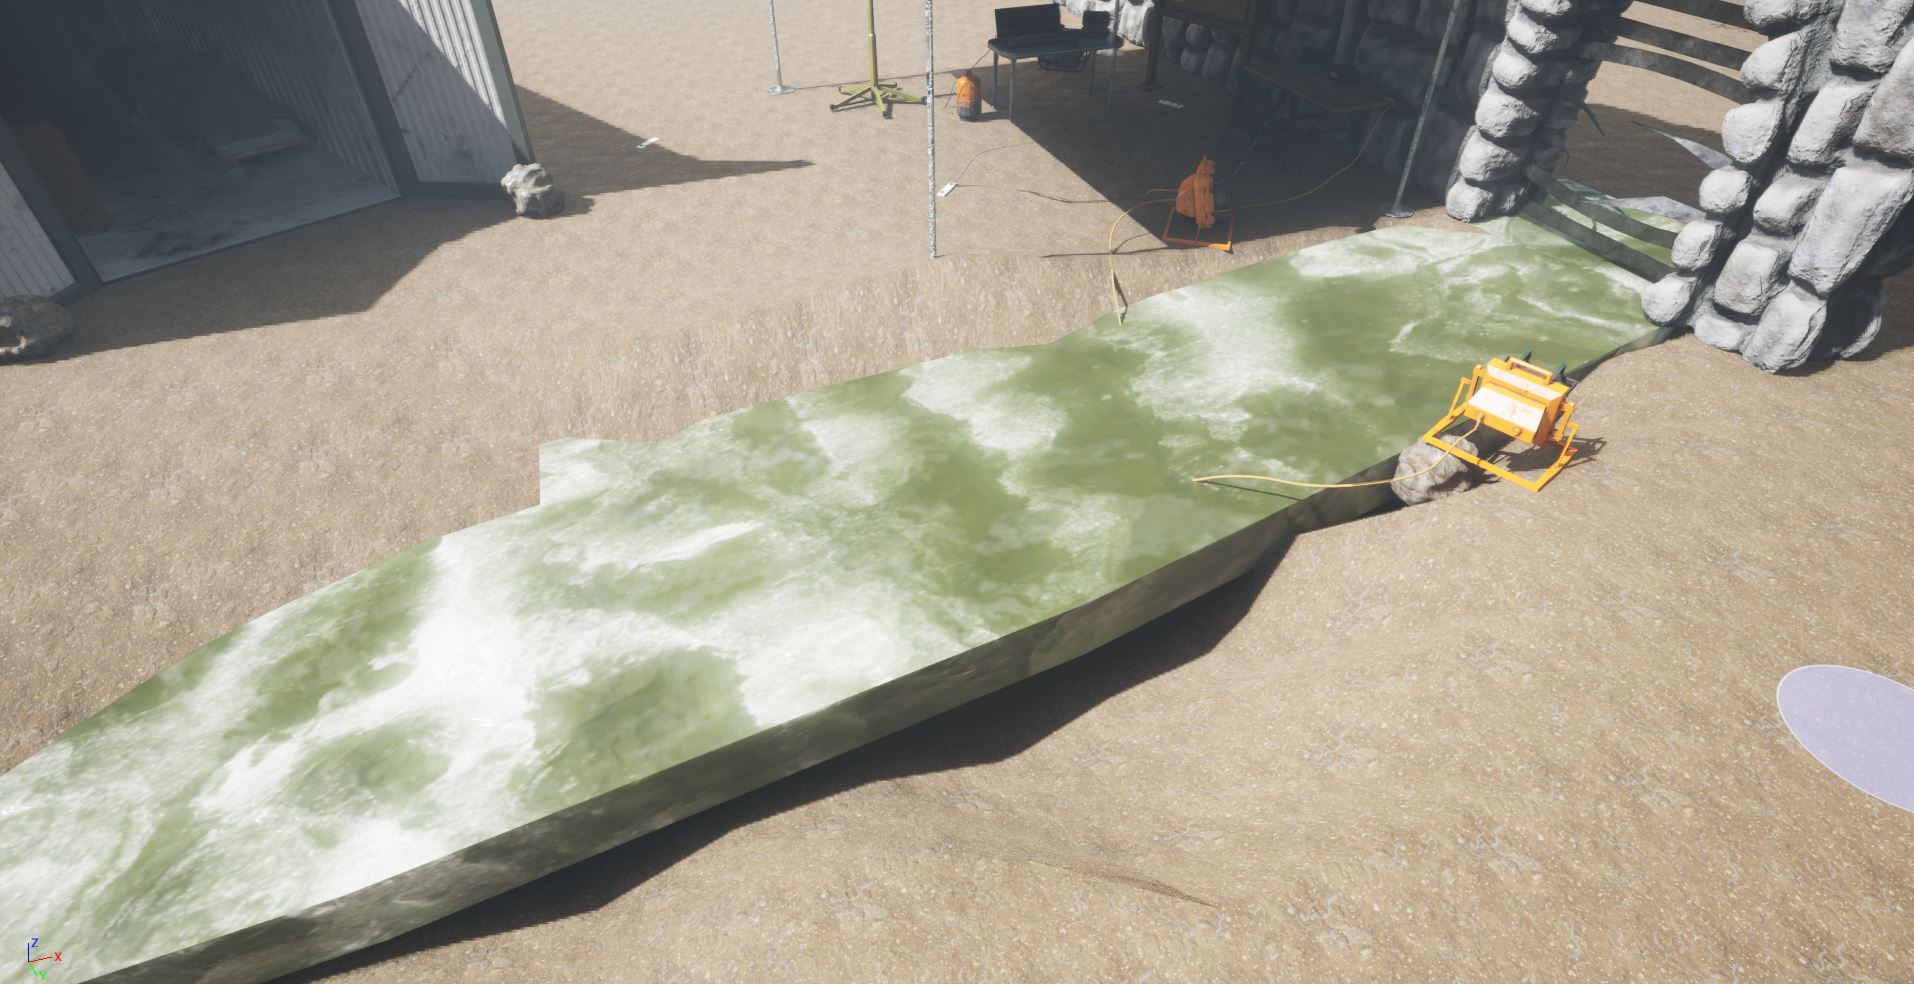
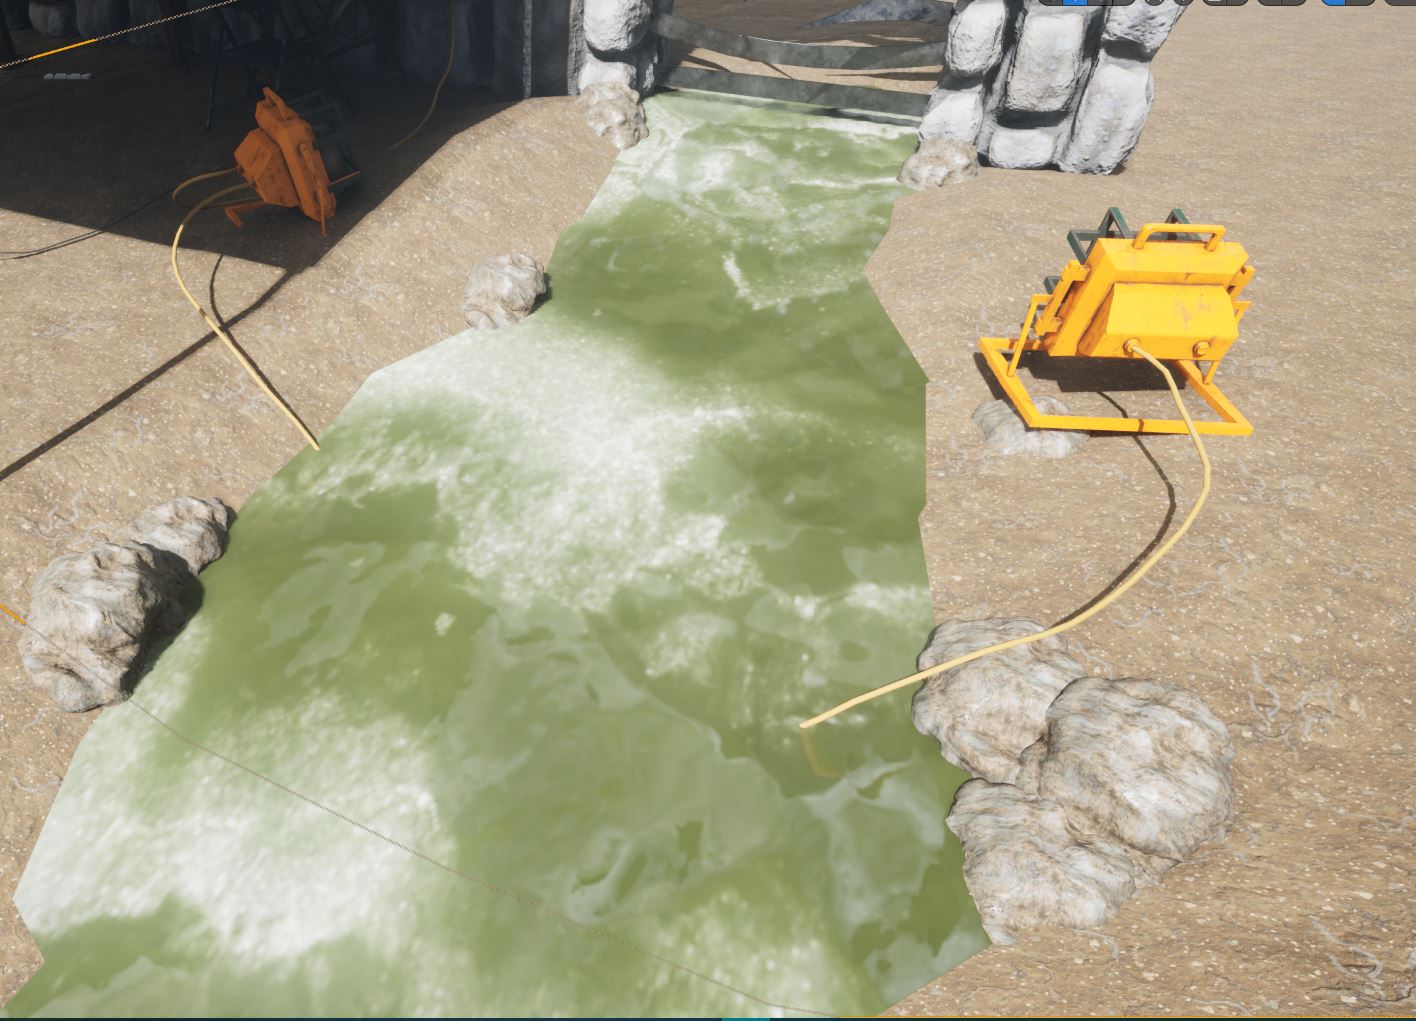
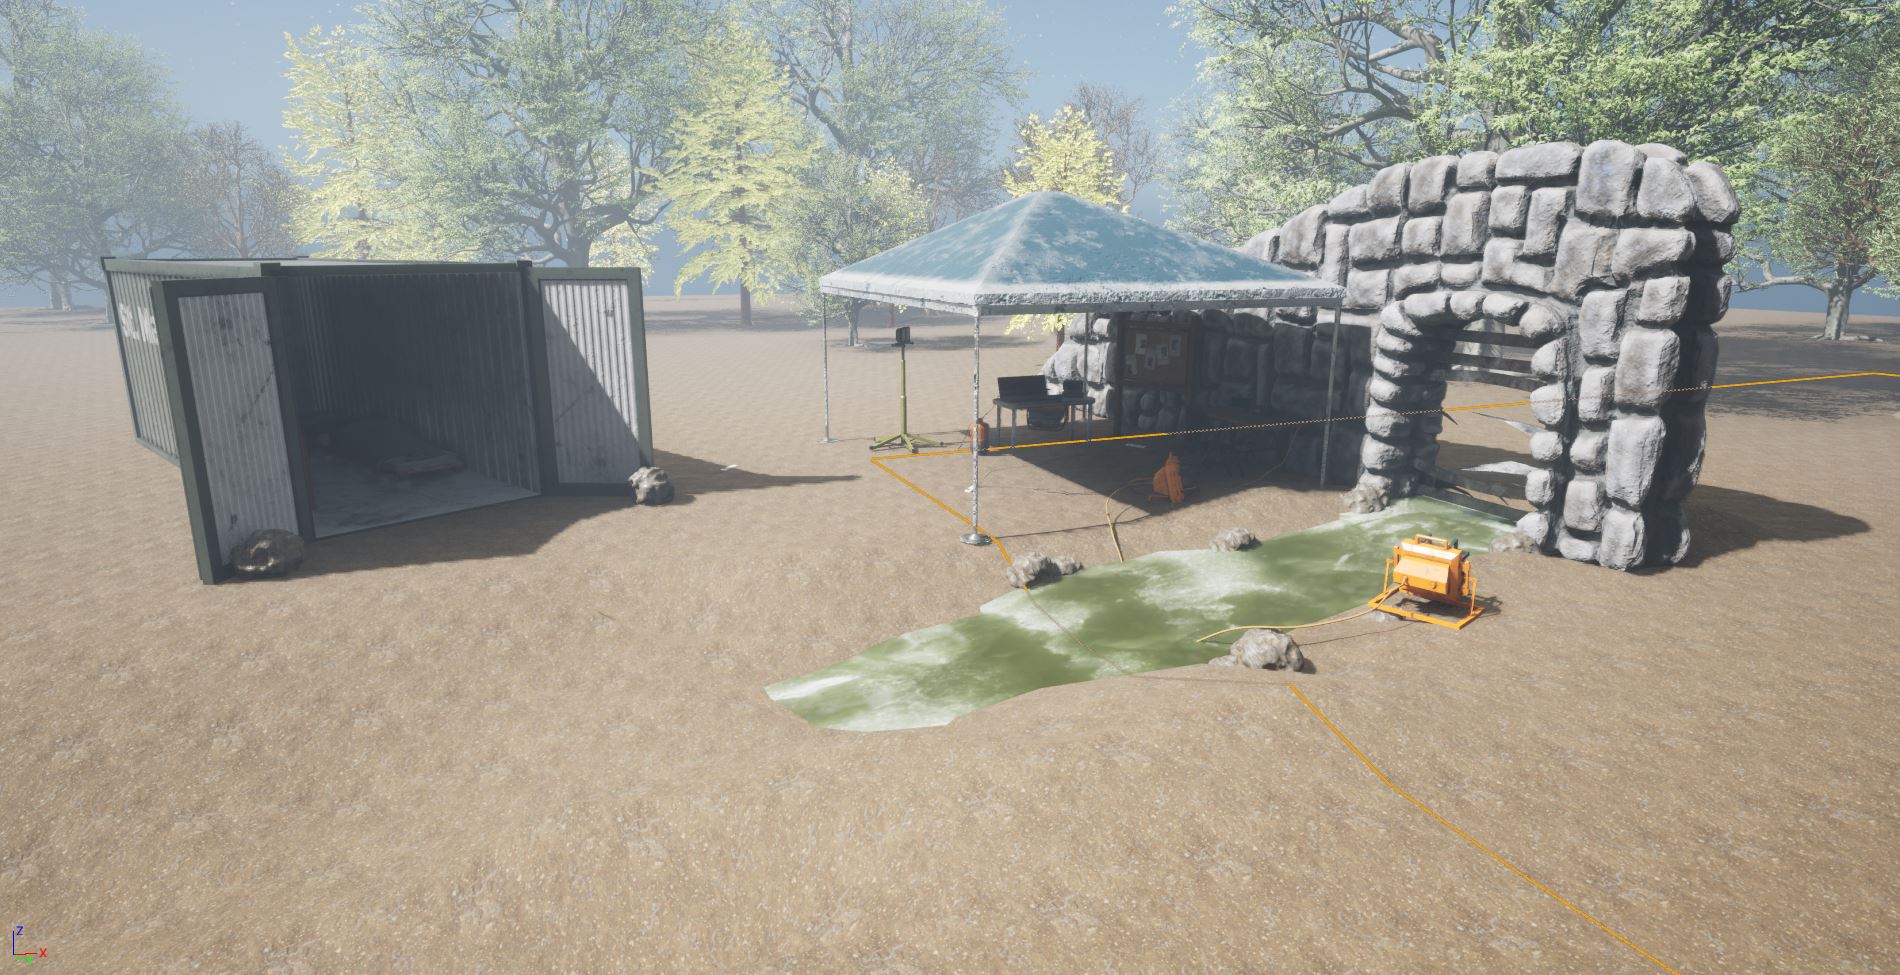
I made sure to have the water be a greener tone, which will fit into the night time lighting I am going for with this environment and fit the idea that the forest has been forgotten until recently (Fig.14). I think the final placement of the water is good enough for my purposes (Fig.15), though if I were to redo the environment I would add a cobble stone or peddle dashed texture around the edge, to really sell the idea that this water belongs in this area of dirt. As it is I do think in full lighting that the water does just seem like It has been placed without considering how water effects the earth around it.
:: Final Lighting ::
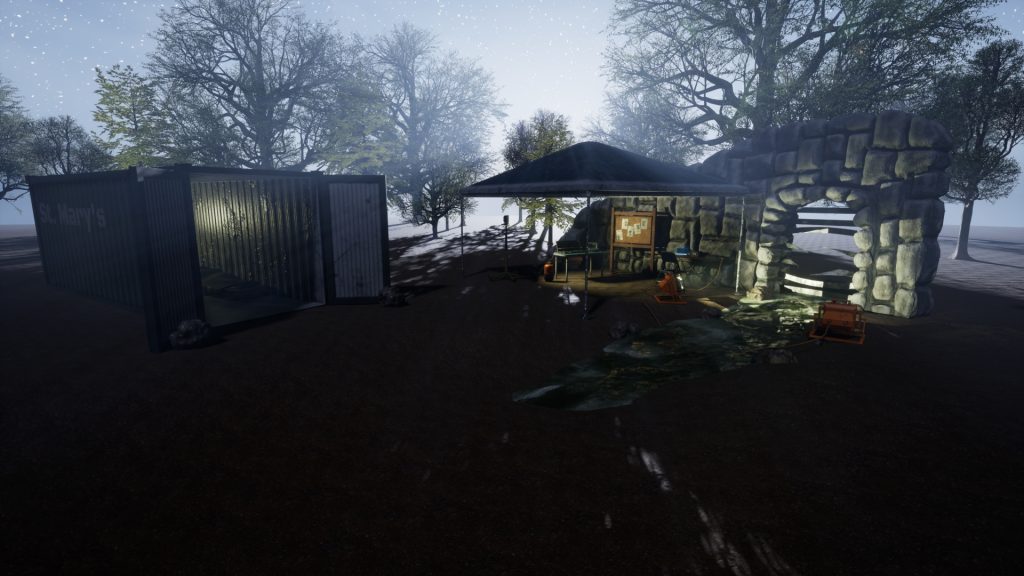
With all assets in place I could turn my attention to the lighting of the scene. I already had my environment lighting more or less in place (With extra directional lighting having been present only during the placement of assets) (Fig.16). But I had to alter the scene lighting as the placement of the lights and assets have changes somewhat since I made the blockout of the environment.


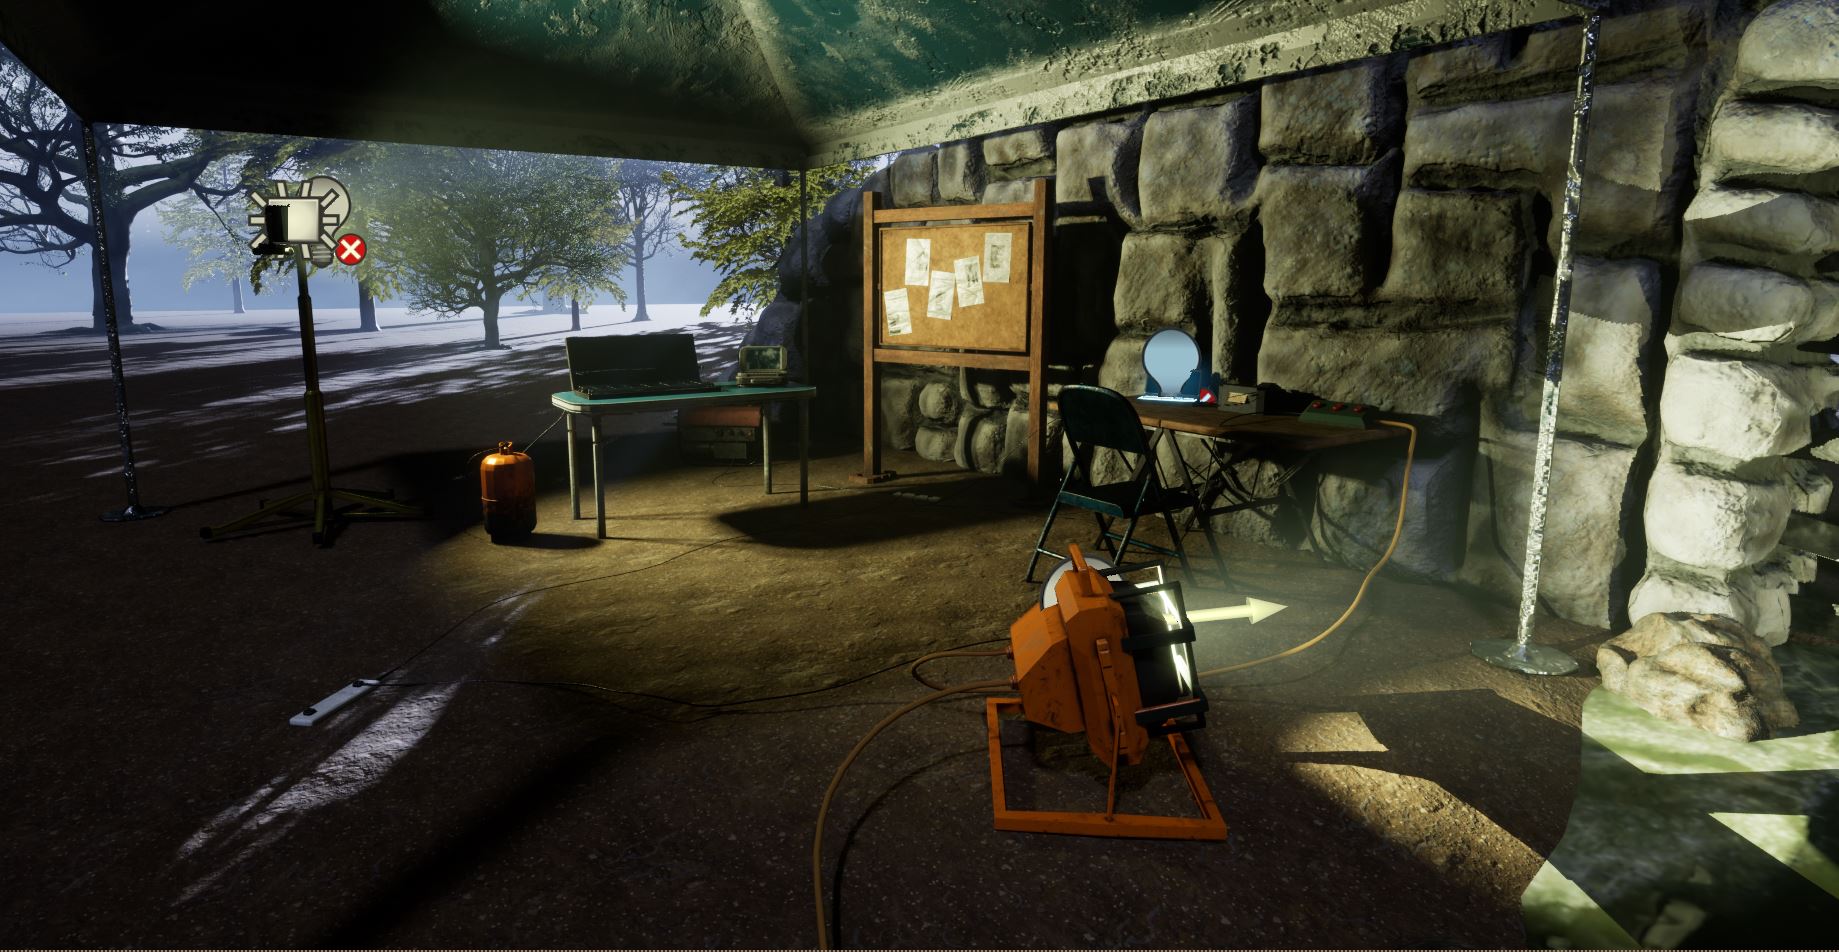

There was a balancing act to be done with placing the lights around the scene. I needed enough of them that the assets are viewable and it doesn’t look like I am trying to hide any defects within my scene, particularly for things such as the newspaper covers (Fig.17) while not adding so much light to take away from the night time forgotten feeling I am aiming for in my renders.
Overall I feel as though the lighting really pulls this environment together. I had thought even during the proposal stage of this project that the lighting would need to be on point to compensate for the relatively lightly populated scene and I feel as though I have done a good job in managing this. You can see the assets in place well while also feeling the gloomy atmosphere I was trying to capture.
:: Summary ::
In this post I have shown the finishing touches I needed for my environment. Finally adding the tree backdrop, altering the ground texture to a standard I am happy with and setting up the final lighting of the scene.
I can finally say that the environment is fully complete, my next and final post will be a retrospective of this project along with presenting my final renders.