My next step was to create the landscape for the environment, which most notably included creating an original base material for the forest floor. This required me to use a software called Substance Designer, something I had never used before this project. The materials created through this software are not asset specific, but rather are there own material, operating the same way the materials on the shelf in substance painter are. Which can then be applied to landscapes or assets as required.
:: Why Substance Designer? ::
Creating these materials uses a software called ‘Substance Designer’. Something I am entirely unfamiliar with. So, the first thing I will need to do is find a introduction video to the software. Not so much the User Interface but what the software is and what it is used for in the production pipeline.
I found the above video (FlippedNormals, 2020), which details nicely what Substance Designer is used for and what separates it from Substance Painter. Where the later is used to apply custom textures directly to a previously modelled mesh, resulting in texture maps that will only work for that models UV Substance Designer creates individual materials. Like the smart materials present within Substance Painter. These materials can then be tiled infinitely along surfaces to create custom ground or walls etc.
Like all tools and softwares there are limitations to what Substance Designer is used for. As said, the materials are designed to be tiled, and are not created with a specific asset in mind. This means that elements which require the texture to be applied to the finished model need to use other softwares in addition such as substance Painter. For example I could create a mortar wall material in substance designer and apply it straight to the wall mesh I create in Maya. However if I wanted to add graffiti to that wall, then I would need to bring the designer material into substance painter so I can edit the texture while applied to the mesh.
:: Dirt Ground Texture ::
My scene is set in an forest clearing, which will require the use of a dirt ground texture. This will be a great material for me to create as my first try in Substance Designer as it’s a texture which can be used many times and there is a twenty-five part tutorial made by Adobe themselves which walks you through creating such a material in substance Designer while explaining the intricacies of the software.
One thing to note however is I will be needing two different variations of this material. I want my scene to be raining, which means that the ground needs to be wet. However part of the scene has a tarp covering it, which means that the dirt underneath that section of the environment wants to be dry. Knowing how to make these two different materials is something I will need to figure out as I create the original material.
:: Twig Creation ::
The material I made required two separate substance graphs to create, one for the dirt ground which controlled the spread of different pebbles, the water level and the dampness of the dirt while another sub graph was responsible for creating twigs which were then scattered throughout the first dirt ground graph.
This required me to use different nodes to create a rough shape which I could then alter using a twist node to give me a bent and crooked twig base shape (Fig.1) before then adding the bark and stain greyscale patters to that shape (Fig.2) and then finishing the twig creation by combining the two node paths. Giving me a result of a twisted shape complete with bark and dirt texture.

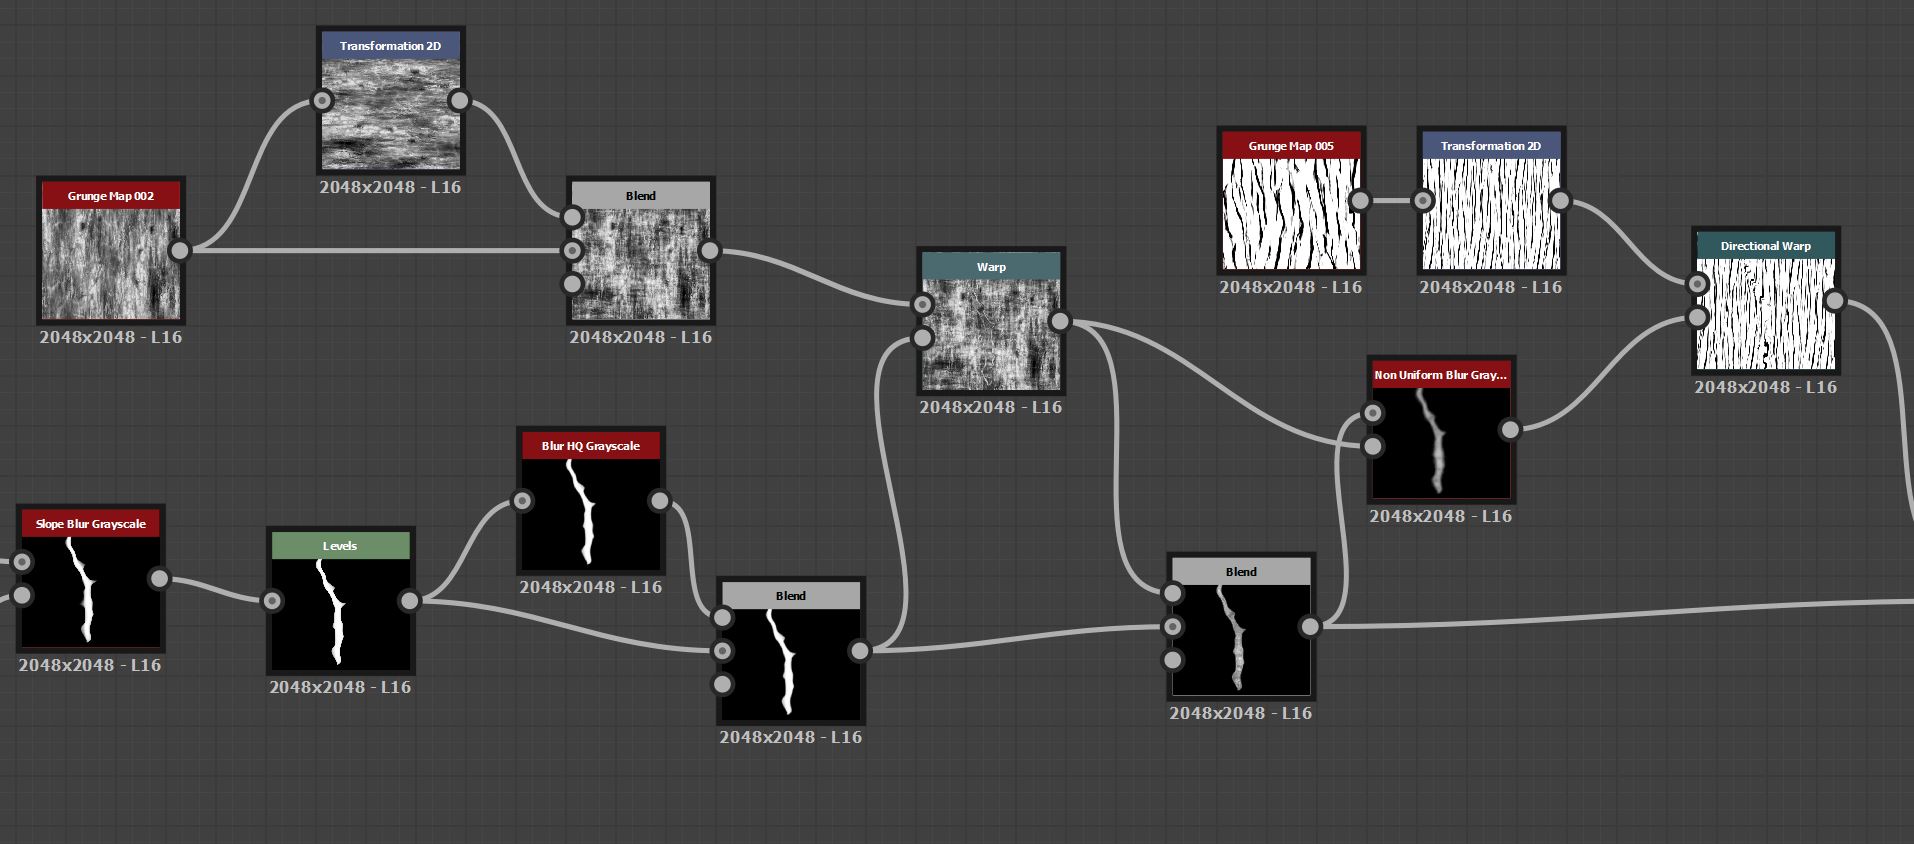
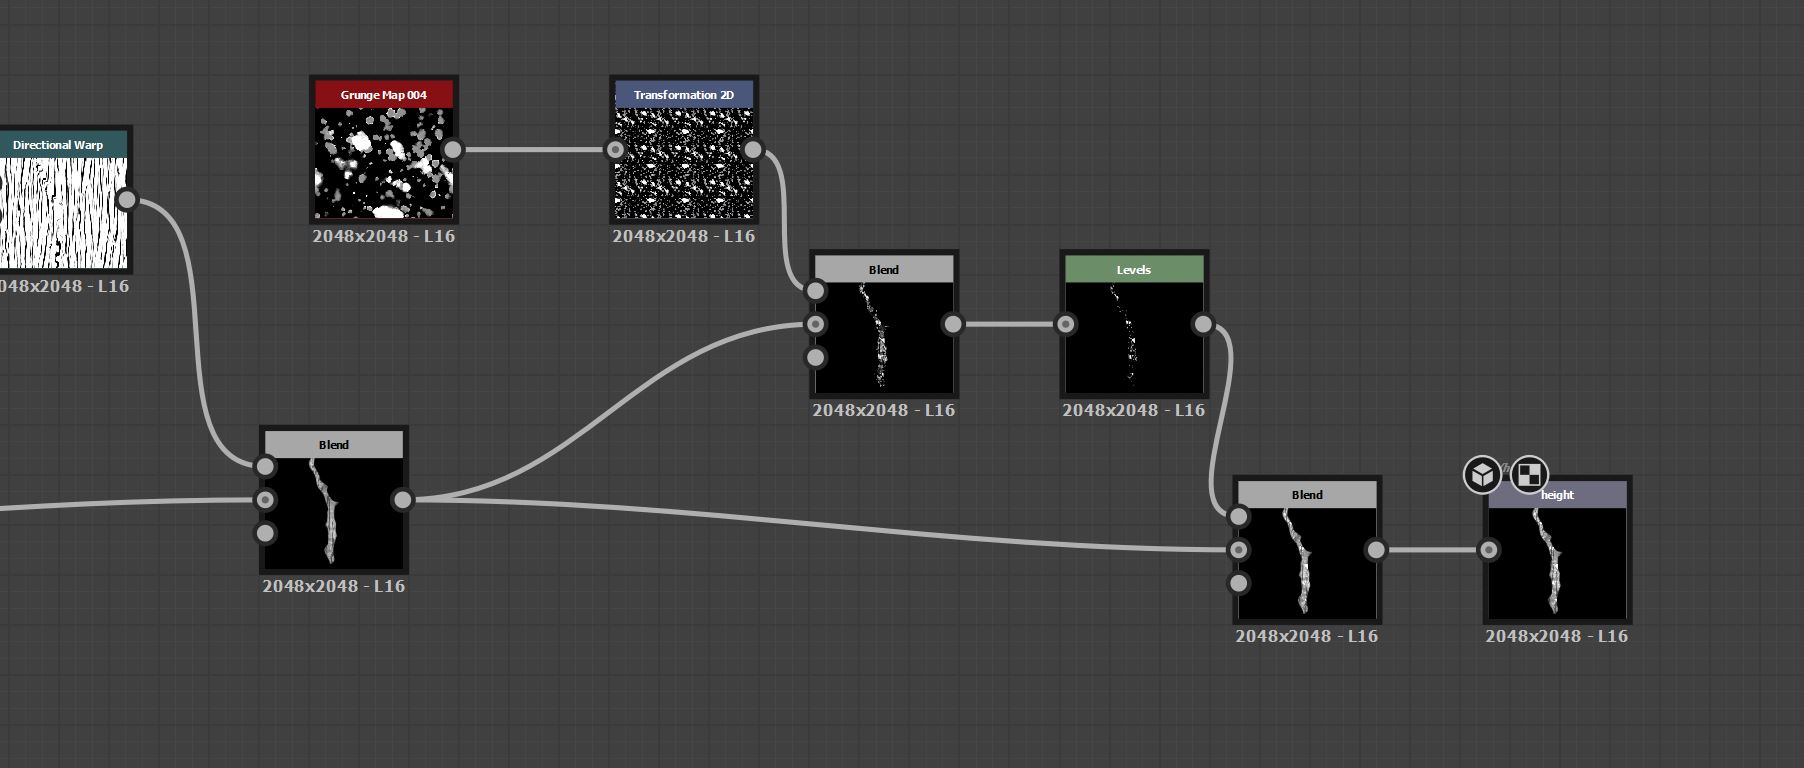
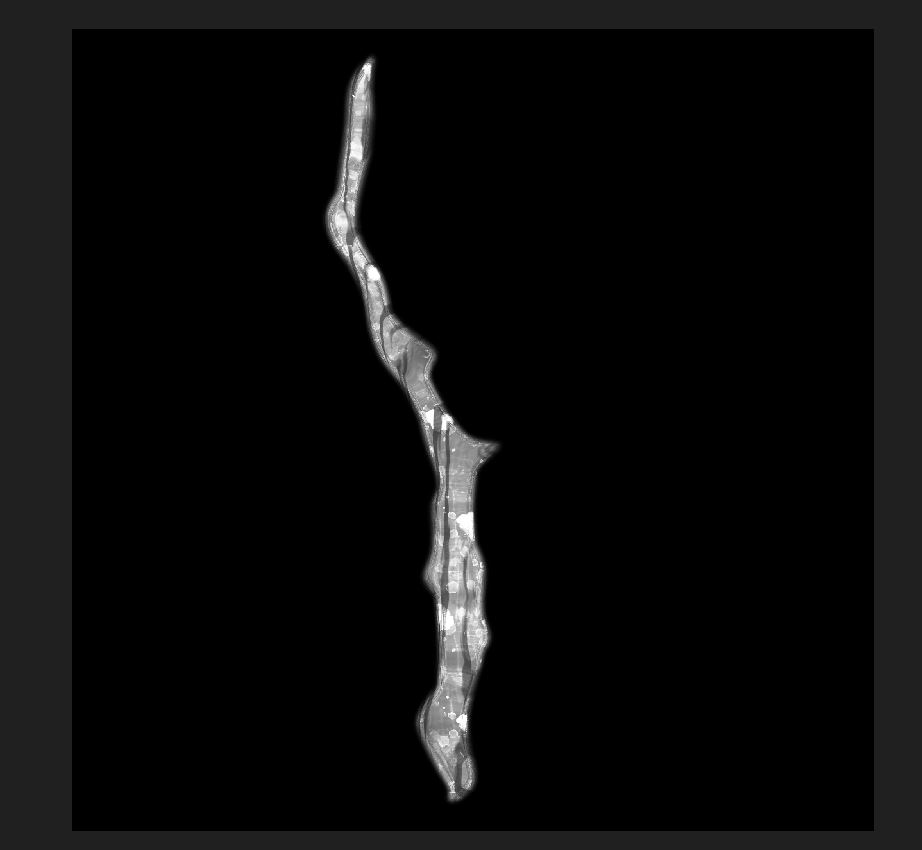
By using an entirely separate graph for the creation of the twig I am able to quickly go back and change the shape or pattern by simply altering the nodes, I could have the twig twist in the middle for example by simply moving the warp node up and down the base shape.
:: Creating the ground material ::
I can now use the result of the twig generation graph and spread that across the floor of my dirt ground material. Adding extra detail on top of the stones and colour variations of the dirt textures. Substance Designer is a very powerful tool and I find the instant result you see in the 3D view when altering nodes to be very gratifying but it Is a departure from the layer based creation system I am used to through software’s such as Substance Painter of Adobe Photoshop.
By following the listed tutorial videos by Substance themselves I was able to create a dirt ground material which could be applied to any surface I needed, be that a specific model in another substance software such as Painter or directly onto a landscape material in Unreal Engine.
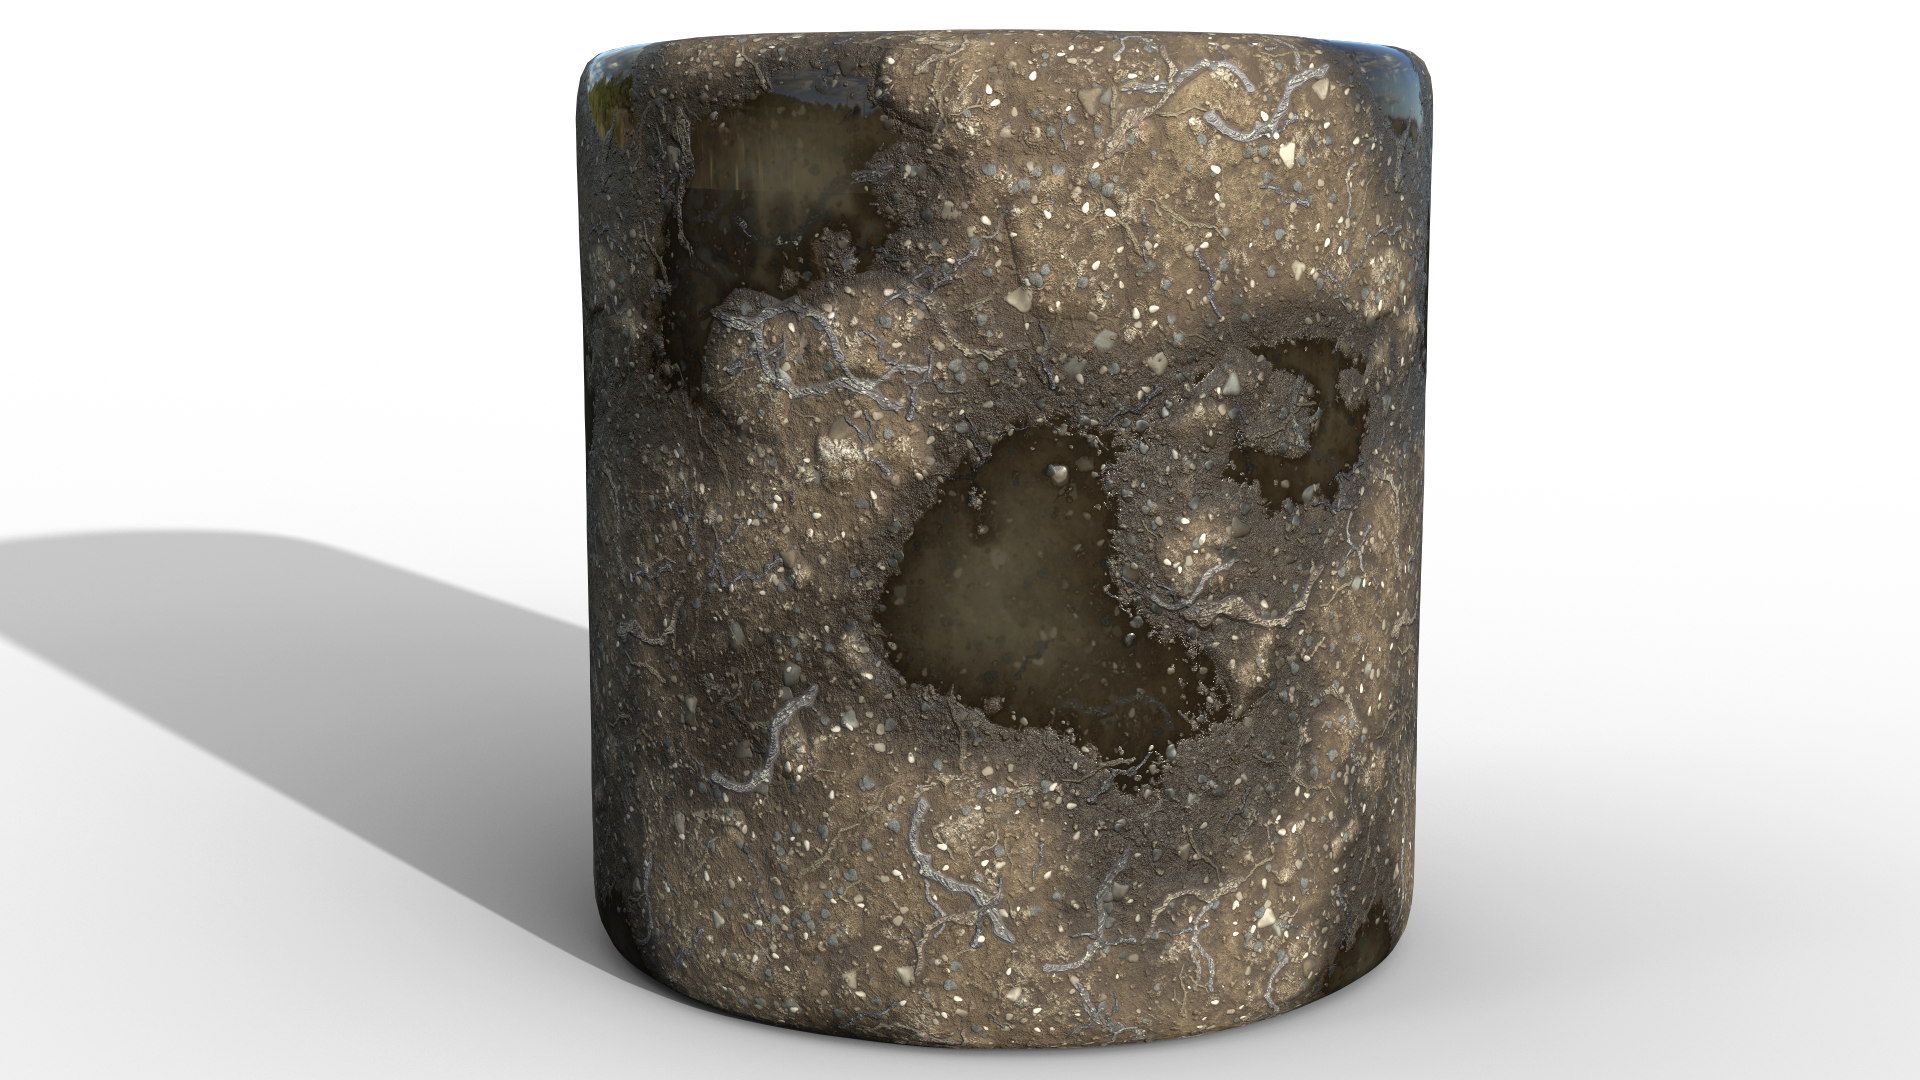
This material wasn’t static either, I could dynamically change various aspects of the material such as the water level of the puddles in the ground, from completely dry to completely flooded (Fig.5). In addition I can change the edge wetness of the ground around the puddles, allowing me to change the recency of the puddles creation (Fig.6). I can also change the roughness of the dirt material to create more of a wet mud look rather than a dry sun-baked dirt (Fig.7)
I really enjoyed creating this material and digging into using Substance Designer, while a departure from the layer-based creation system of Painter and Photoshop I really enjoyed experimenting with the different nodes available to create what I believe to be a really compelling looking material. I would like to explore Designer more after this project, both as another boon for an environment artist or even exploring a career as a material artist for larger AAA studios.
:: Importing to Unreal Engine 5 ::
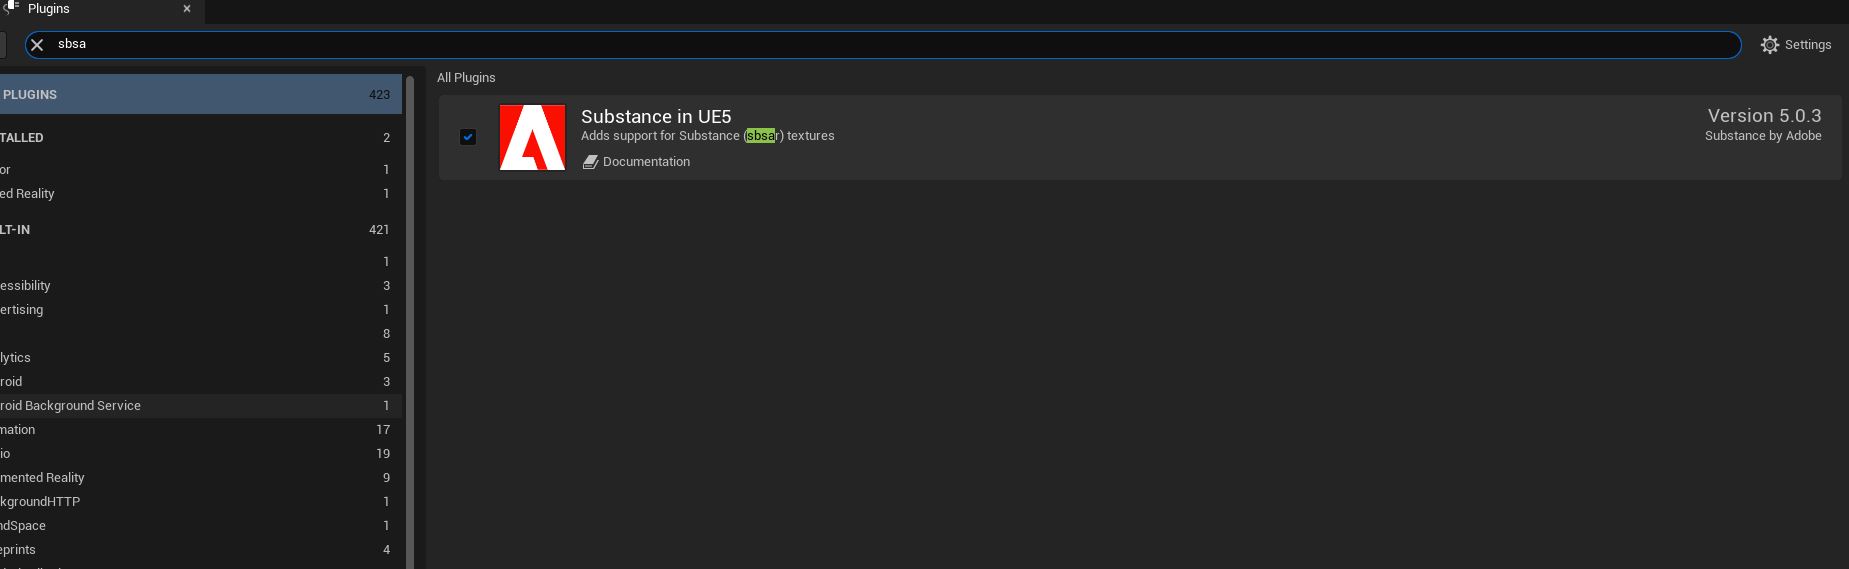
Next I had to look to moving the material I created in Substance Designer into Unreal Engine. After all it is no good creating a material that looks great in Designer but not be able to move that into the actual environment you are creating in a game engine. Fortunately the process of porting the material over was very simple once I found the correct plugin within Unreal Engine (Fig.9).

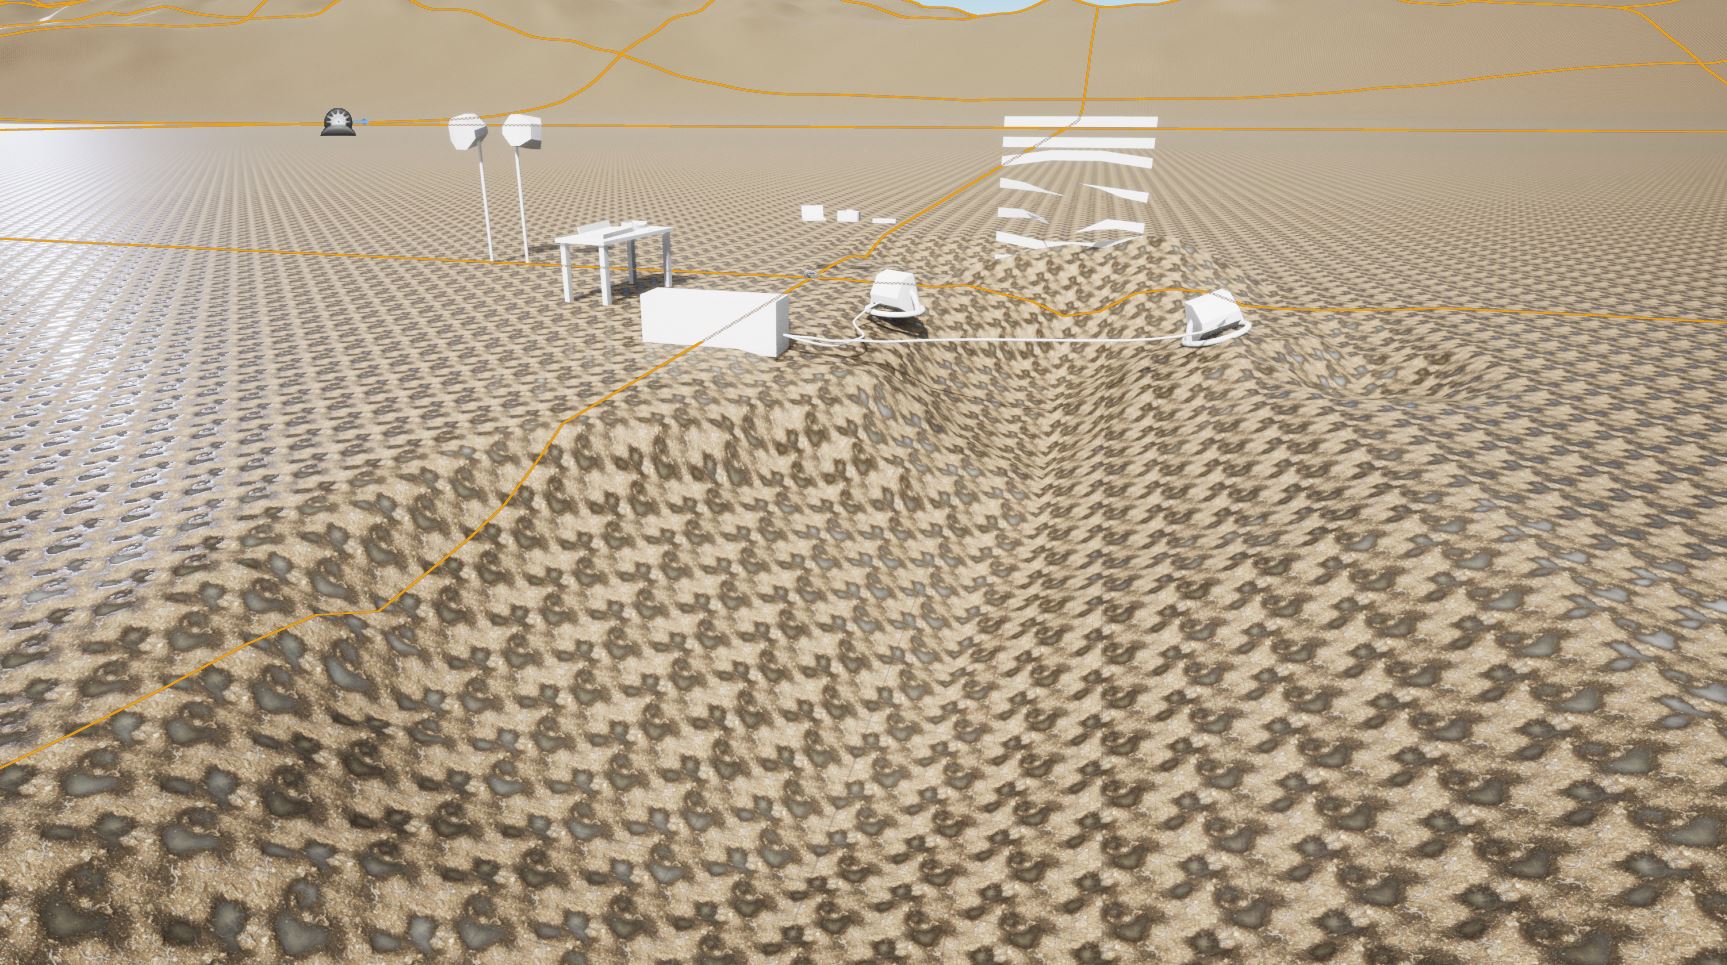
This plug in allowed me to apply my material directly to the landscape of the scene while providing me with a material instance which allowed me to change the integers I had previously set up for the material (Fig.10). It was here however that I ran into the biggest issue I faced during the creation of the environment as a whole, which is the tileability of the material I created (Fig.11)
Simply put the material I created had too many individual areas of interest which made it so that when applied to my landscape the viewer could easily see the stitch lines where the material has been tiled. This was the case both if I added water puddles (Fig.11) or removed the water entirely (Fig.12).

While close up the texture looked okay thinking as an environment artist means designing with you frame in mind, and for my frames (Fig.13) the camera is placed far enough away from the ground that the tiling is a serious issue.
I was aided by the fact that my scene was set in a foggy night forest clearing. As such the texture is a little harder to see (Fig.14), but I simply couldn’t use the material straight from Designer without editing. The noticeable tile lines took away massively from the finalised look.
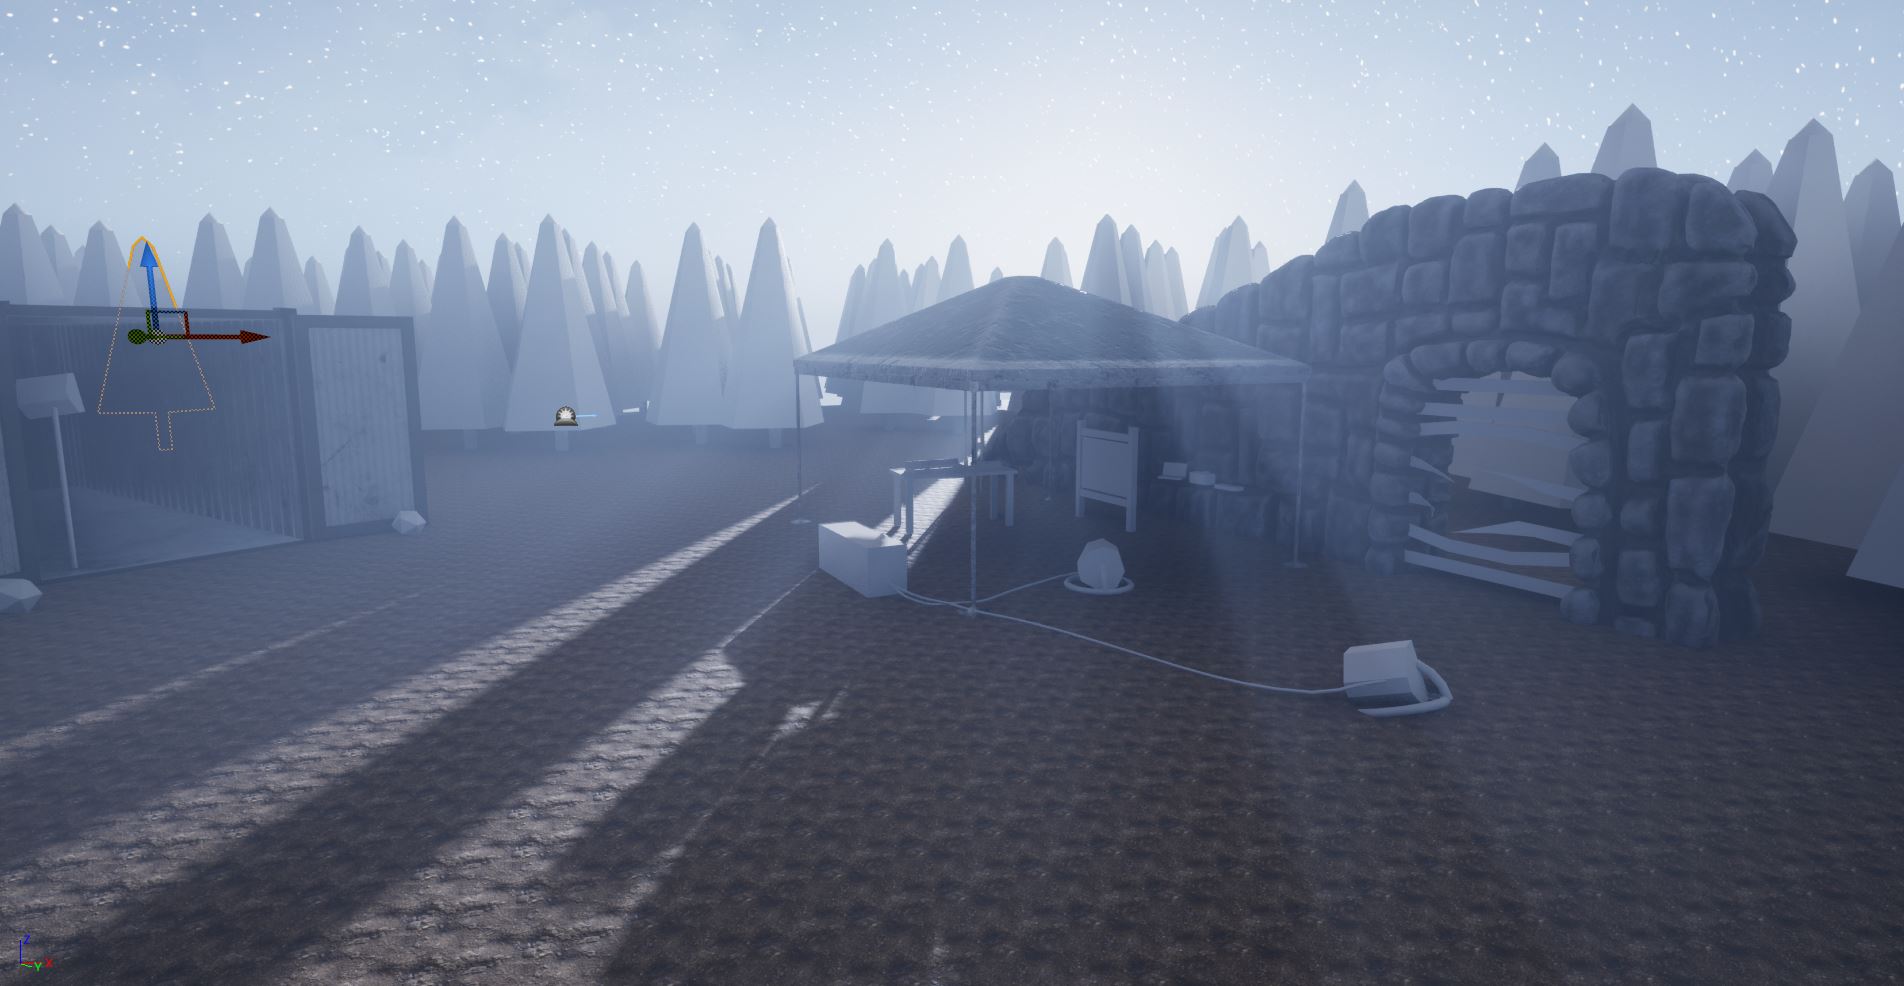
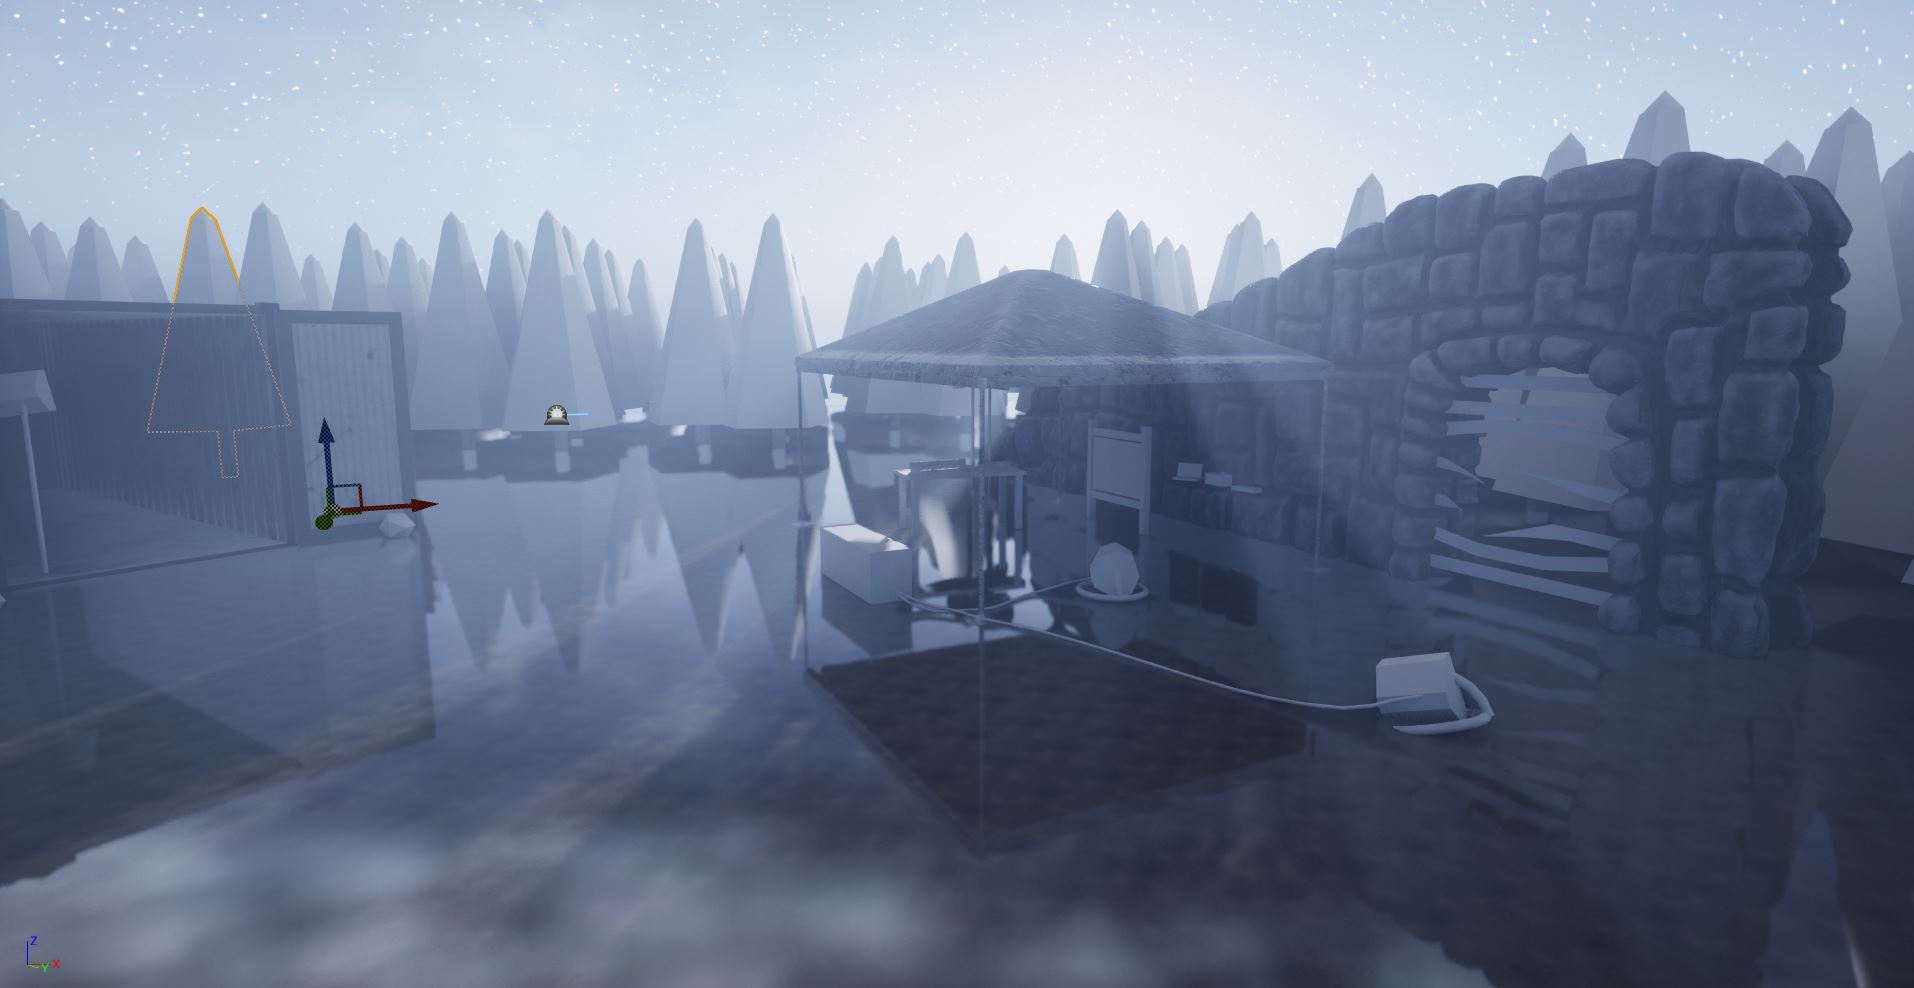
I did experiment by raising the water level to its maximum, perhaps the forest has been the scene of a flood. Which coupled with the cables draped along the ground would help visual explain the flashing lights. (Fig.15) This is doable, and I think I would probably get away with it for the final visual but I am very disappointed that the material I created simply didn’t really seem fit for seamless tiling within Unreal Engine.
:: Rusted Painted Metal Texture ::
Substance Designer is used for two reasons. Either you are creating a tileable material for surfaces such as landscapes, floors, or walls as I have done with my dirt ground texture. The second possibility substance designer presents are to create your own material brushes which you can then permanently add to your Substance Painter files. This allows you to create a material and keep it in your substance painter shelf for use on specific models. Useful when you are creating a texture you could use for different models and environments.
With this idea in mind I found a very useful video (Badtkw,D, 2021) which showed a time laps of a rusted corrugated steel material being produced. Now I didn’t need to follow this video the whole way through as I wanted to keep the brush material as clean as possible. I could always add rust spots and extra details to the brush in Substance Painter later. But by creating a clean base material I could have a quick corrugated brush which I can apply to models in Painter.
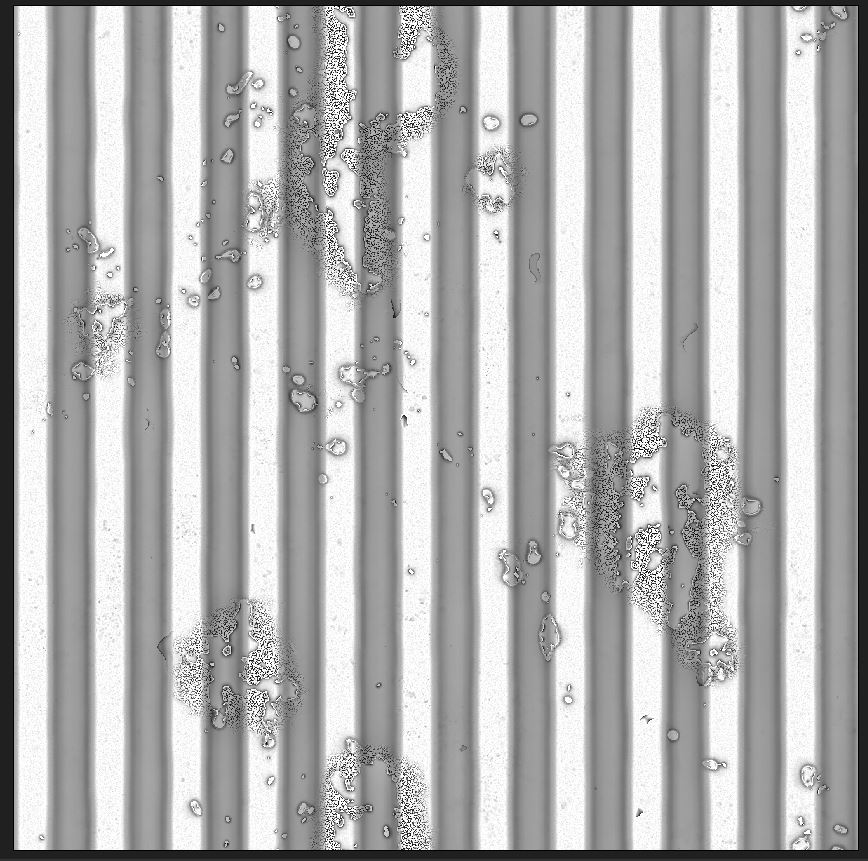
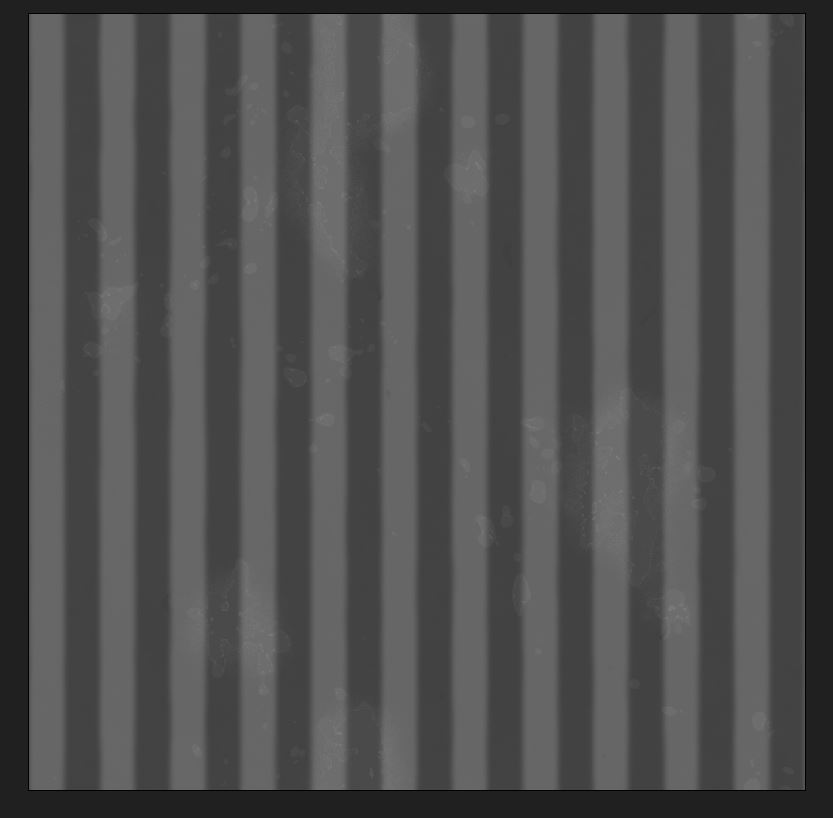
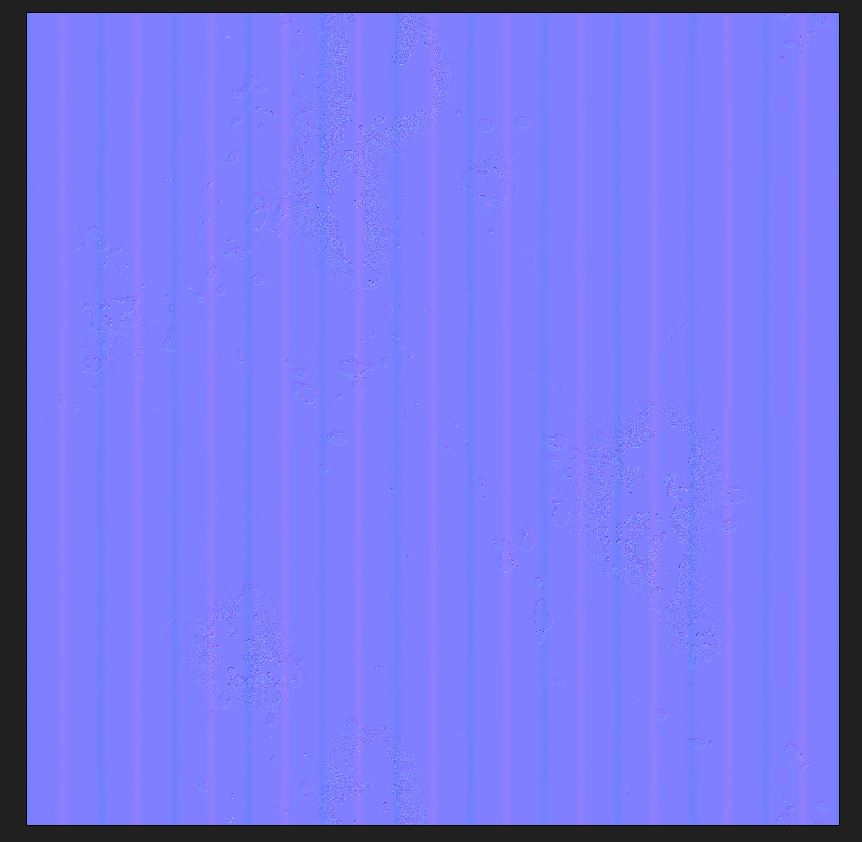
The brush material was really only made of three texture maps, the ambient occlusion map (Fig.16), the height map (Fig.17) and the normal map (Fig.18). When exporting the graph as a sbsar file I could bring it across into substance painter in order to permanently add the custom material to my shelf.
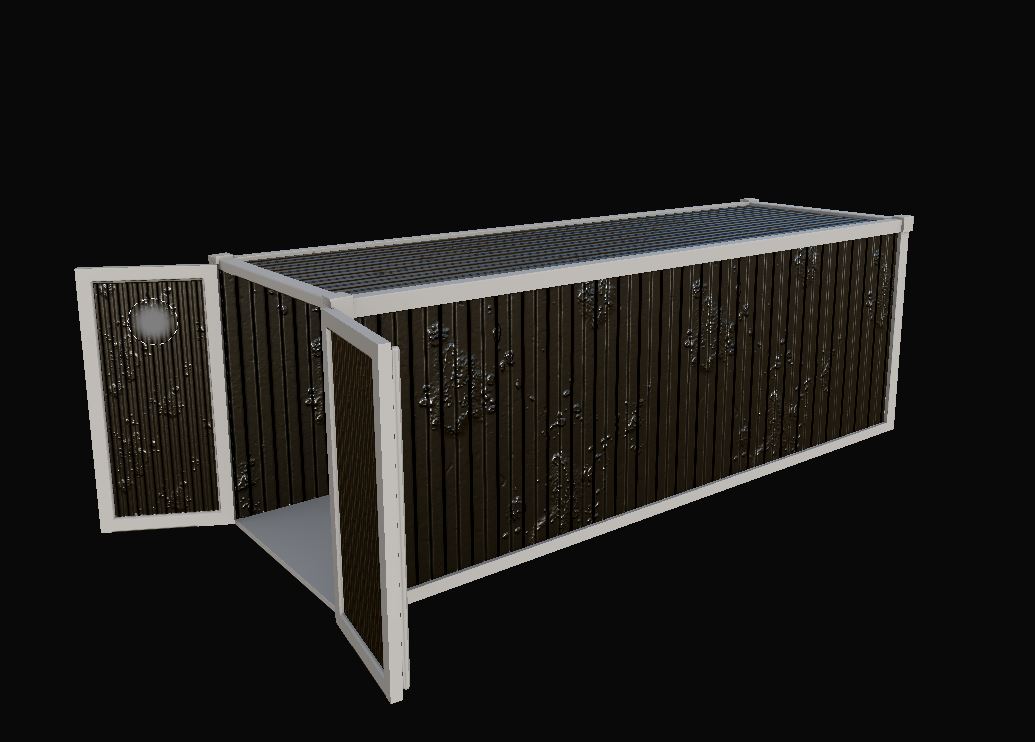
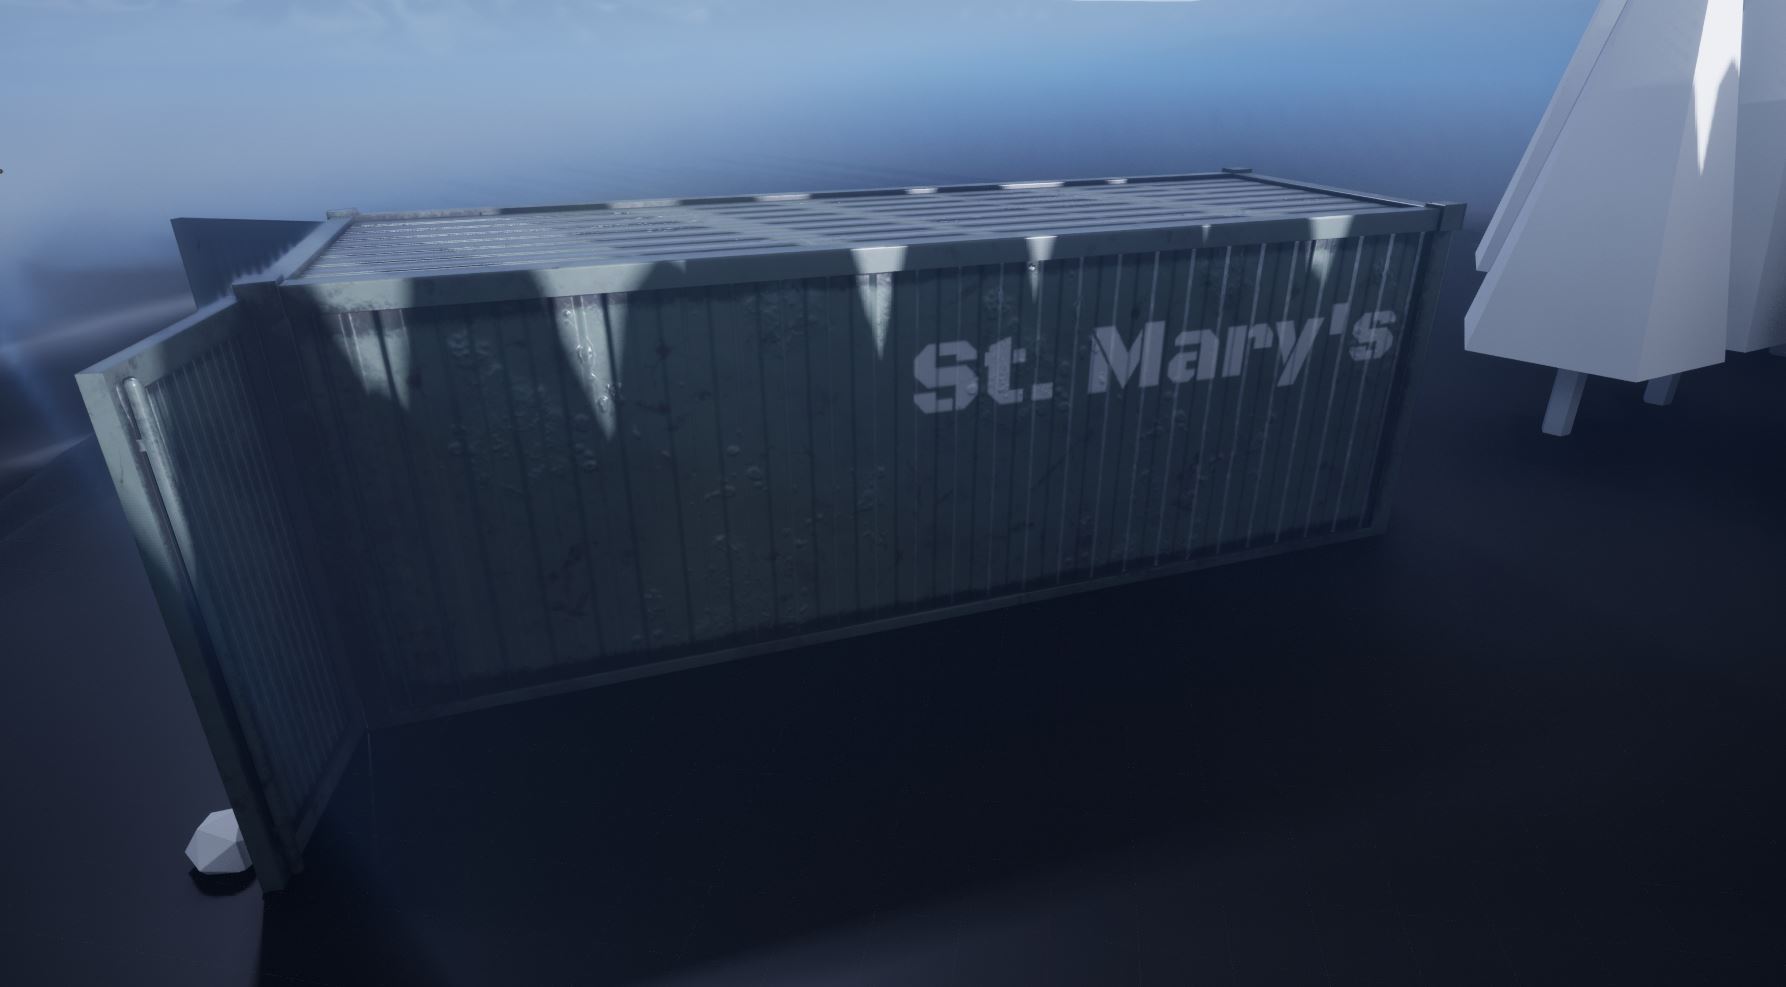
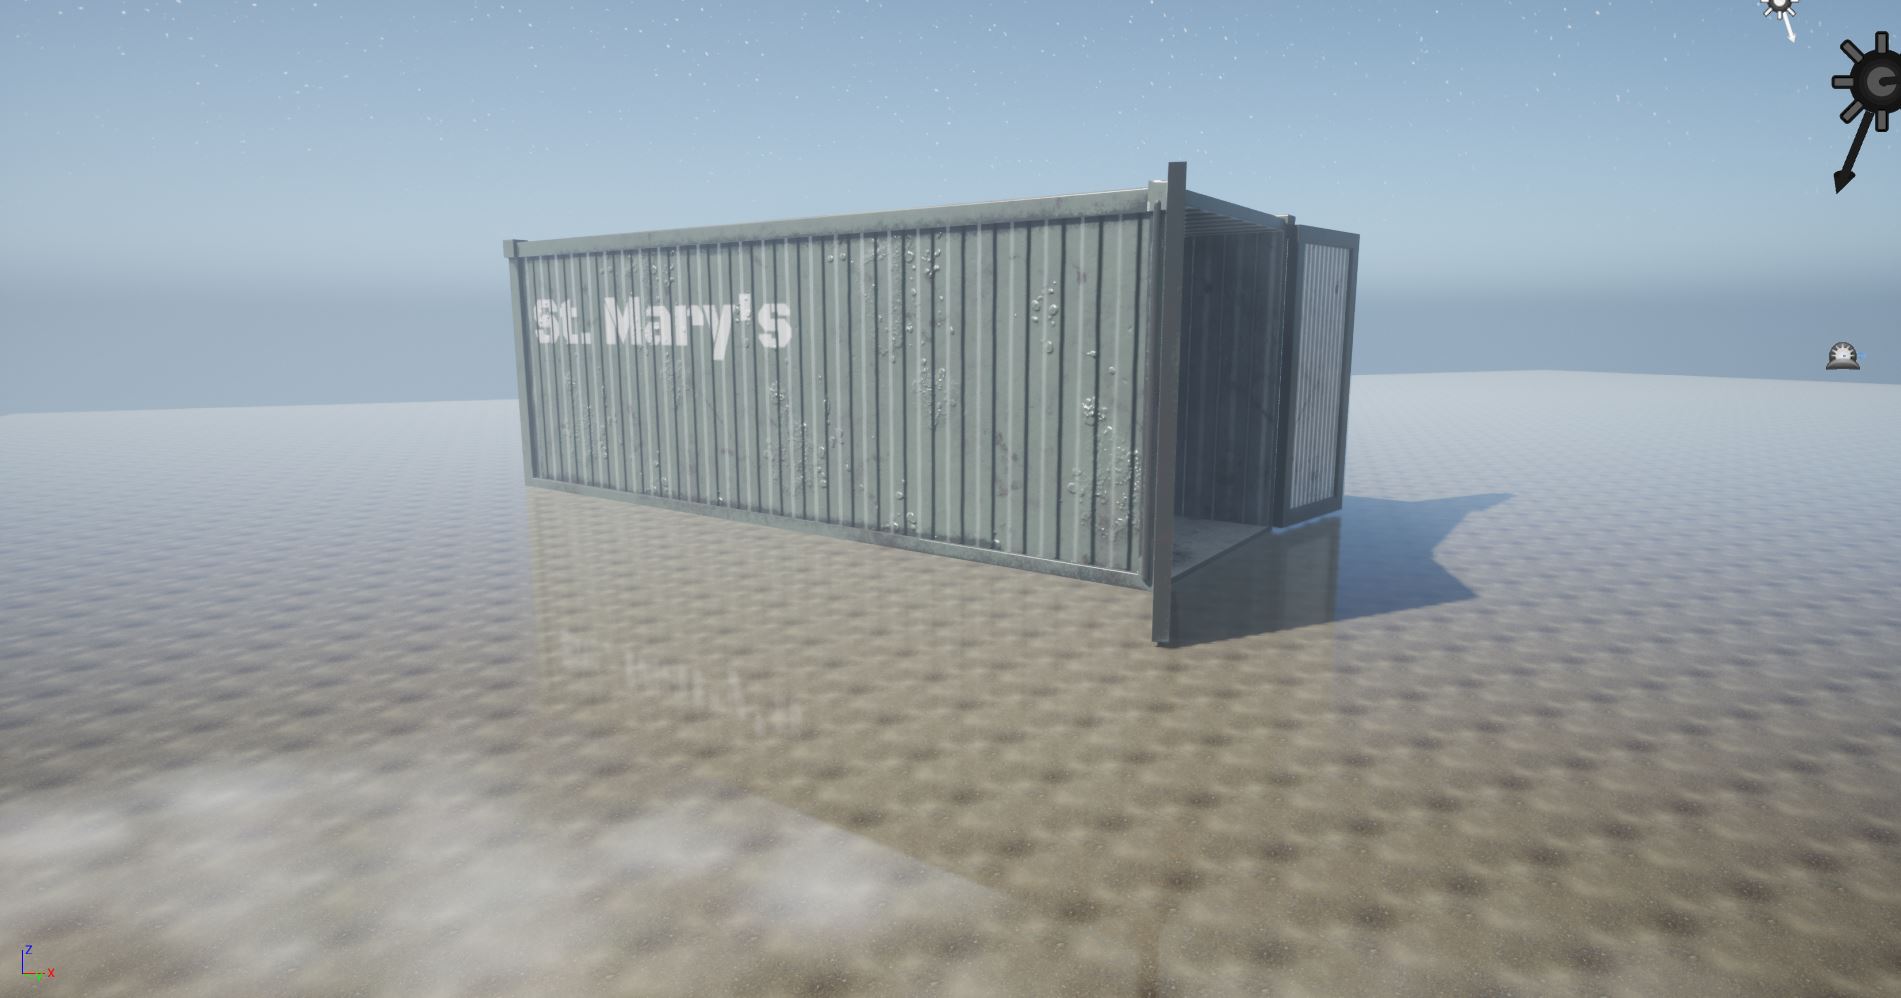
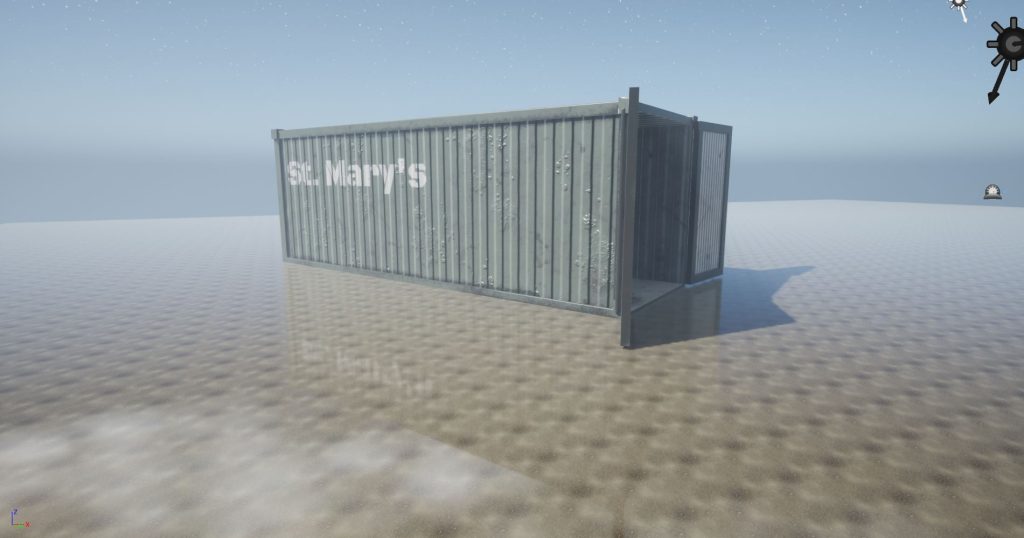
By creating this custom material I have not only successfully created a realistically corrugated model for this project (Fig.19) but I have streamlined the texturing process for any other corrugated models I might need for other projects in the future. Being able to show examples of how I have optimised my workflow with techniques such as this when interviewing for a professional studio will help showcase why I would fit well within a studio environment.
I have tried to make corrugated steel in a previous project. (Fig.21) I did it then by modelling the effect in, which caused issues with the bake of the asset, creating what in my opinion is a less convincing effect and drive up the poly count of the model. Meaning the asset is less optimised for game environments.
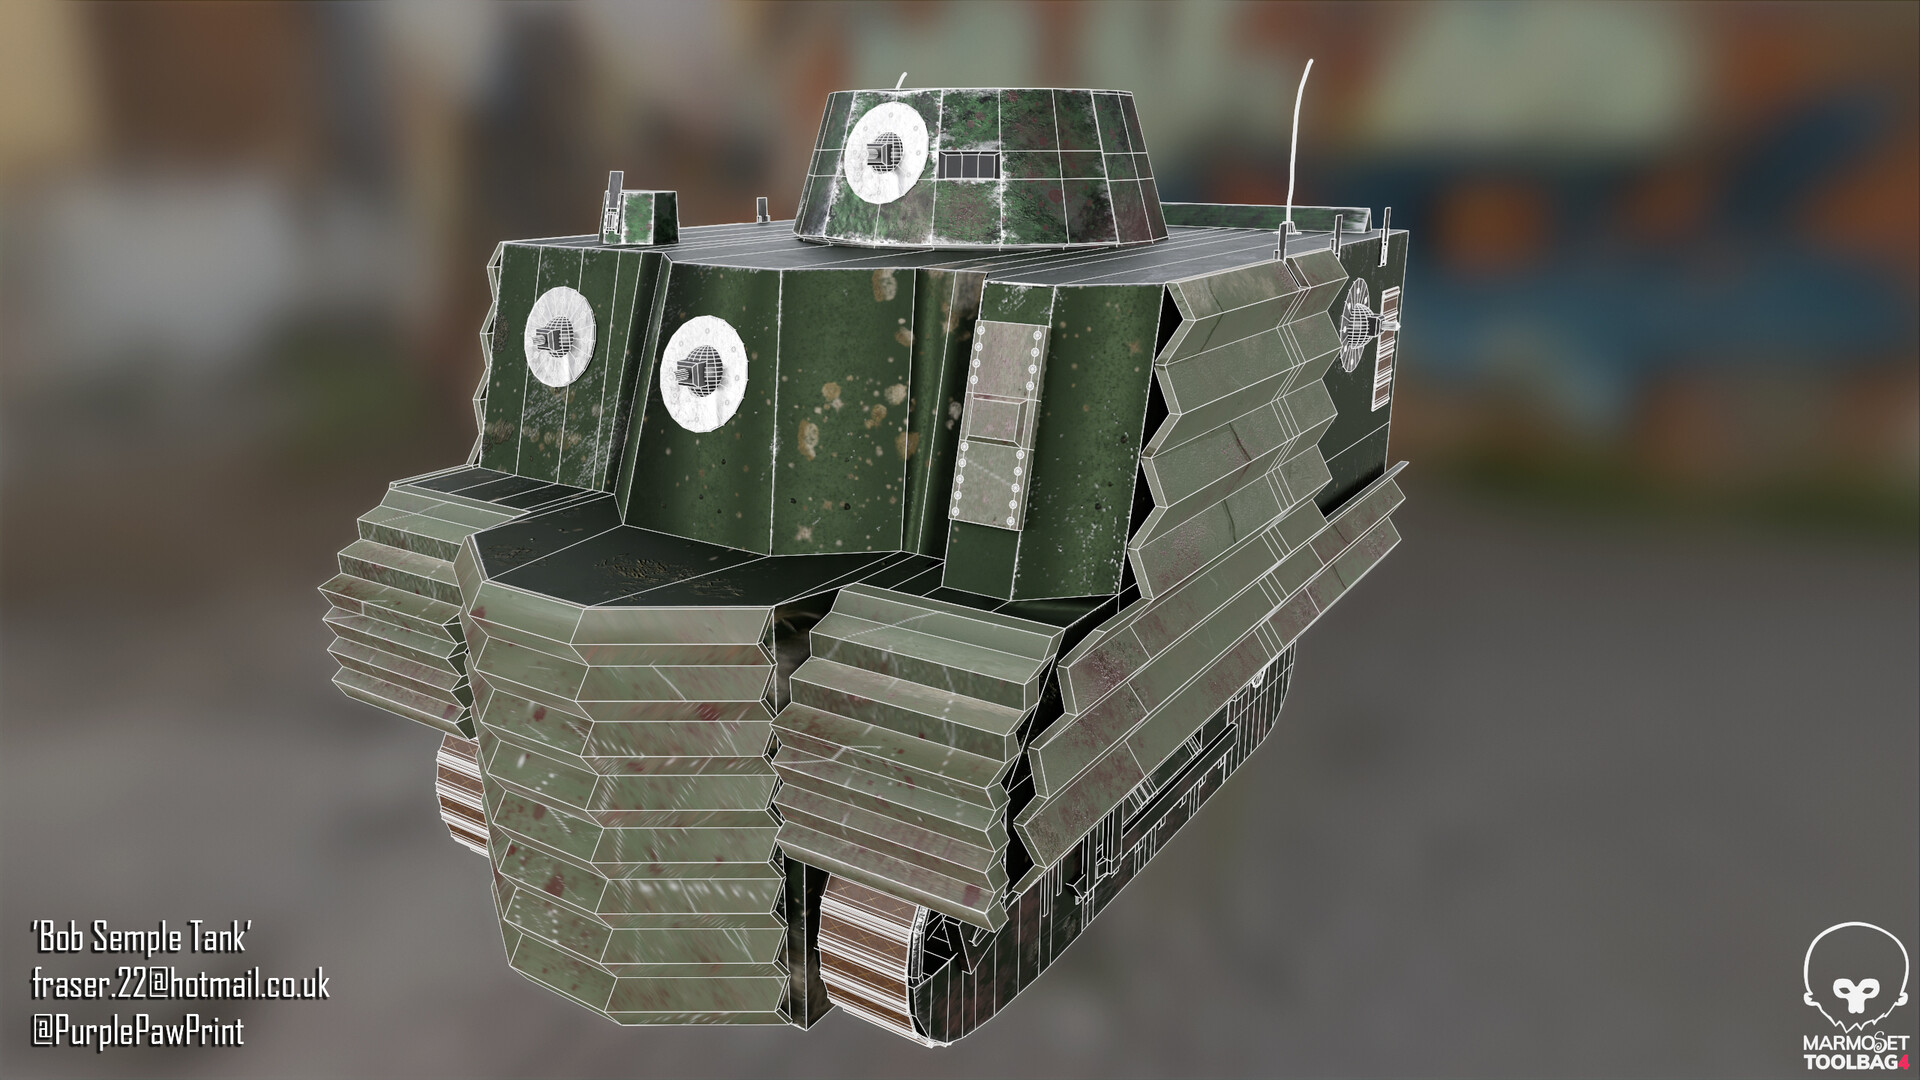
Its important to see how I have developed as an artist in the three years I have studied the craft. With the knowledge of creating custom corrugate materials I am able to make a much more convincing mesh using the effect (Fig.22) If I were to go back and remake the model I attempted previously now I would be able to have a less complicated mesh with a more realistic image by using this new found knowledge.
:: Summary ::
In this post I have detailed how I began to learn the basics of creating materials both for tiling purposes and for use in Substance Painter.
By learning the basics of this software I am able to massively professionalise my workflow and create a environment much closer to the standard required for me to compete in the industry post graduation.
:: References ::
Adobe Substance 3D (2019). ‘Creating your first Substance Material Introduction’ [YouTube Video] Available online: https://www.youtube.com/watch?v=i_q_JaCg7hk&list=PLB0wXHrWAmCwWfVVurGIQO_tMVWCFhnqE&ab_channel=AdobeSubstance3D [Accessed 04/02/2023]
Badtkw,D (2021) ‘Making a Worn Rusty Metal Container with Peeling Paint PBR Material in Substance Designer – Tutorial’ [YouTube Video] Available online: https://www.youtube.com/watch?v=X_EbiJ5_Cq0&t=14s&ab_channel=DanielBadtke [Accessed 06/02/2023]
FlippedNormals Marketplace (2020) ‘What is Substance Designer?’ [YouTube Video] Available online: https://www.youtube.com/watch?v=_KIEVOT1sr8&ab_channel=FlippedNormalsMarketplace [Accessed 06/02/2023]