As discussed at the end of my modelling post I needed to use ZBrush for a couple of my assets. As an environment artist I would be expected to have a level of proficiency with the software and for natural structures such as the stone wall which is the largest hero prop of the scene ZBrush is the only way to create a natural look effectively.
:: Making the basics ::
When I first explored using ZBrush, during the 3D Character Design module in second year I created most of the model in maya, before then moving that mesh across into ZBrush and editing it to create the final look. This is something I can do with the stone wall of course (Fig.1) but I thought it would be nice to experiment now with also creating assets from scratch using ZBrush.
There are two approaches I could take to create the stone wall I need, either I create a dry stone wall which will require the use and editing of many individual primitives (Fig.2) before combining the different subtools to create one mesh and will result in a lot of added geometry to the mesh on faces the viewer will never see. Or I could manipulate straight onto the blockout mesh, which would create more of a cemented stone wall, but would massively help decrease the geometry count of the overall scene.
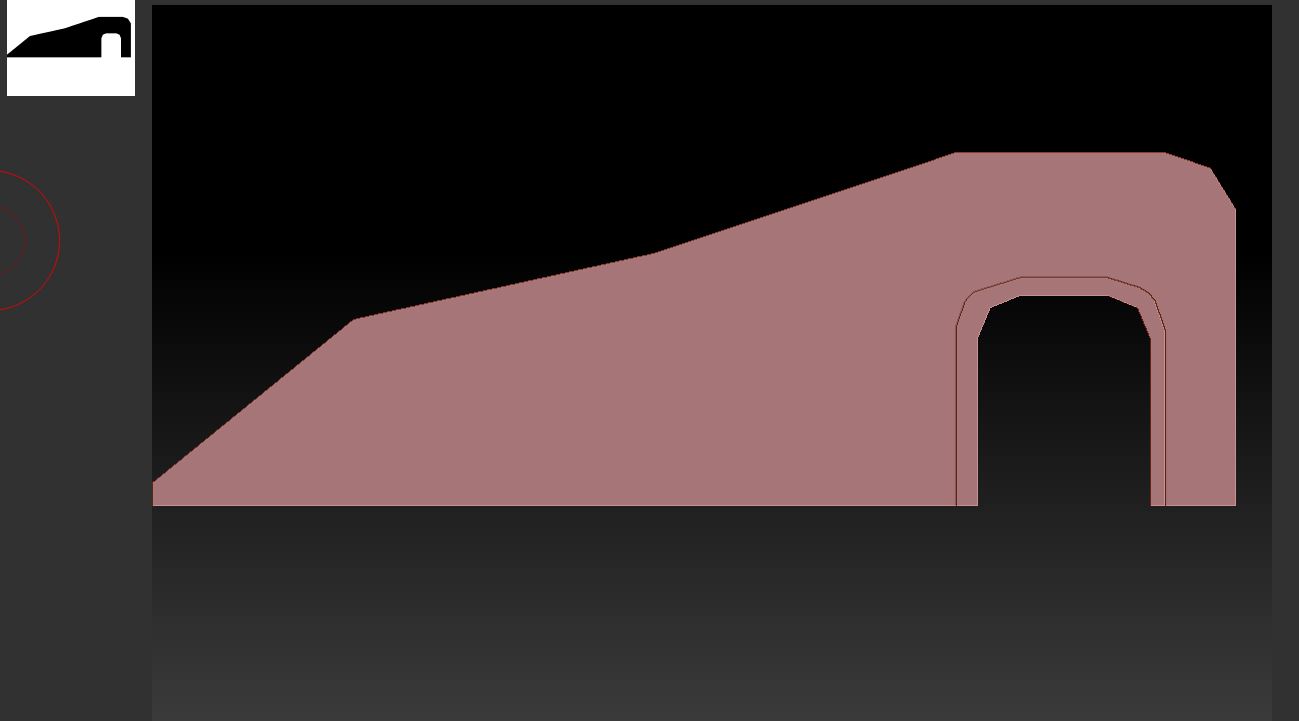
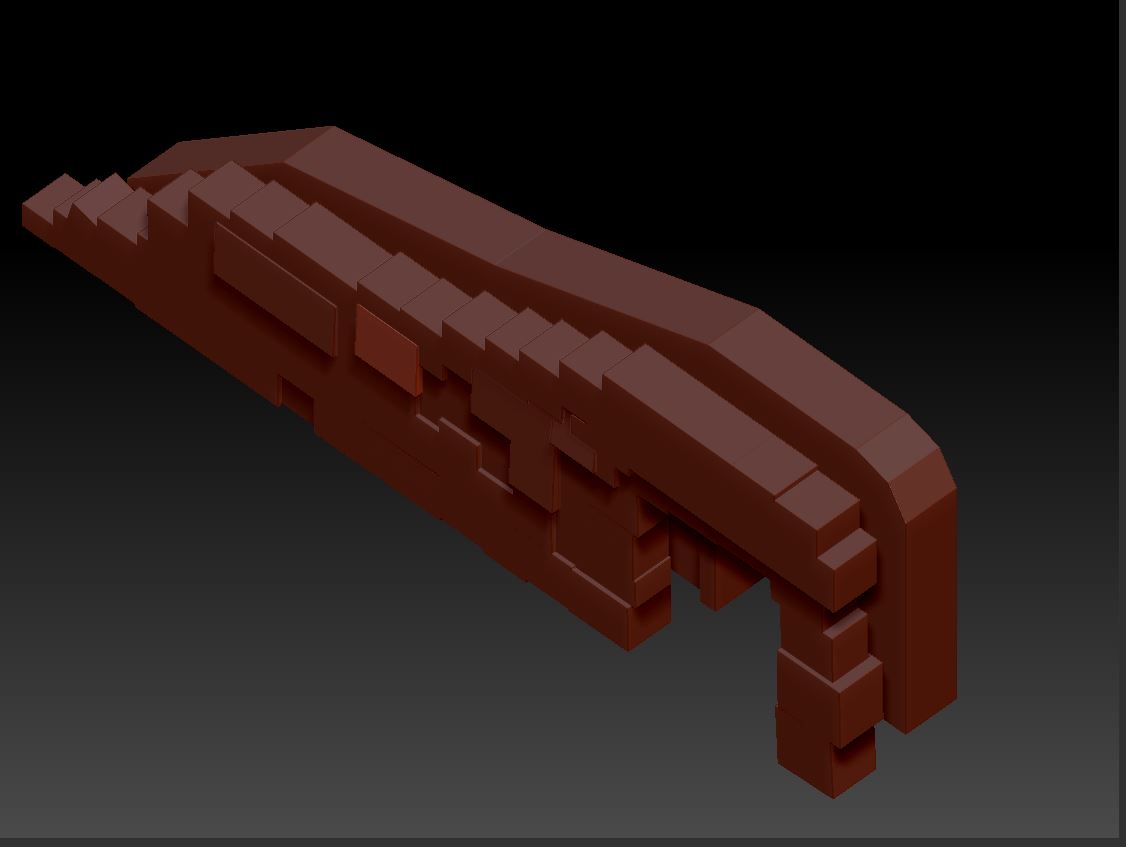

I did intend to create a dry stone wall, with each stone being its own mesh however I quickly found that sharp edges rapidly appeared when breaking up the edges of each piece (Fig.3) and I realised just how high poly the model would be with five out of six faces being unseen by the viewer yet still requiring geometry. So I quickly pivoted to editing straight onto the blockout mesh model (Fig.4)
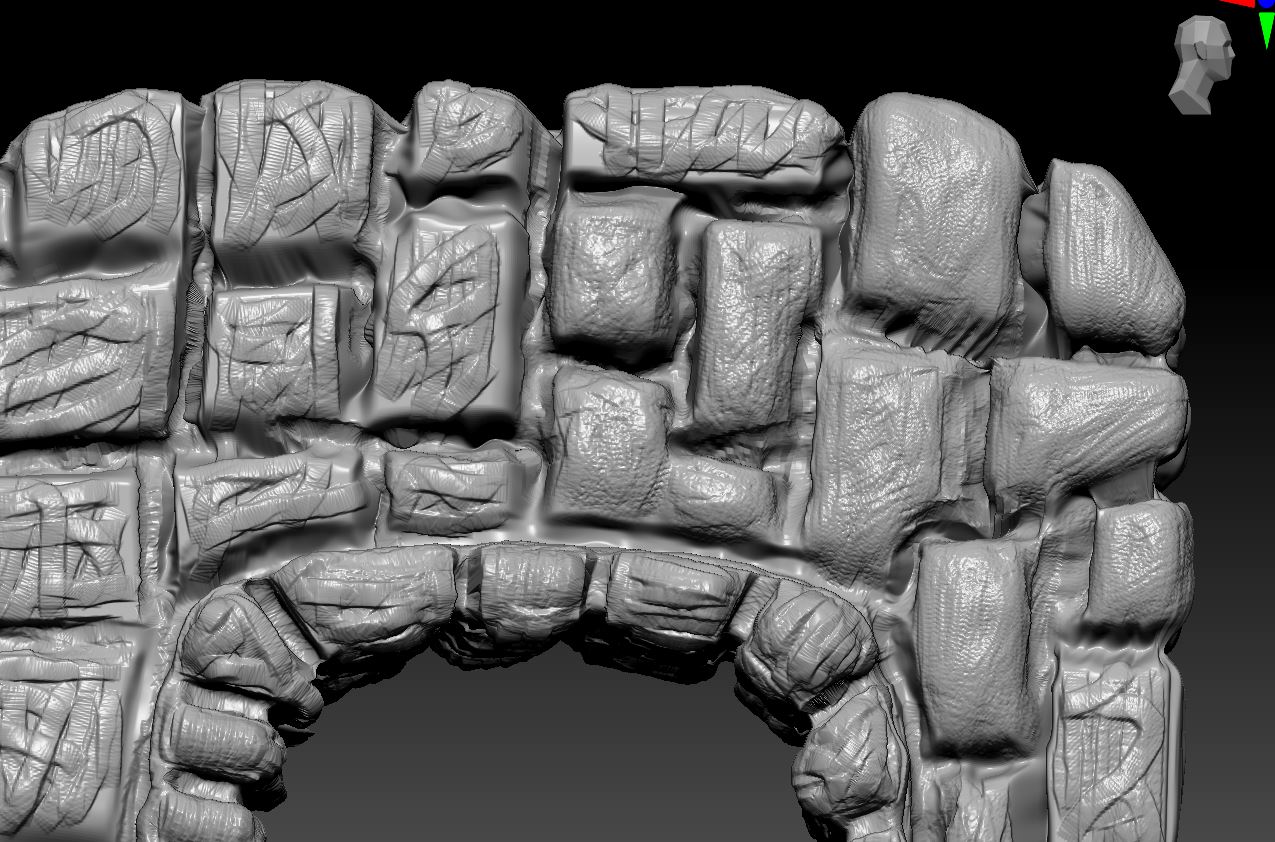
I began by adding in the mortar lines to the stone, taking care to give the natural look I needed (Fig.5) before deepening these grooves to begin to create the final visual of the asset (Fig.5) Then I simply added to the model using the clay build-up brush to give me the final look of the stonework (fig.6)

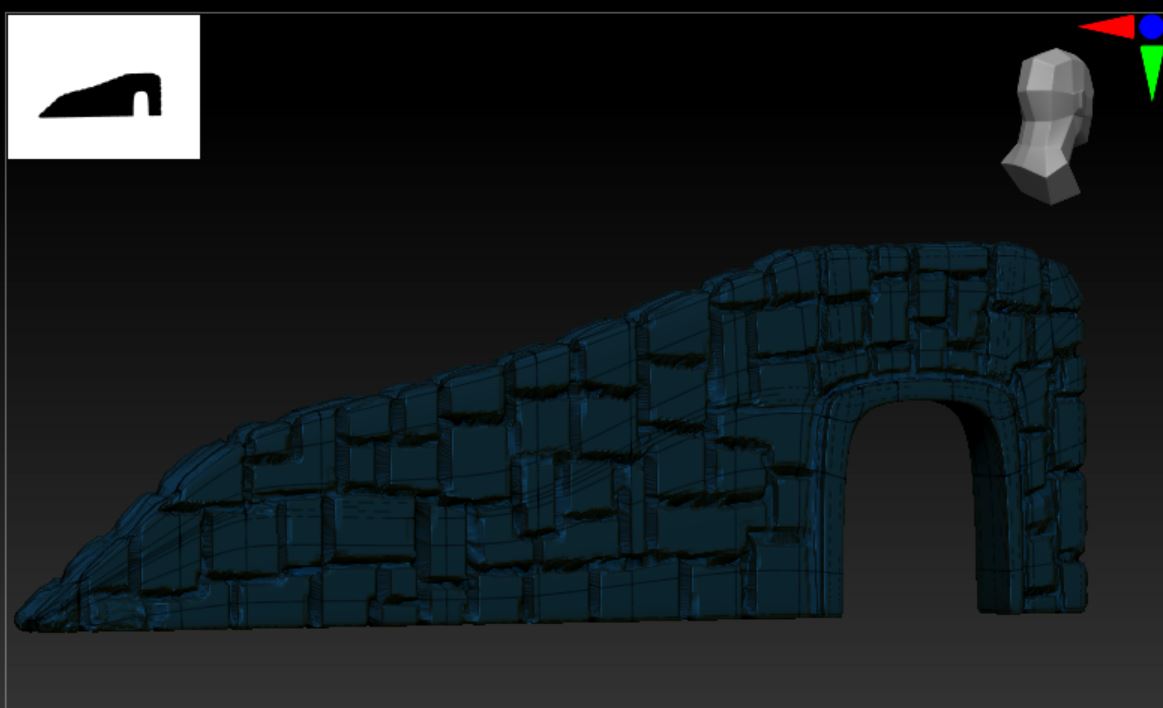


I also made sure to create a visual divide between the stonework of the wall body and the frame which will hold the metal gate (Fig.7) This was doubly important as the gate is a visual hot spot in the final frames of the scene so creating a good-looking frame for this is vital to the overall appearance of the environment as a whole.
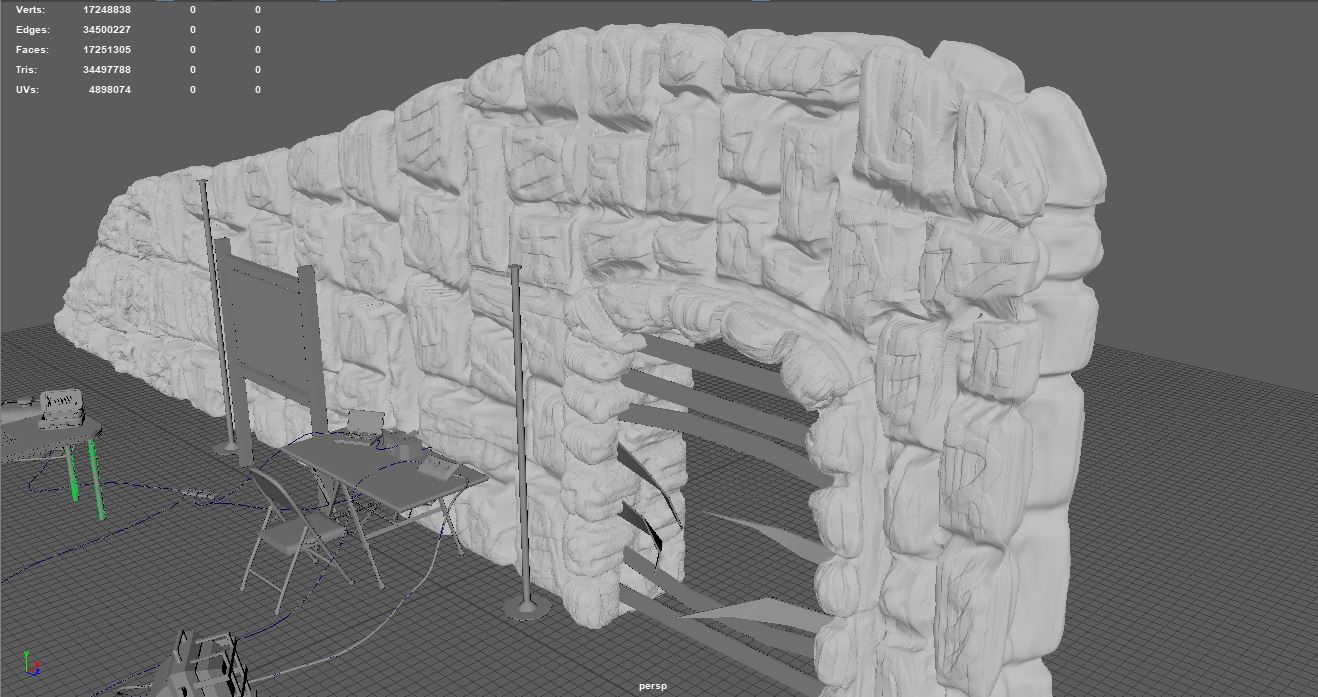
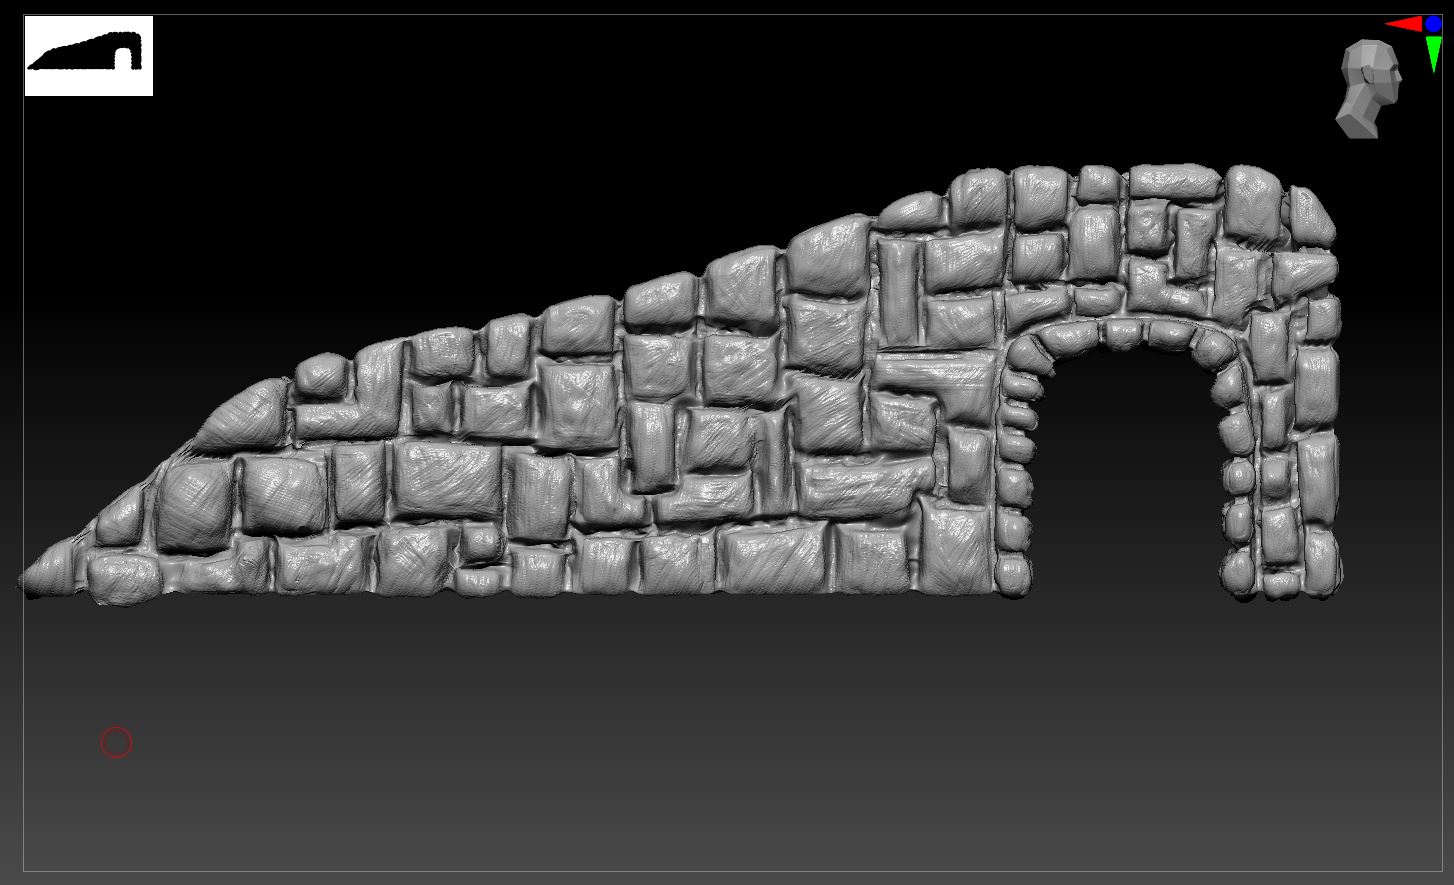
As a final check I brough the decimated mesh back into my maya blockout, this was to help create the various assets to an appropriate scale but also let me see the wall mesh in different lighting. This final check would prove useful as when I brough the model into maya as saw it in a different colour with more neutral lighting I found I really did not like the final look of the rocks.
The rocks really didn’t appear natural to me, but rather like it had been done in a rush. Which really took away from the final image I wanted to create. You could really see each brush stroke on the stone, and while I had created a randomness to the strokes i felt the final look really did appear amateurish. This was something that would simply have to be changed before I could think about texturing the model.
:: Playing with alphas ::
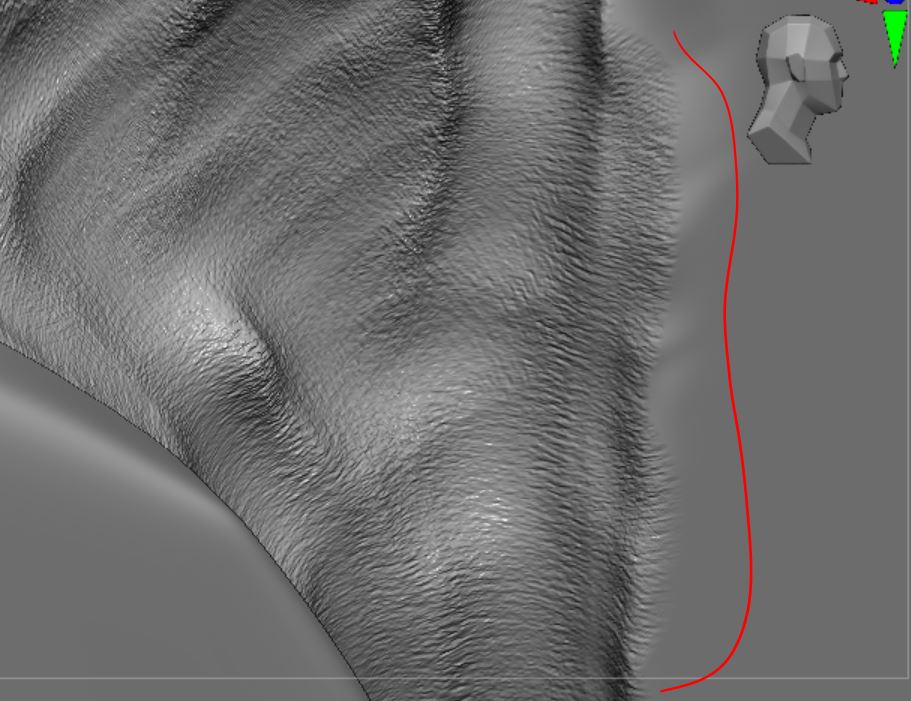
Going back to ZBrush I firstly changed the material of the model to a more neutral grey colouring as I found the different colours I had used previously very difficult to see when looking at details. I then explored different brushes and found one which gave a nice rough finish for the mortar lines (Fig.9) which while this is not something you will likely see in the final frames I still felt it helped to create a much more professional looking asset than I had previously.
I also changed the alpha on the hash brush I was using which gave a very nice roughness to the finish of the rock face (Fig.10). I felt immediately gratified when I did this as the difference between the new rock faces and the old was very clear as I edited (Fig.11)

Taking the time to go back and edit the model further I feel really helped to create a more appealing final visual. The rocks look rough and natural as opposed to the obvious brushstrokes I had previously, and I could now move onto texturing the wall along with the different maya assets before porting all the assets into the environment in Unreal and creating the landscape materials.
:: Summary ::
In this post I have discussed how I implemented ZBrush into my environment to create a stone wall. With the different approaches I took and why I decided to change the approach I was taking. Also I discuss how the initial result I got was not satisfactory and how I rectified this using different brushes and experimenting with different alphas. I can now move onto texturing the assets, but before I do that I will need to create the landscape for the environment which will include create a base material using Substance Designer, a software I have never used before.