Now I have explored lighting in unreal engine I need to come to grips with using the game engine as a film creating software. I have only ever considered unreal engine as a game engine software previously however with this production I am able to approach the engine as a film making tool instead. A large difference here is using Unreal Engine in a cinematic way, and that involve much more detailed exploration of camera work than I have explored previously.
:: Camera Experimentation ::
Below I have demonstrated the various camera uses I experimented with in an effort to become more comfortable using Unreal Engine as a film making software. Before this module I have only seen Unreal Engine as a tool to place assets I have created within, which doesn’t require the use of any cinematic cameras (only a player camera) so exploring the various tools available to me in the software is vital if I am to successfully create a cinematic scene.
:: Level Sequencer ::
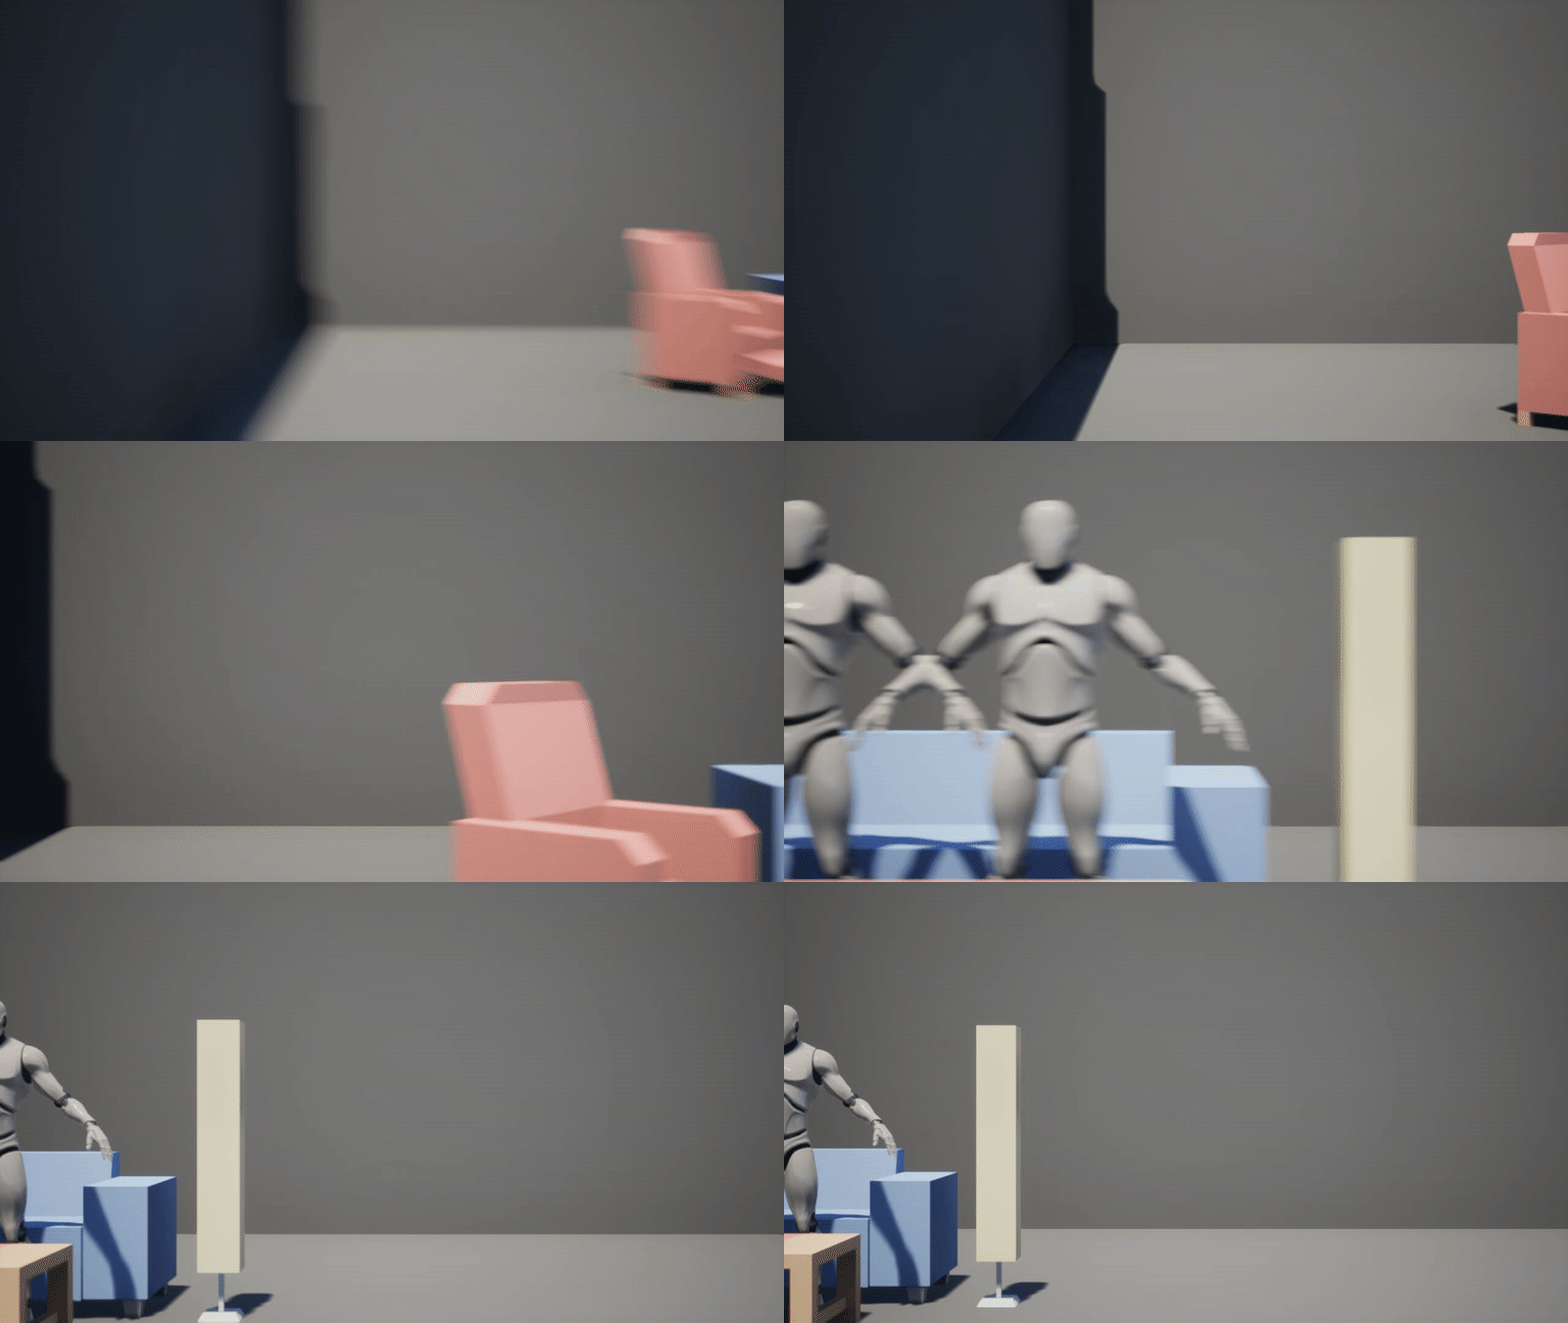
The level sequencer in Unreal Engine is a powerful tool. It not only allows you to add cameras set in the environment into a sequence but has various camera tools available without the use of cinematic rails or rigs (Fig.1). This allows the user to create rudimentary animations using solely a cinematic camera with movements dictated in the 2D sequencer UI, similar to that found in Adobe Premier Pro.

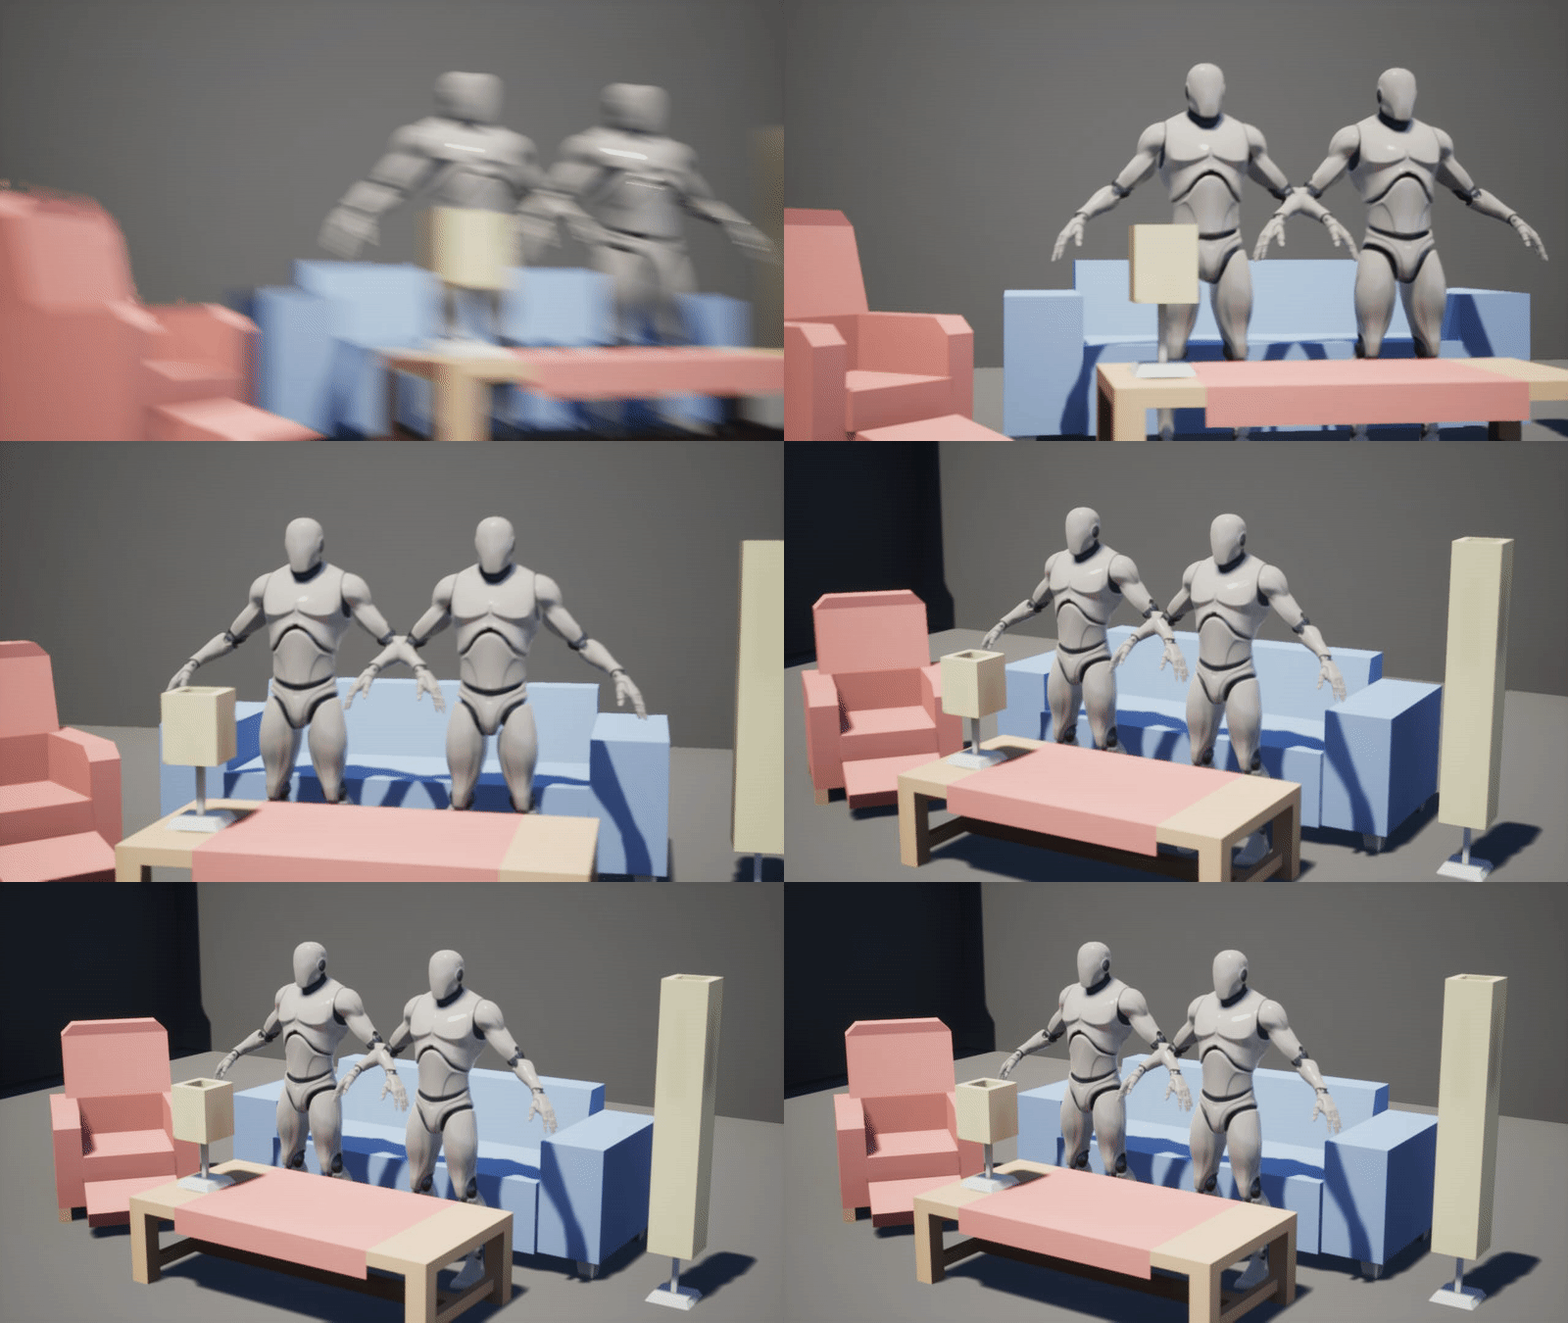
This allows you to create animated shots easily and quickly (Fig.2) however this method of creating shots doesn’t give as much control over certain camera movements as I would like, and doesn’t really use Unreal Engine to its full potential. For my short film I should be able to create a single level sequence, with all the various shots and visual effects being rendered at once. Creating a single finished video file at the end, but by using the level sequencer with such basic movements and then importing another camera for each shot I will quickly create a cluttered workspace and run the risk of the camera movements looking amateurish.
:: Camera Rail, Crane & Shake ::
I wanted to explore the more advanced techniques Unreal Engine offers to create cinematic renders. I used the below video (3D Education with JC, 2022) to explore three different camera methods that I can then use in my final piece to hopefully great effect.
By getting to grips with these techniques now I can think how I will go about gathering the shots I dictated in my storyboards while I place assets and craft the lighting for my level.
:: Rig Rail ::
A large part of my scene is a tracking shot, using movement both in the camera and the subject. So learning how to effectively use the rig trail tool is vital if I am going to make for smooth camera movements. With having both a moving camera and subject there is a risk of the visual becoming disjointed and hard to follow. So learning to make smooth rails is a must for my project.
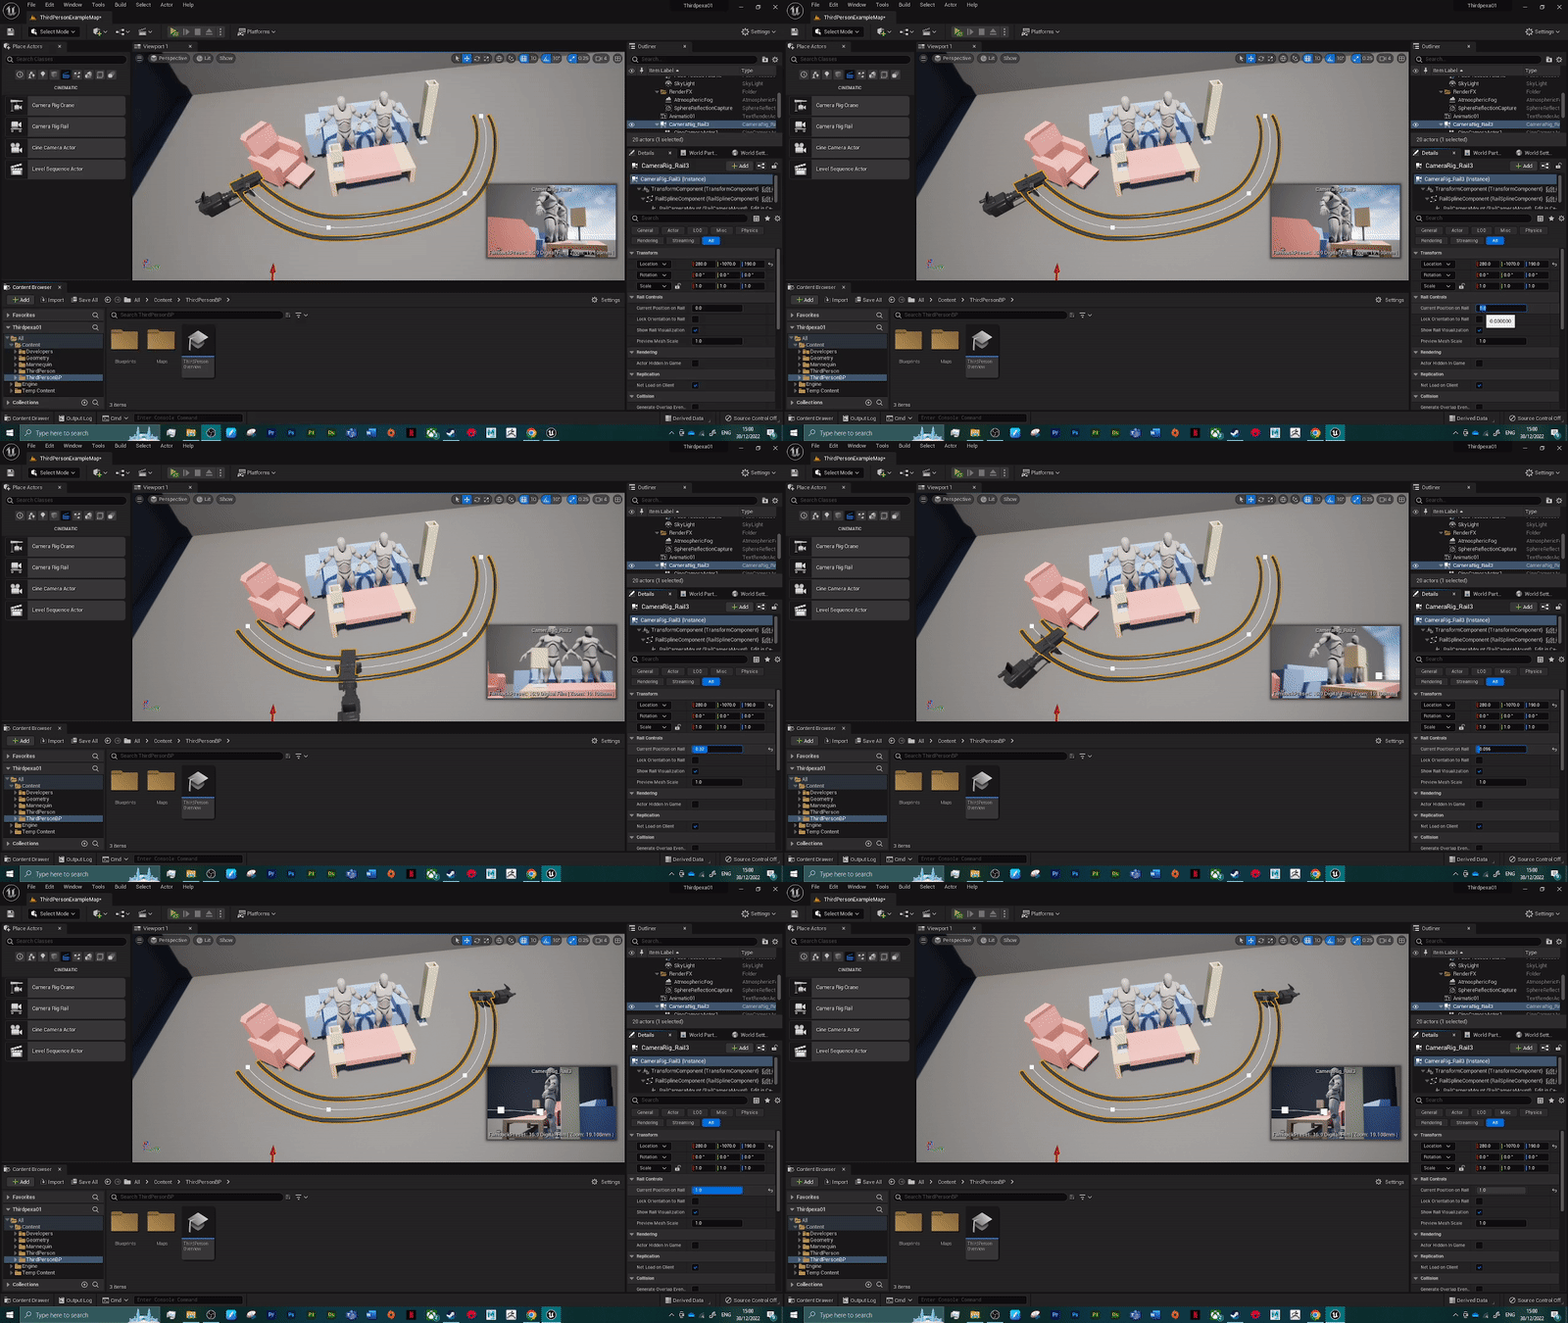
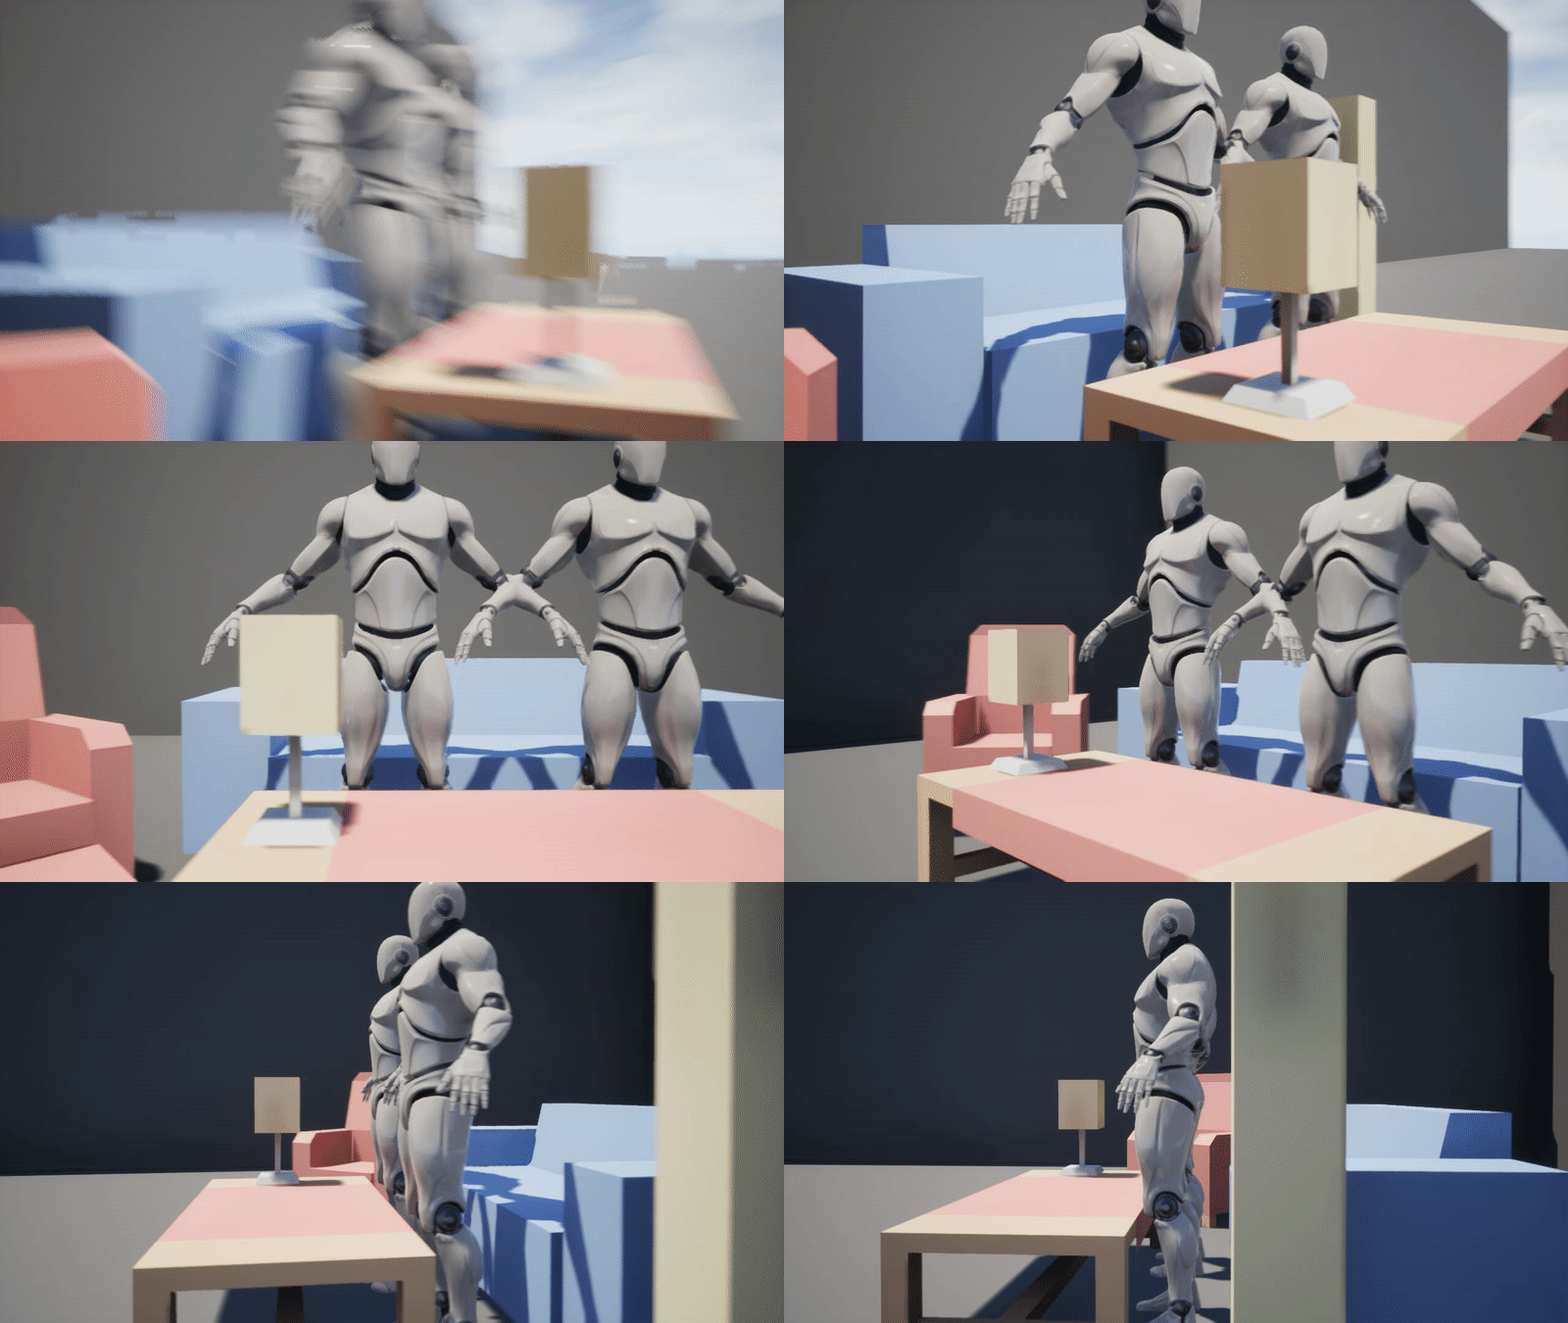
It will prove interesting creating rails in the air for my scene, as the subject I am going to follow is a bird in flight the rails will have to follow above and to the side of the character. This will require some fine tuning to not create a nauseating visual but by using rig rails well I should be able to keep the movements on screen smooth enough for the viewer to be able to follow along easily.
:: Rig Crane ::
I don’t imagine I will be using the rig crane as much as I will be the rig rail, simply due to the nature of my scene being a tracking shot. But I do hope to use the crane in order to add some variety to the shots of the piece.
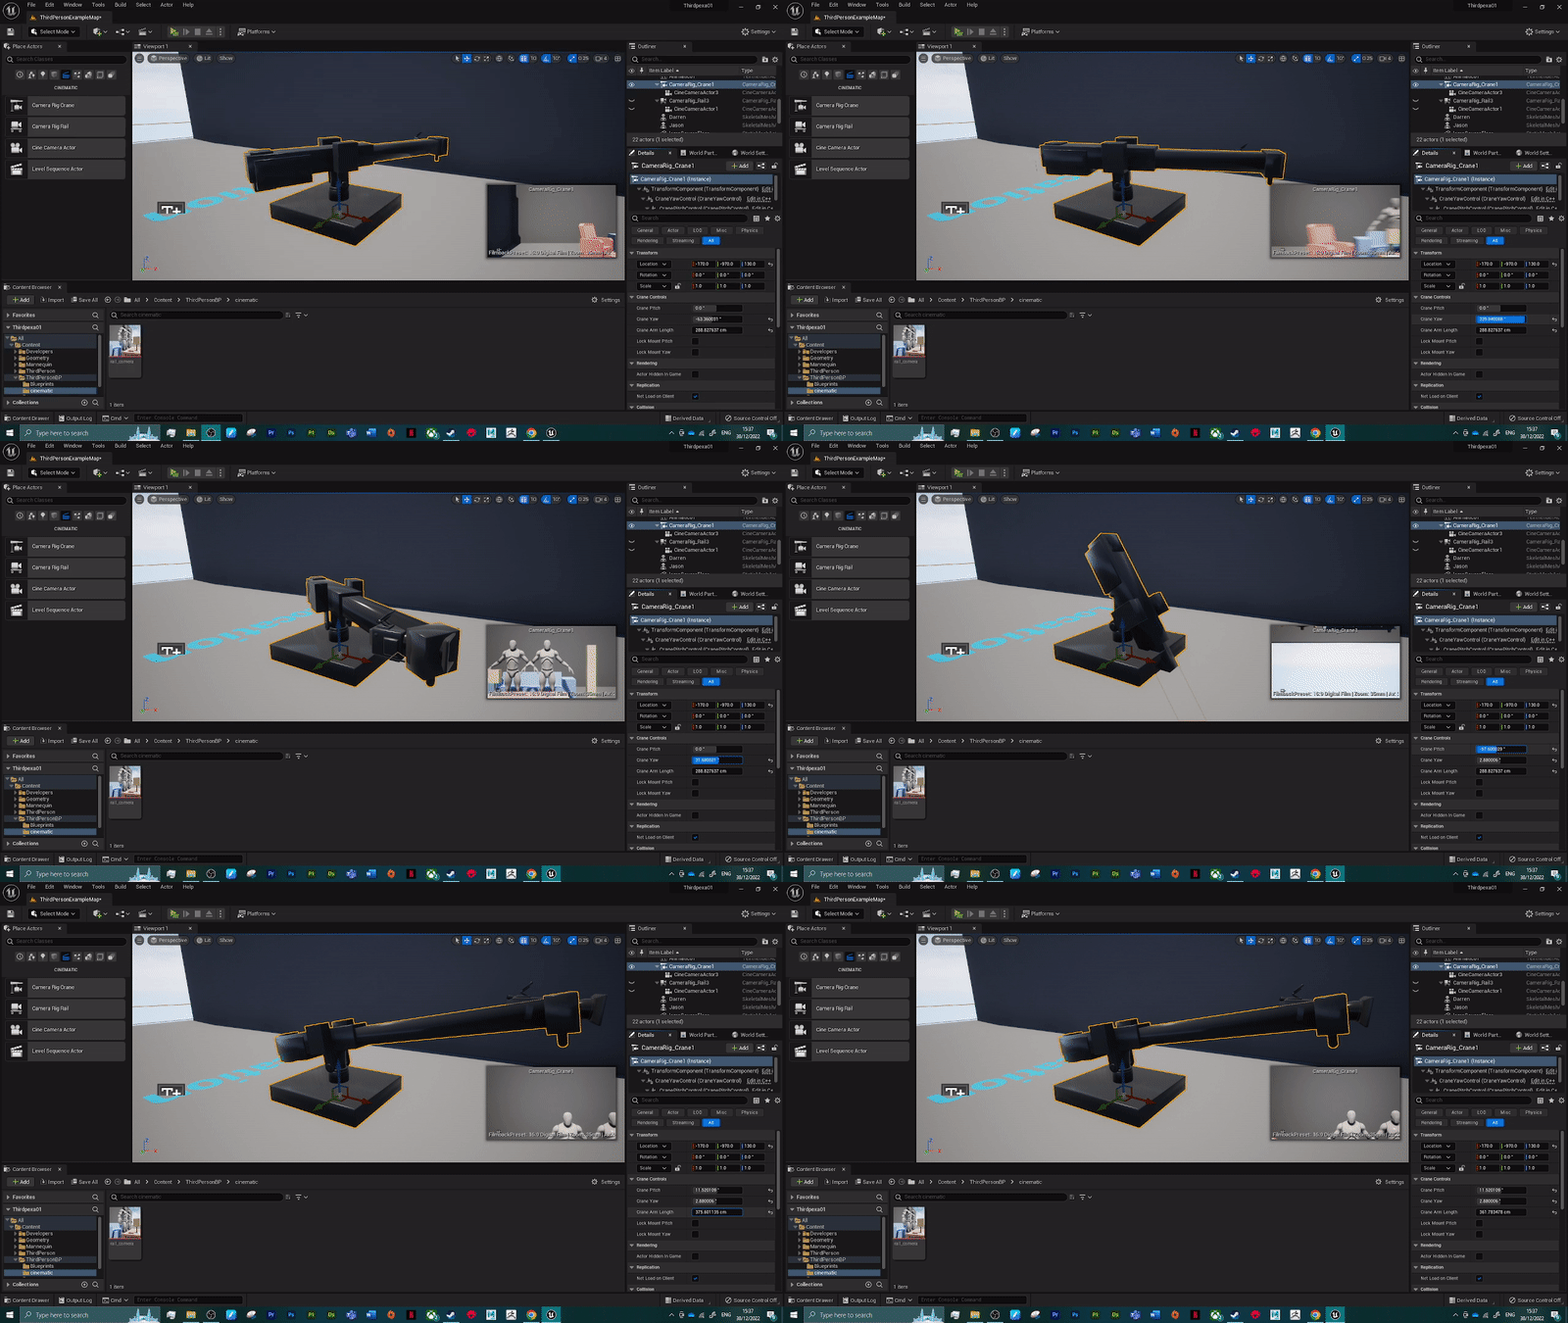
The crane rig might not be able to follow the movements of the birds as easily as a rail would but for the beginning and end of the piece, where the bird takes flight and lands the crane rig could allow me to experiment with unusual camera shots.
:: Camera Shake ::
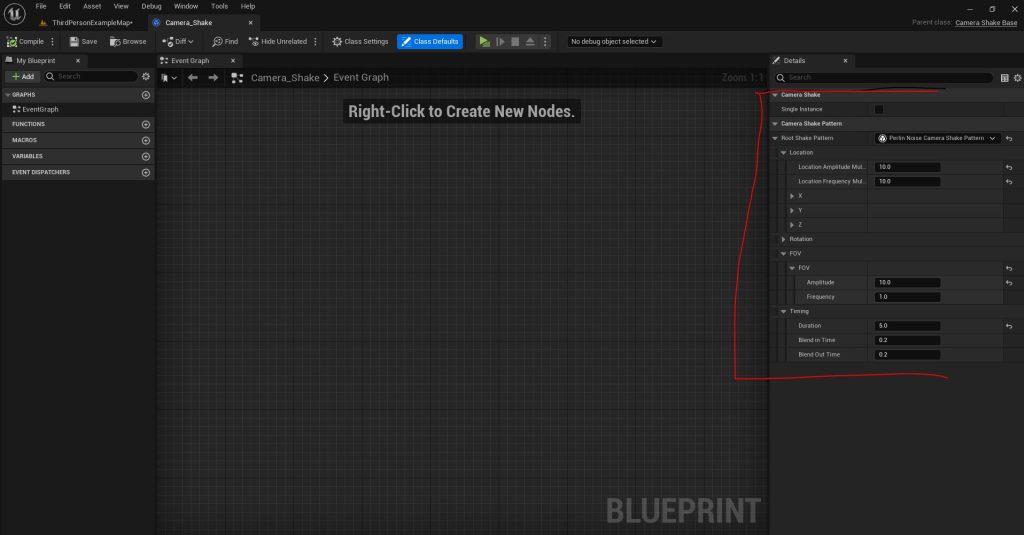
The last camera method I experimented with was creating a camera shake. This involved creating a very basic blueprint (Fig.5) which only used data inputs to create a camera shake which I can use directly in my scene. The blueprint allows me to experiment with both the speed and velocity of the camera shake as well as alter how the focal point of the shot changes during the shaking.
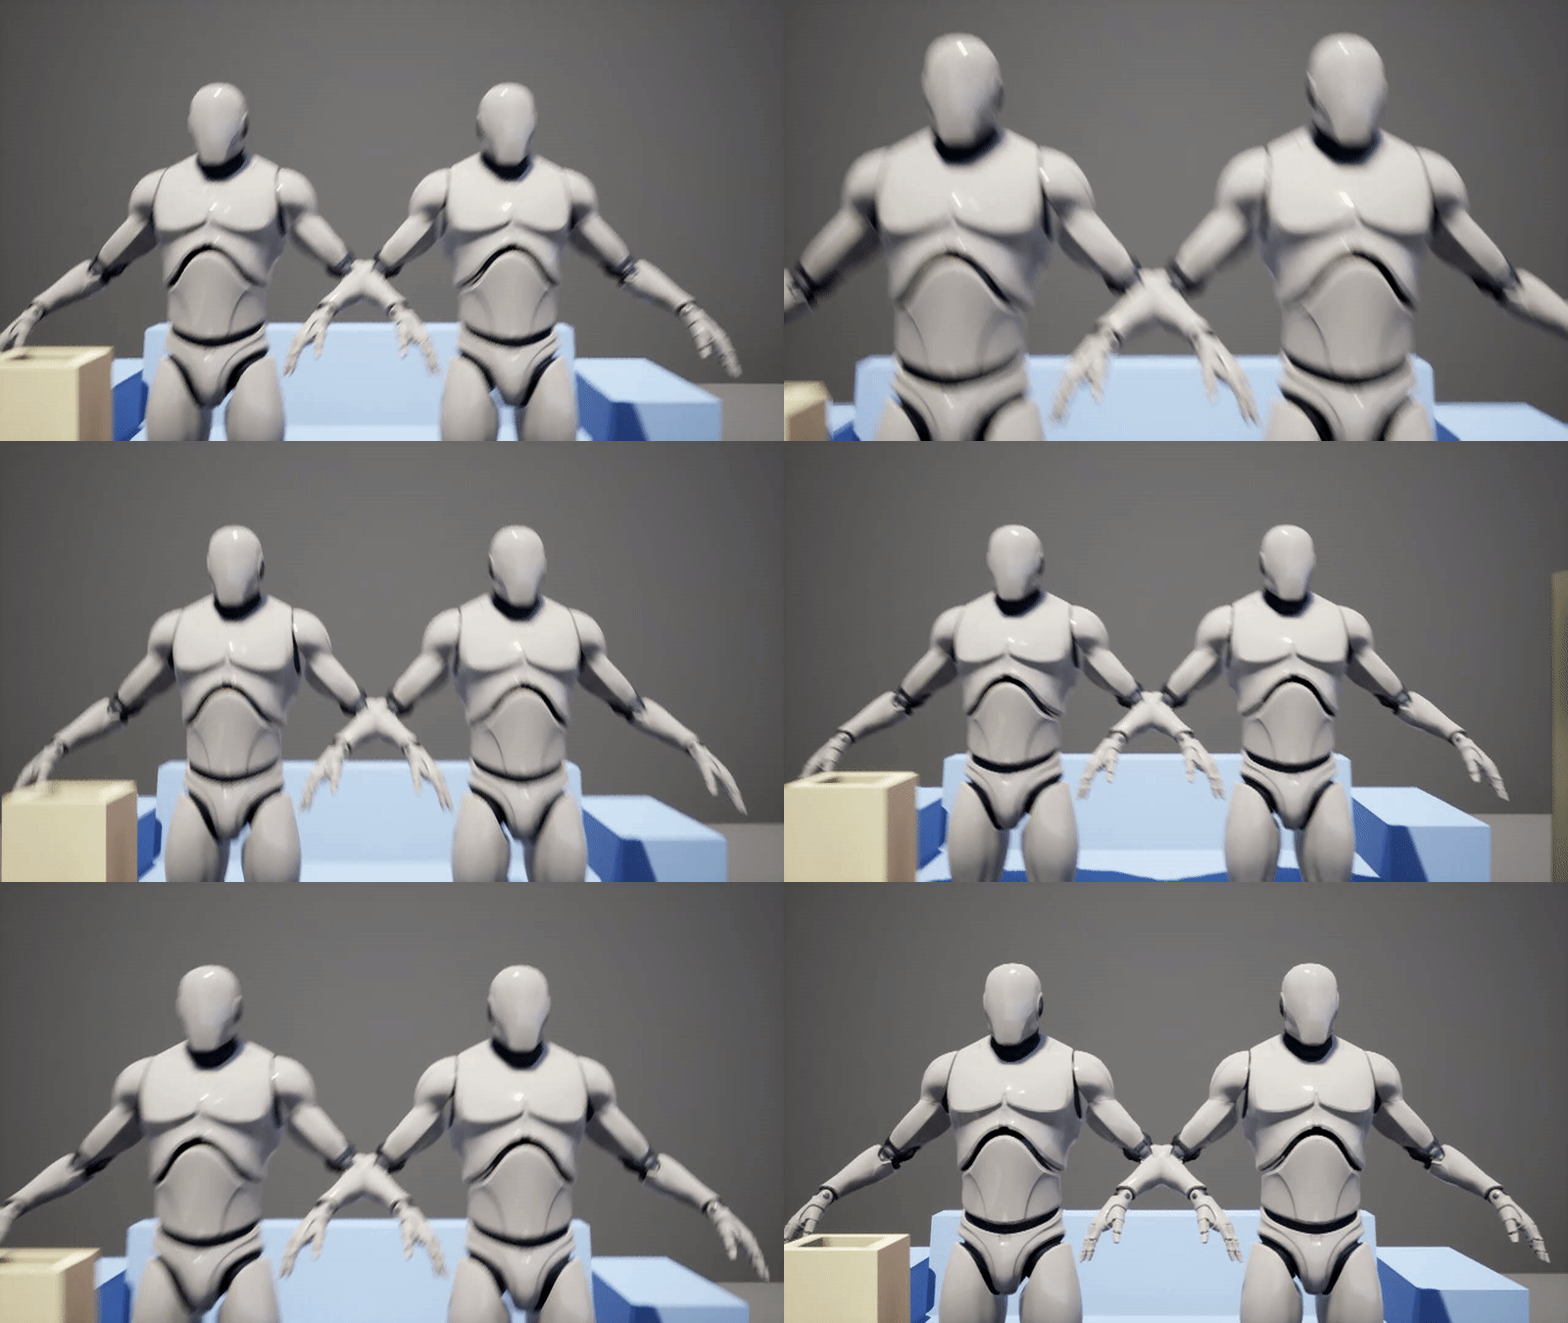
Part of my scene has large rocks impacting a castle wall, which then in turn blows the bird character off course. By using a camera shake on the shots where the rocks impact the wall I can emphasis the force of the impact. Making the bird being blow of course visually clear.
:: Summary ::
With this post I have experiment with both the level sequencer and the various cinematic camera tools available within Unreal Engine. Thus allowing me to understand from a technical standpoint how I will go about creating the shots I created in my storyboard. Now that I have a greater understanding of both how to light the scene I create and then capture the shots within the environment I require I can move onto actually creating the scene I am going to film.
:: References ::
3D Education with JC (2022). ‘3 Cinematic Camera Tools in Unreal Engine 5 – Rail, Crane, and Shake.’ [YouTube Video] Available online: https://www.youtube.com/watch?v=XwZE0PiCuas&ab_channel=3DEducationwithJC [Accessed 30/12/2022]