:: Research ::
Before I can animate my character, I need to rig my character. This is the most important step of the animation process as a polished rig is required for me to create any quality animations
There is an automatic rigging feature within maya, But much like the auto UV unwrap tool you can’t rely on it to create a quality result. So I had to understand how to rig a character manually.
:: Development ::
:: Point Placement ::
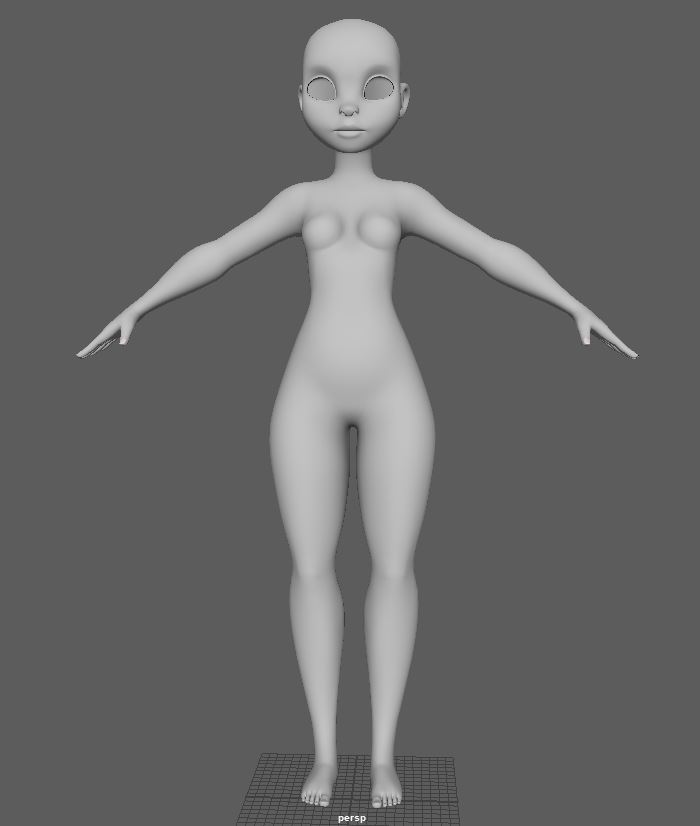
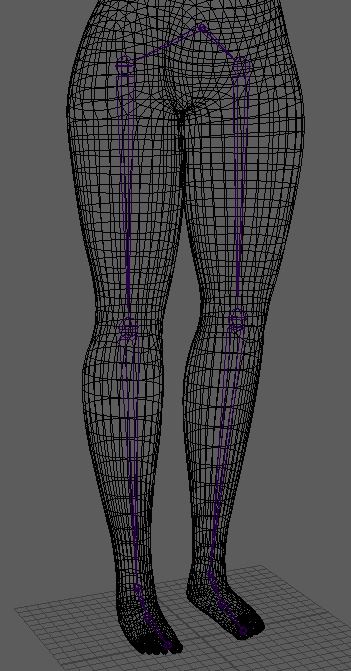
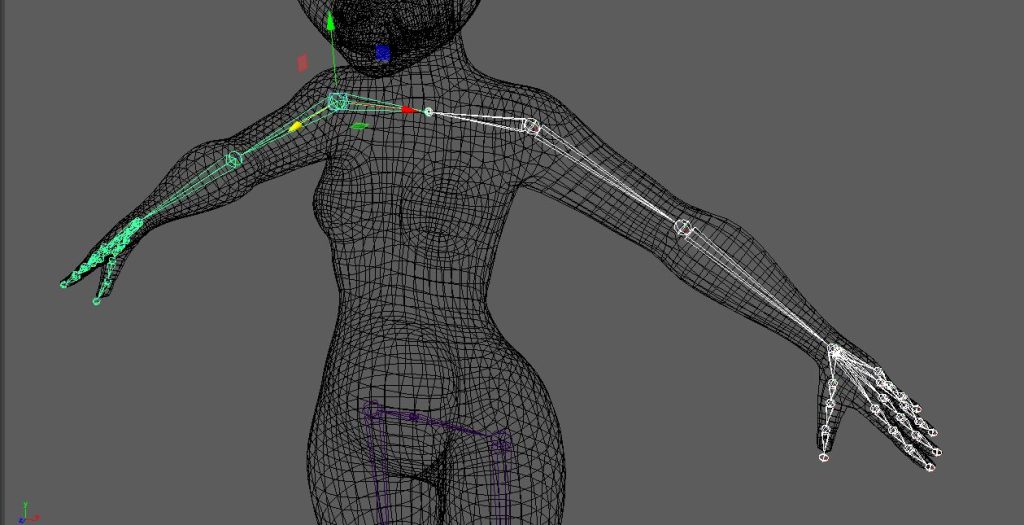
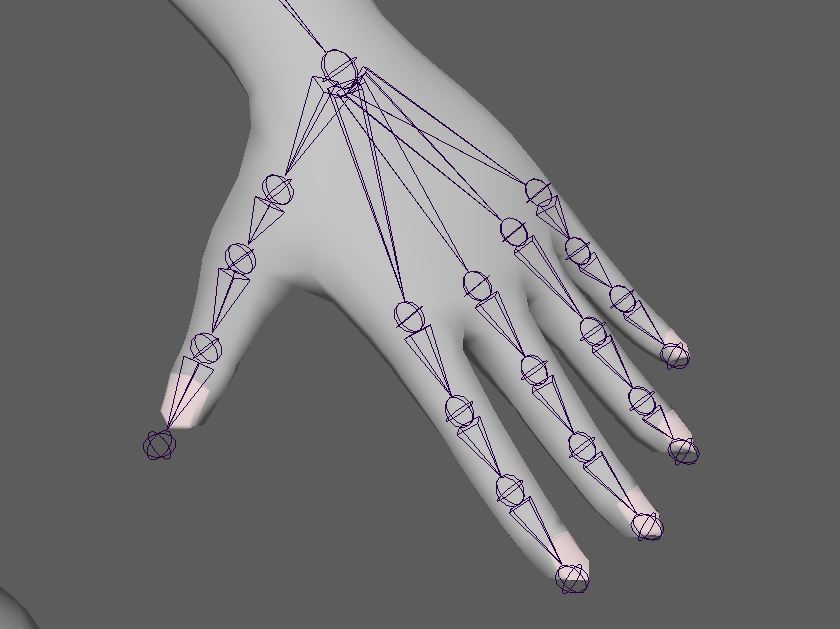
With my character in place (Fig.1) I could place my skeleton joints, (Fig.2, 3), taking care to place enough joints in the hands to make a fist (Fig.4). Before combining them all into one central skeleton (Fig.5)
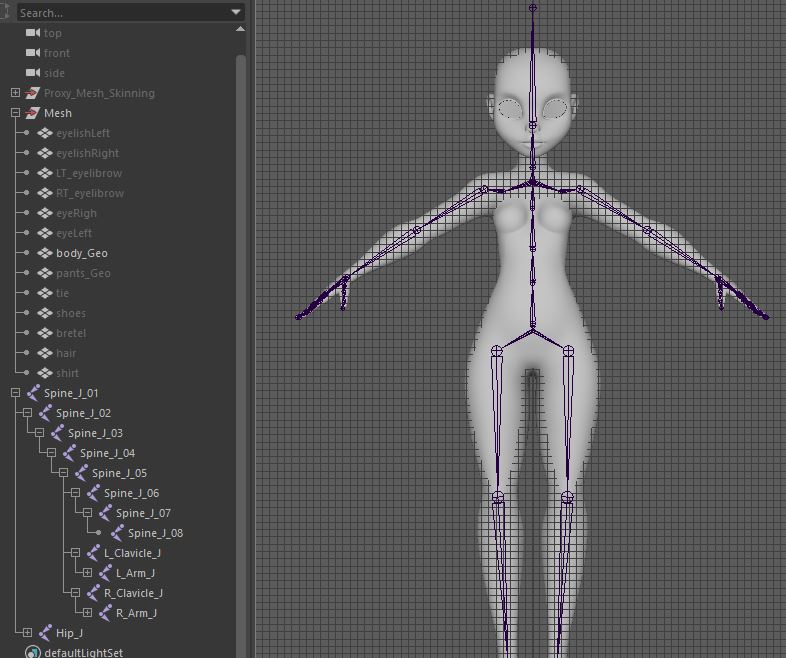
It was also important to create a unified outliner, to help me later in creating handles and editable attributes.
:: Joint Orientation & IK Handle creation ::
Next, I orientated my joints (Fig.6). With the X axis following along the joint (Fig.7). After which I could create IK handles for the arms and legs (Fig.8). Which allowed me to move the characters joints (Fig.9).
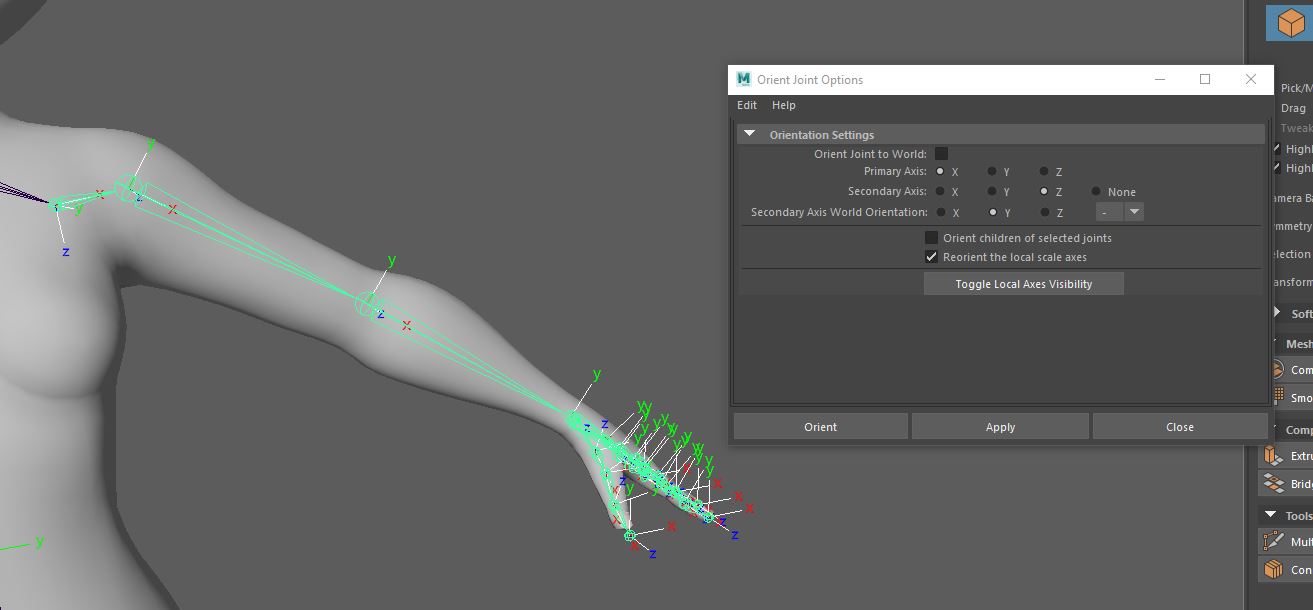
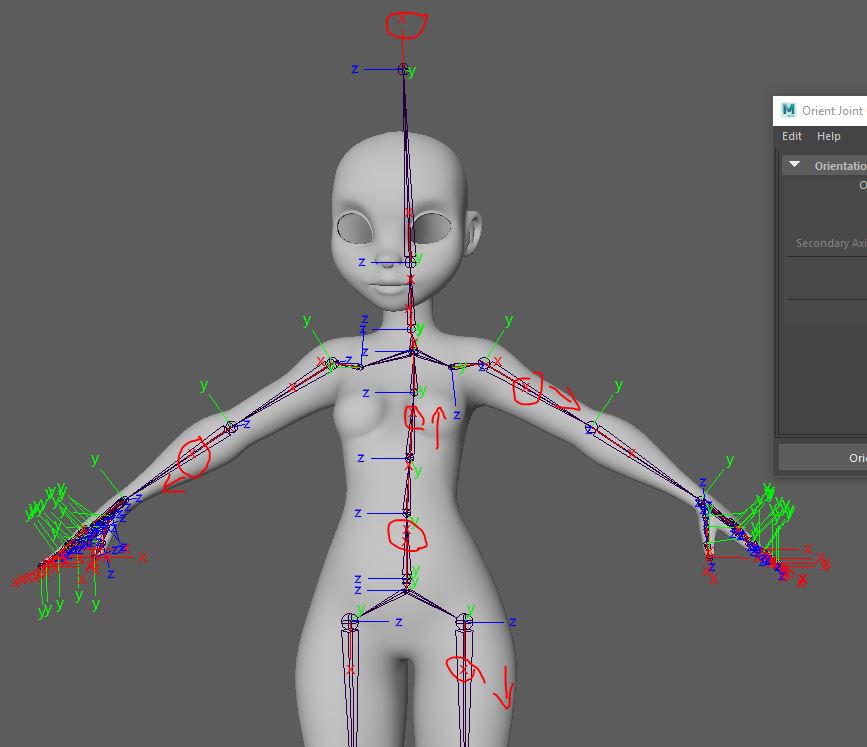
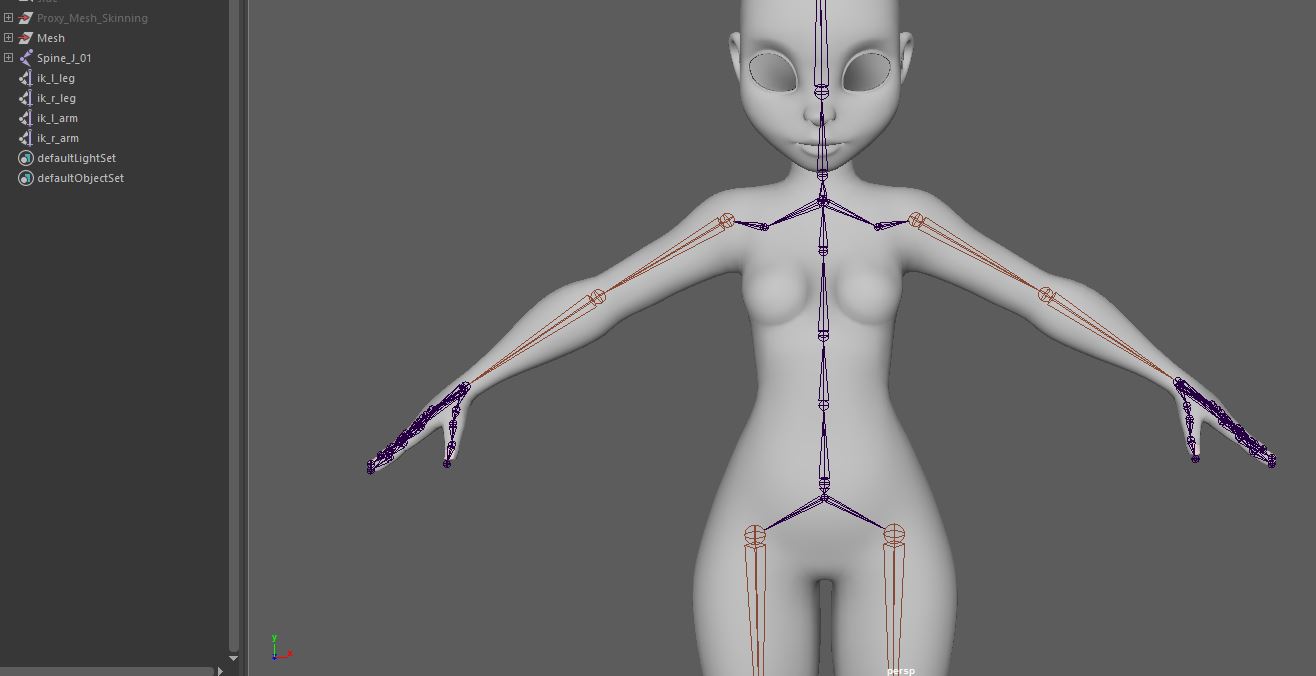
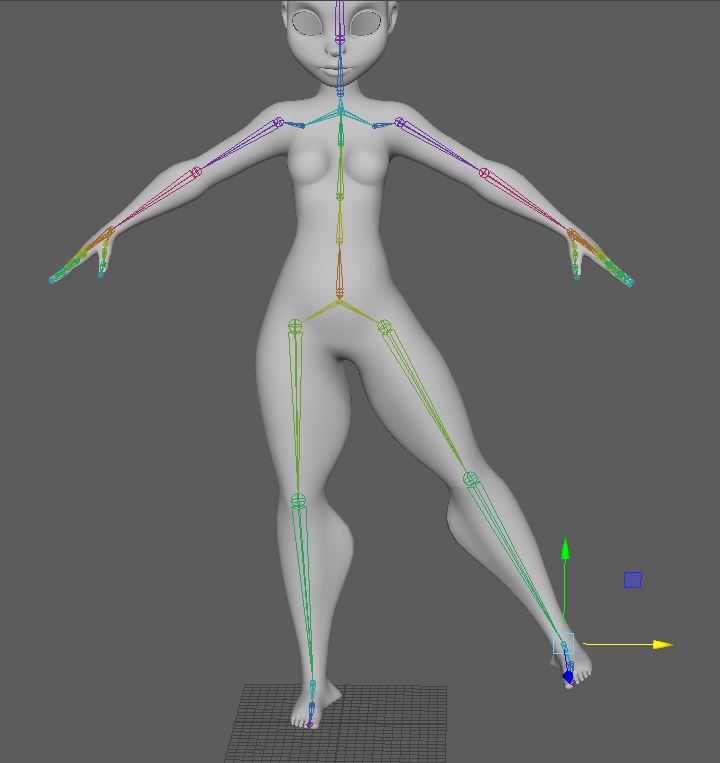
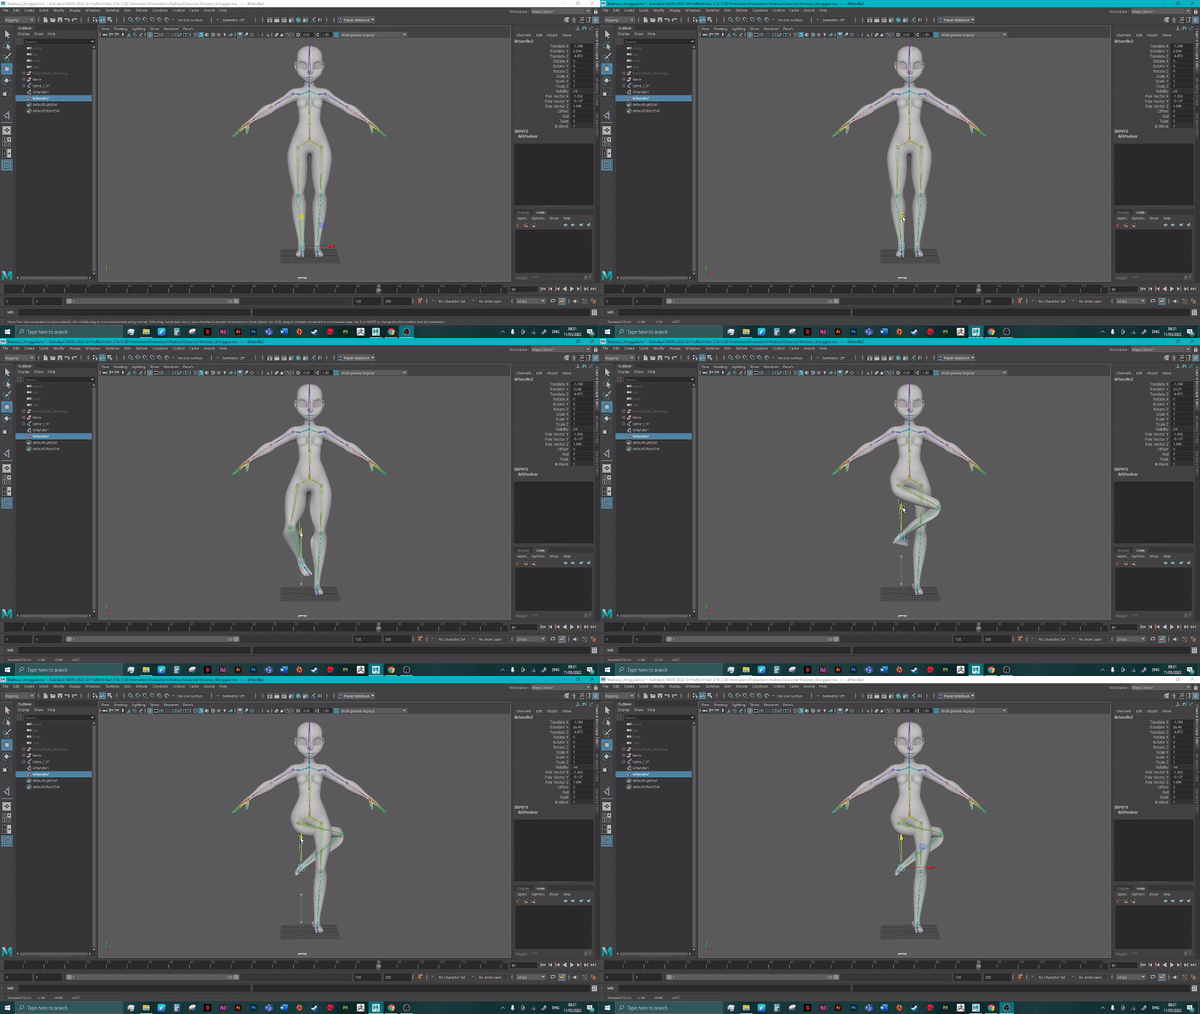
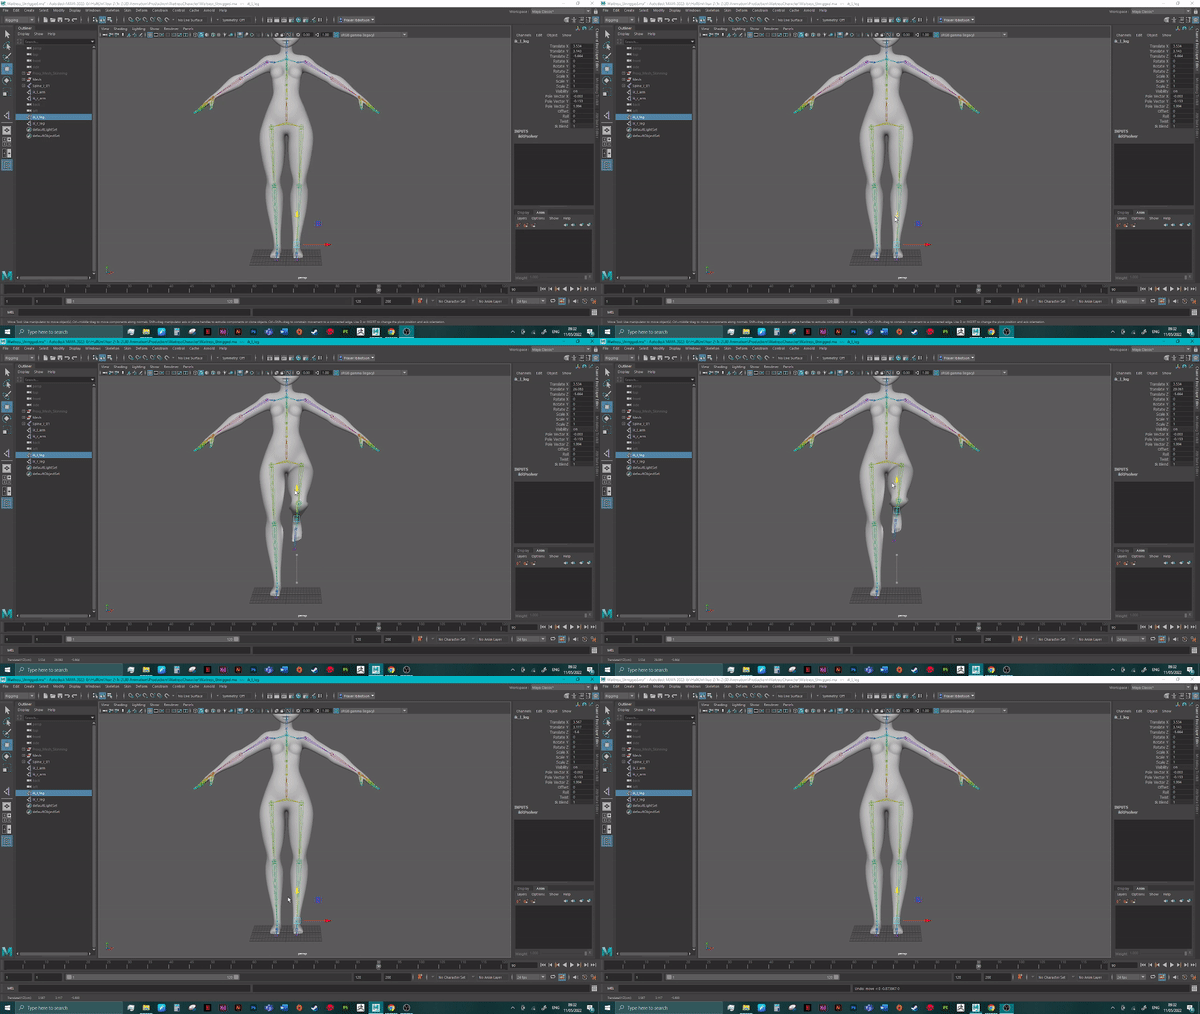
I did have an issue, where the legs would twist when pulled upward (Fig.10). This was because the bottom joint was rotated from the top joint. To fix this I remade the leg joints using the side view to make sure all the joints remained straight and true, which let the legs move appropriately (Fig.11).
:: Point Constraints ::
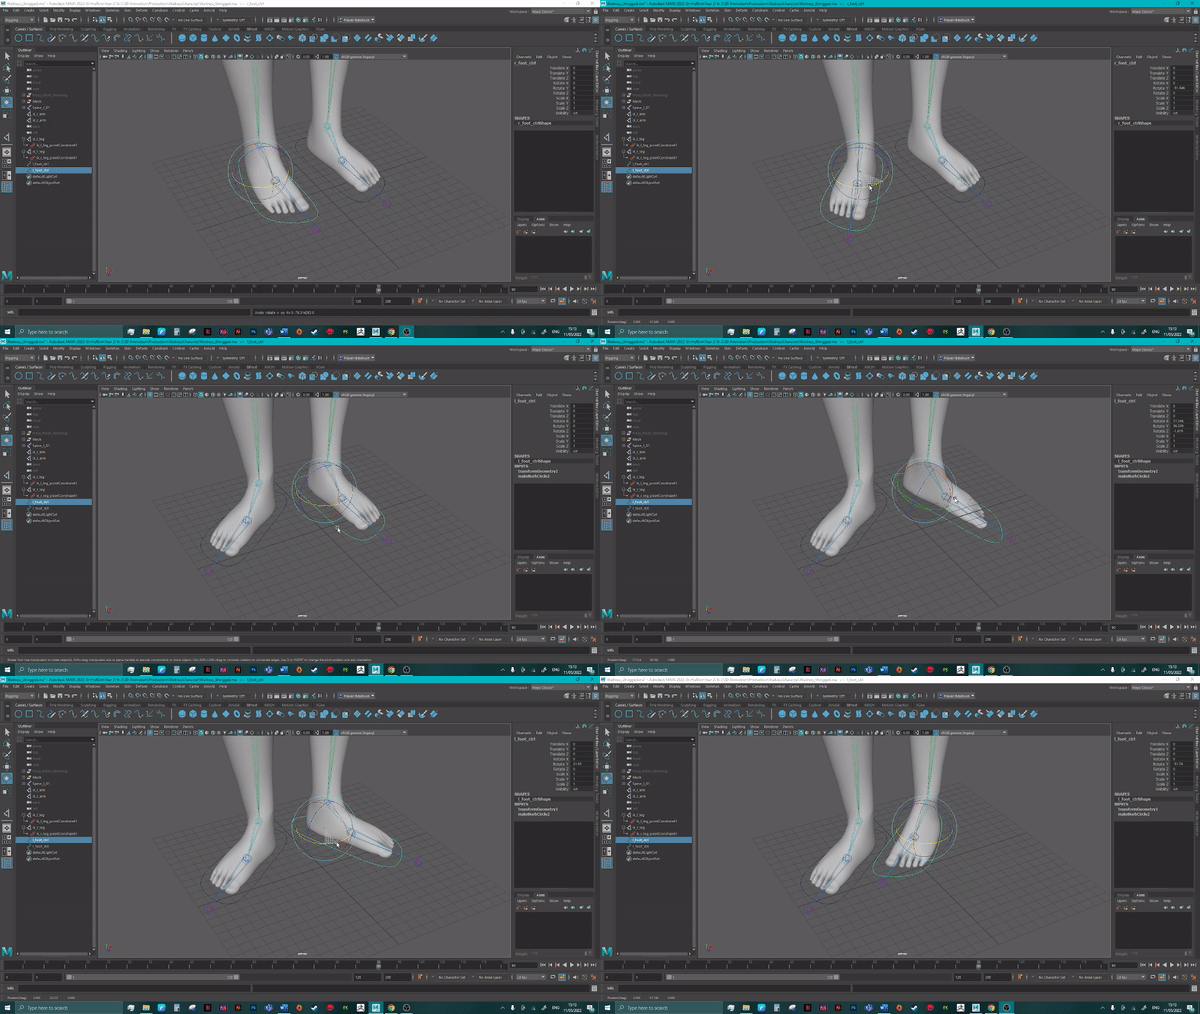
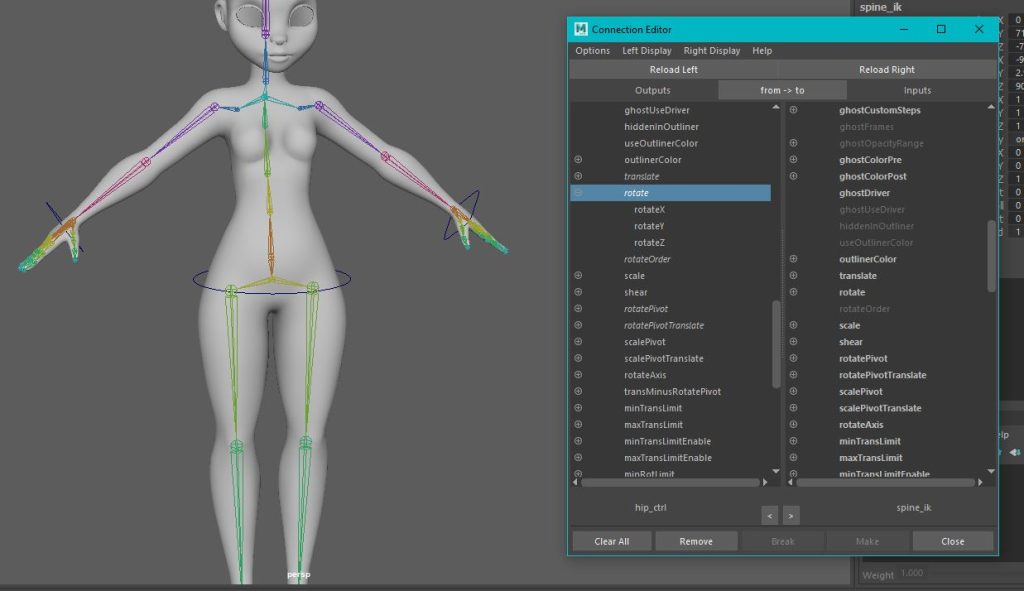
Next, I constrained my rig to the mesh. This involved creating curves to act as controls for the various body parts of my character (Fig.12). This allowed me to manipulate the various body parts (Fig.13). The shoulders were more complicated to set up, as I had to edit the connection between the handle and the shoulder to ensure humanoid movements (Fig.14).
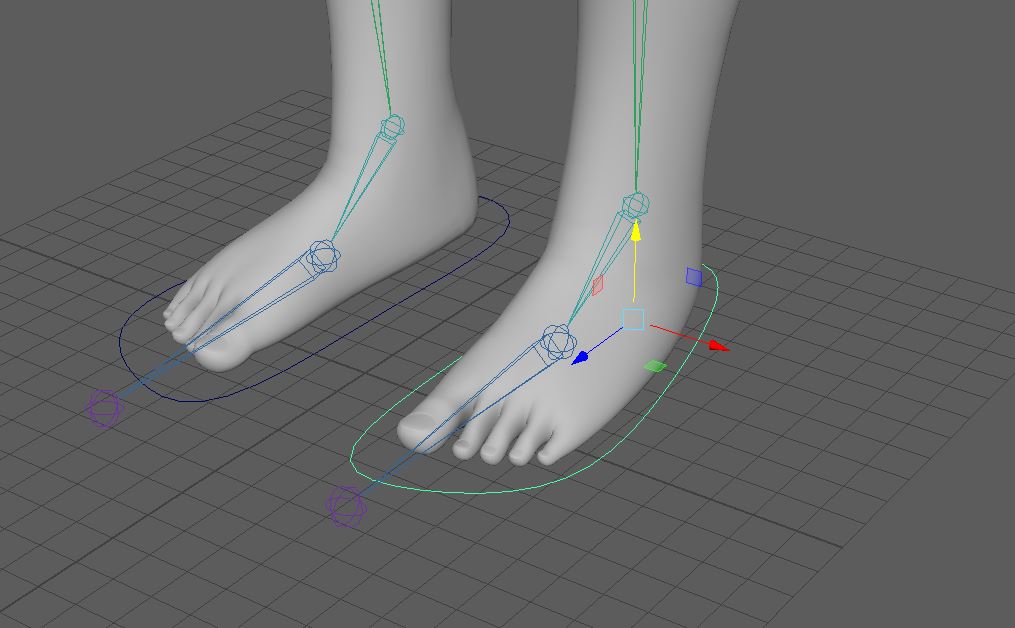
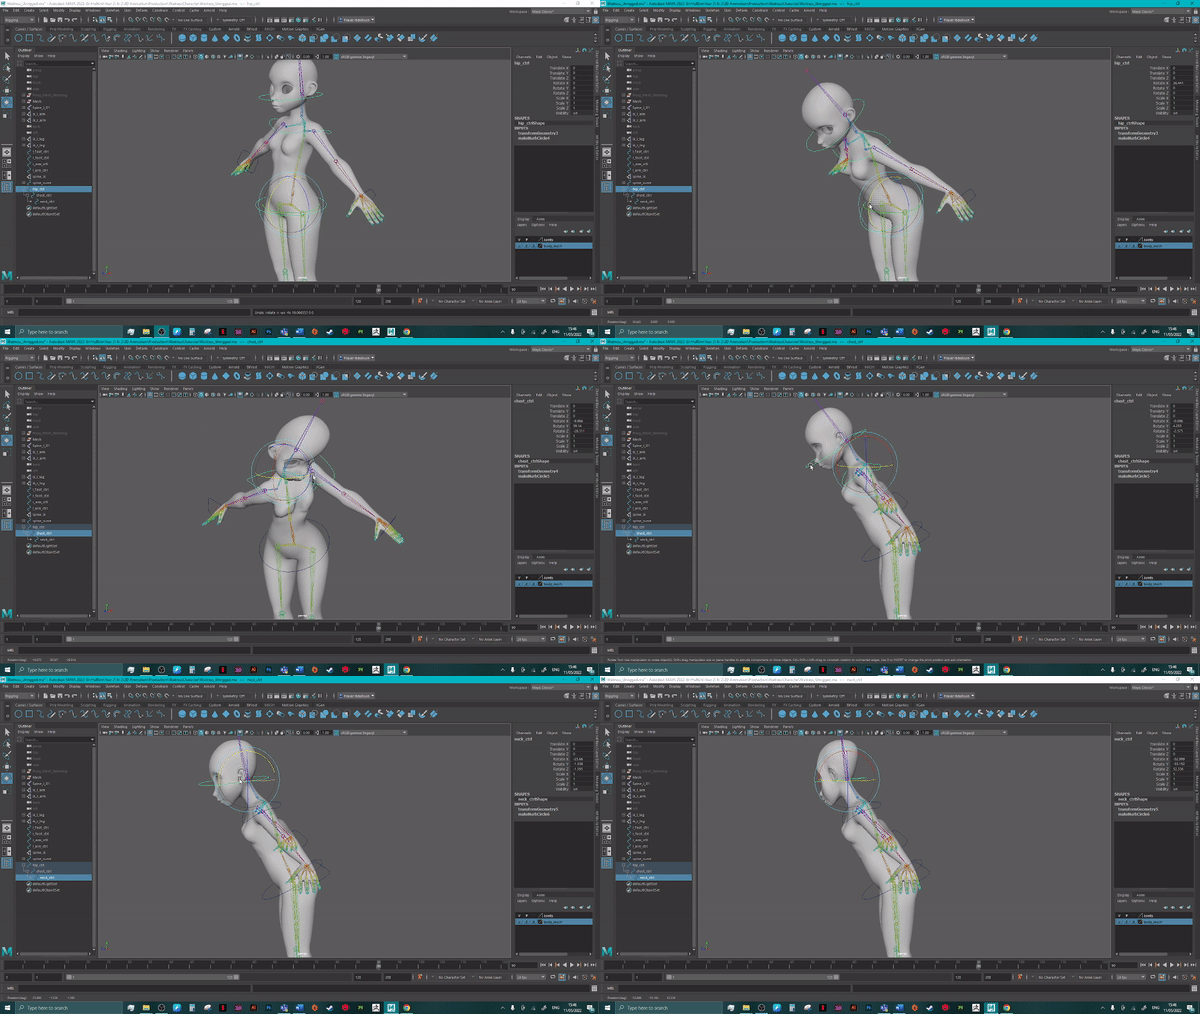
At this point I would be able to create rudimentary animations (Fig.15), but for what I wanted to create I had to further refine my rig. I needed the fingers to function correctly so I could have the character interact with props.
I added scalable attributes to the fingers, which allowed opening and closing of the fingers. Currently, the fingers all close along a single axis, with the thumb closing around another to make a rudimentary fist.
This is all I required, but having all the finger follow just one axis meant that the small finger did fold strangely (Fig.16). To solve this I would set the finger close along two axis so that they fold toward the centre of the palm like a real human hand.
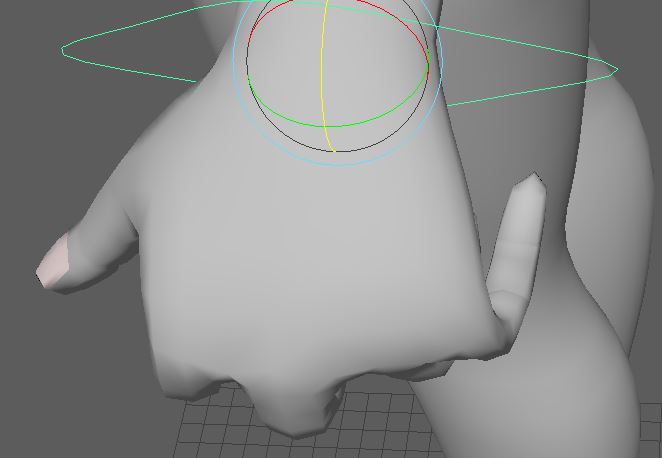
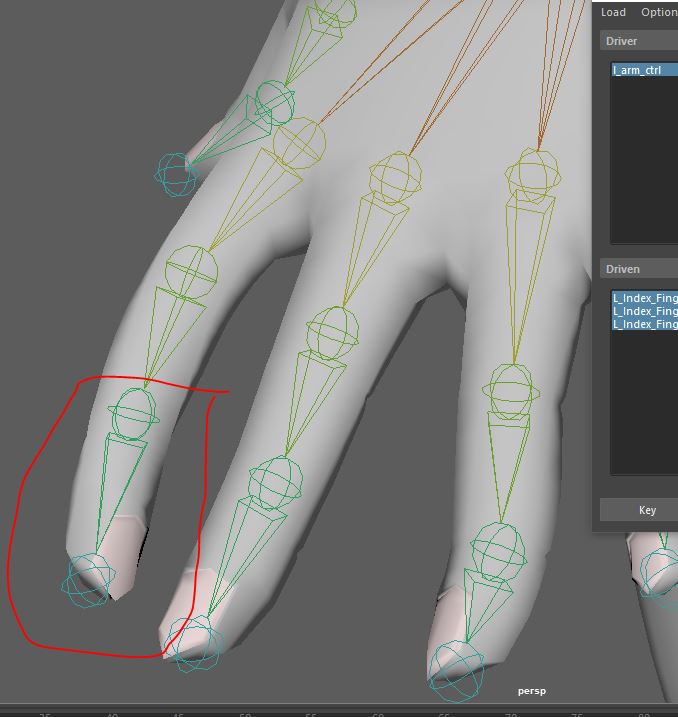
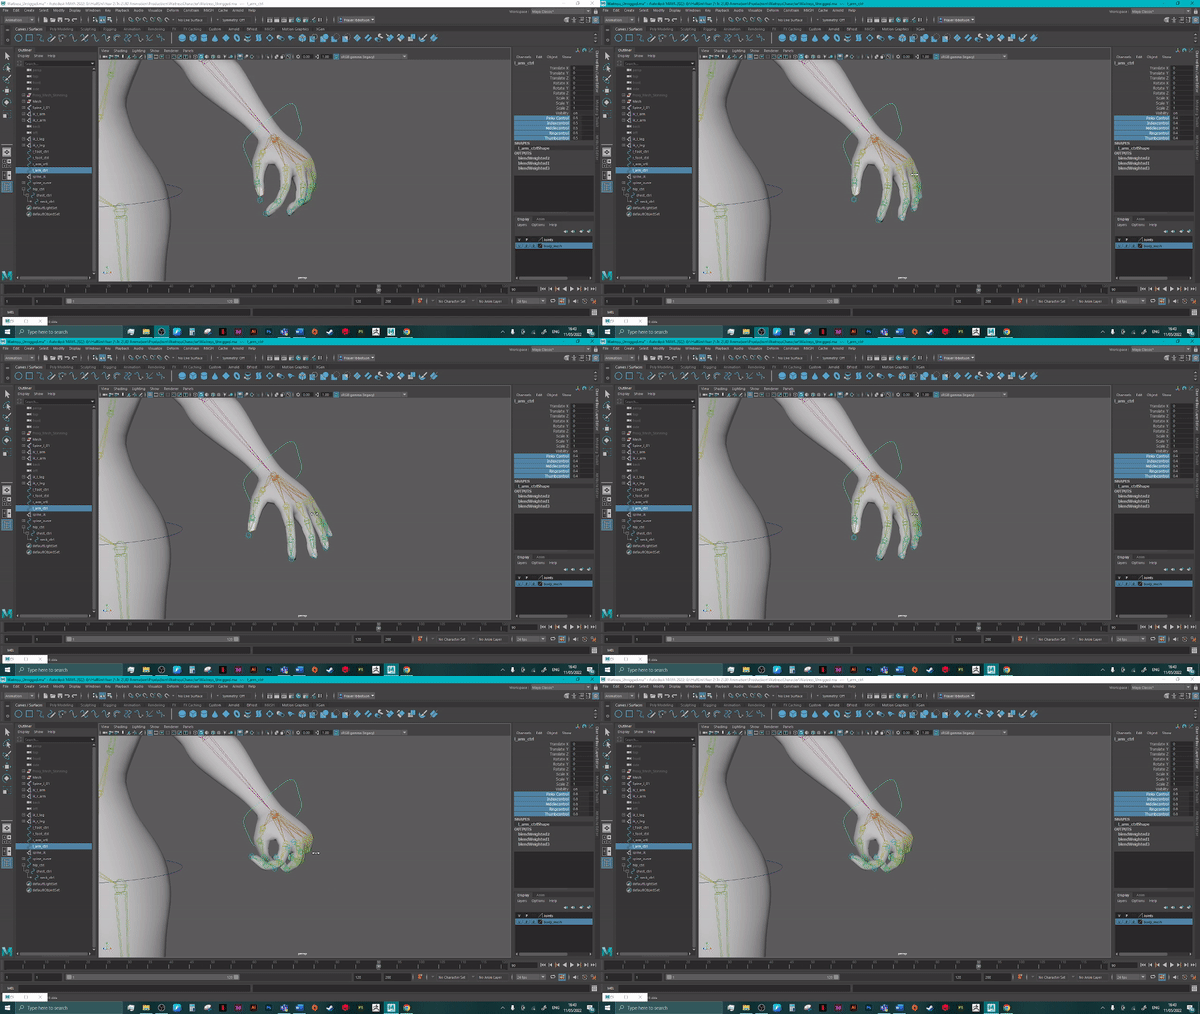
The index finger would also twist when the fist reopened (Fig.17). I’m unsure why it did this, and I didn’t believe the problem noticeable enough to spend extra time trying to fix it. Once I had the hand in place I could open and close a fist, (Fig.18)
:: Eye Rigging ::
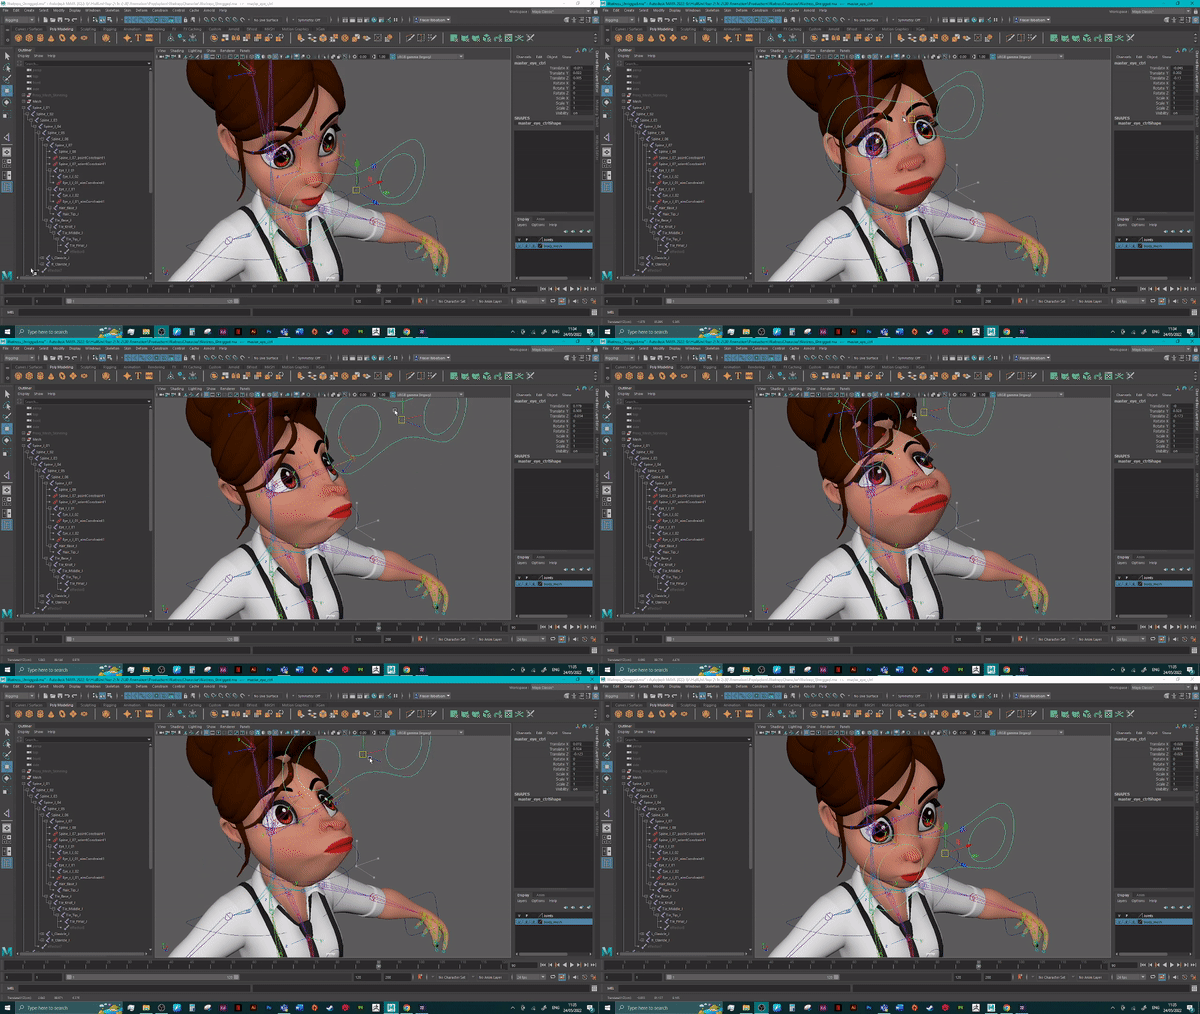
There was a tutorial for eye rigging on canvas, which didn’t use skeleton joints, (Fig.19). However, this resulted in the eyes being ejected from the body when moved with the master control (Fig.20).
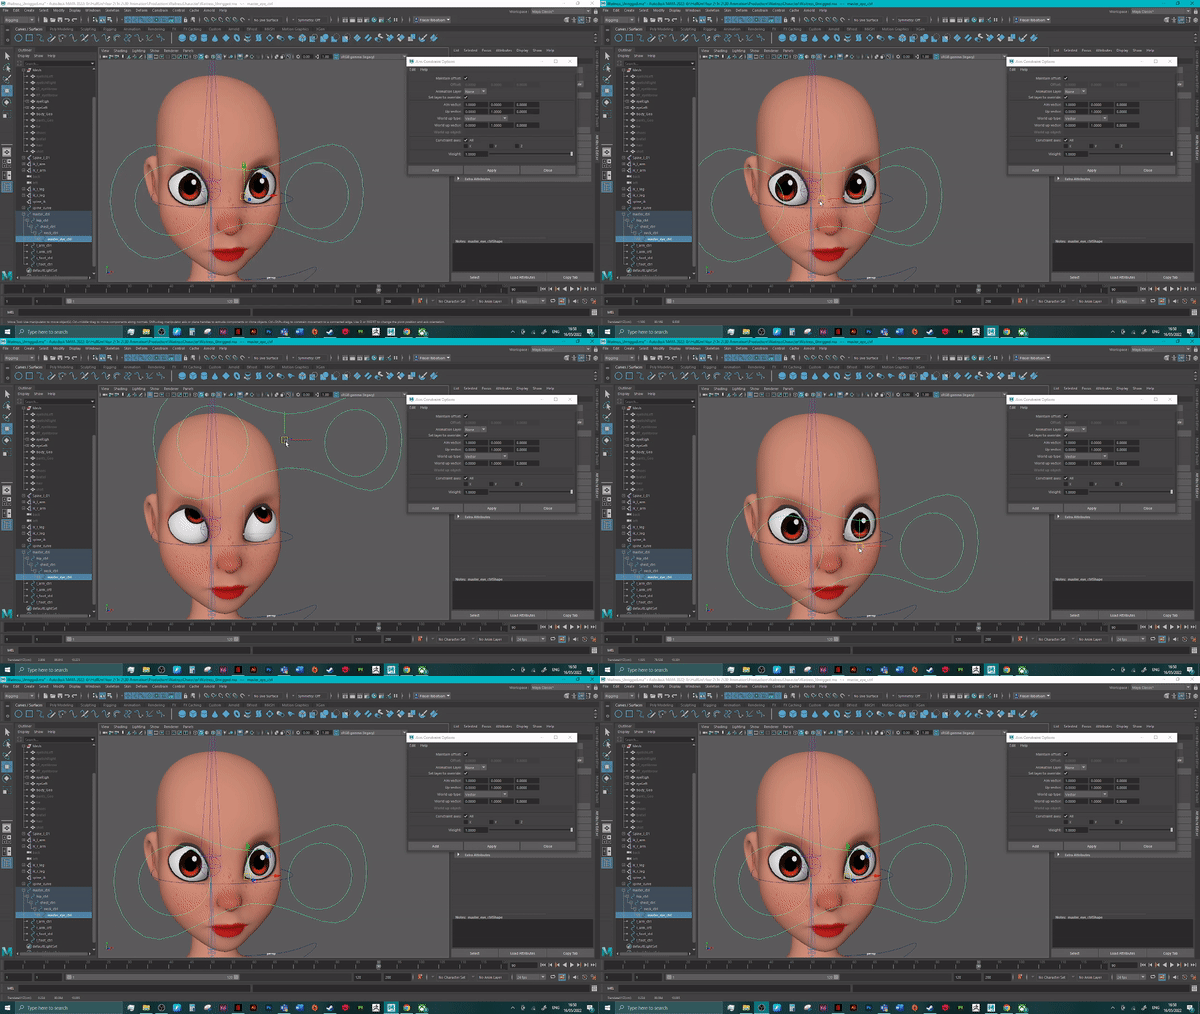
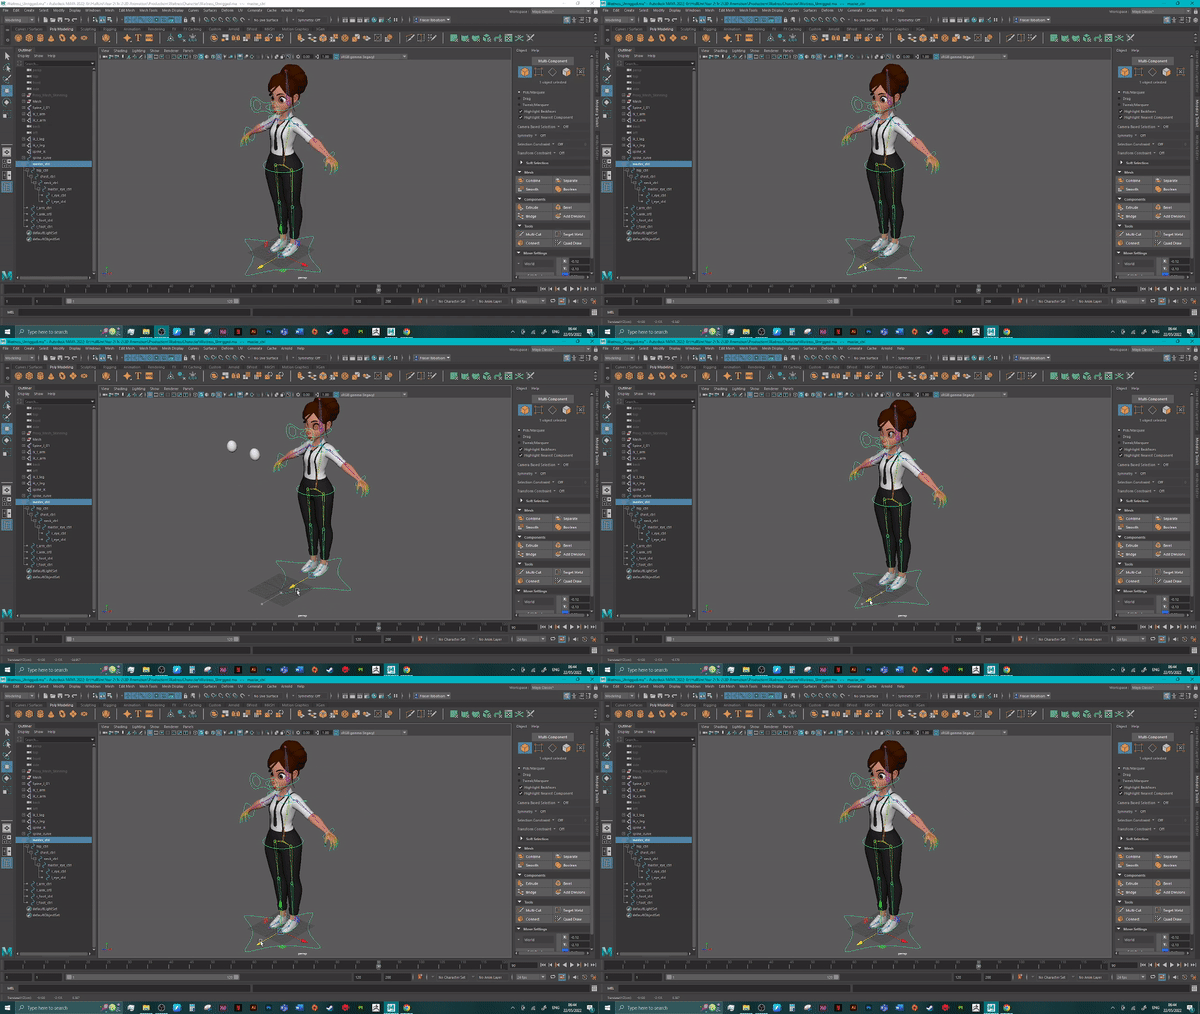
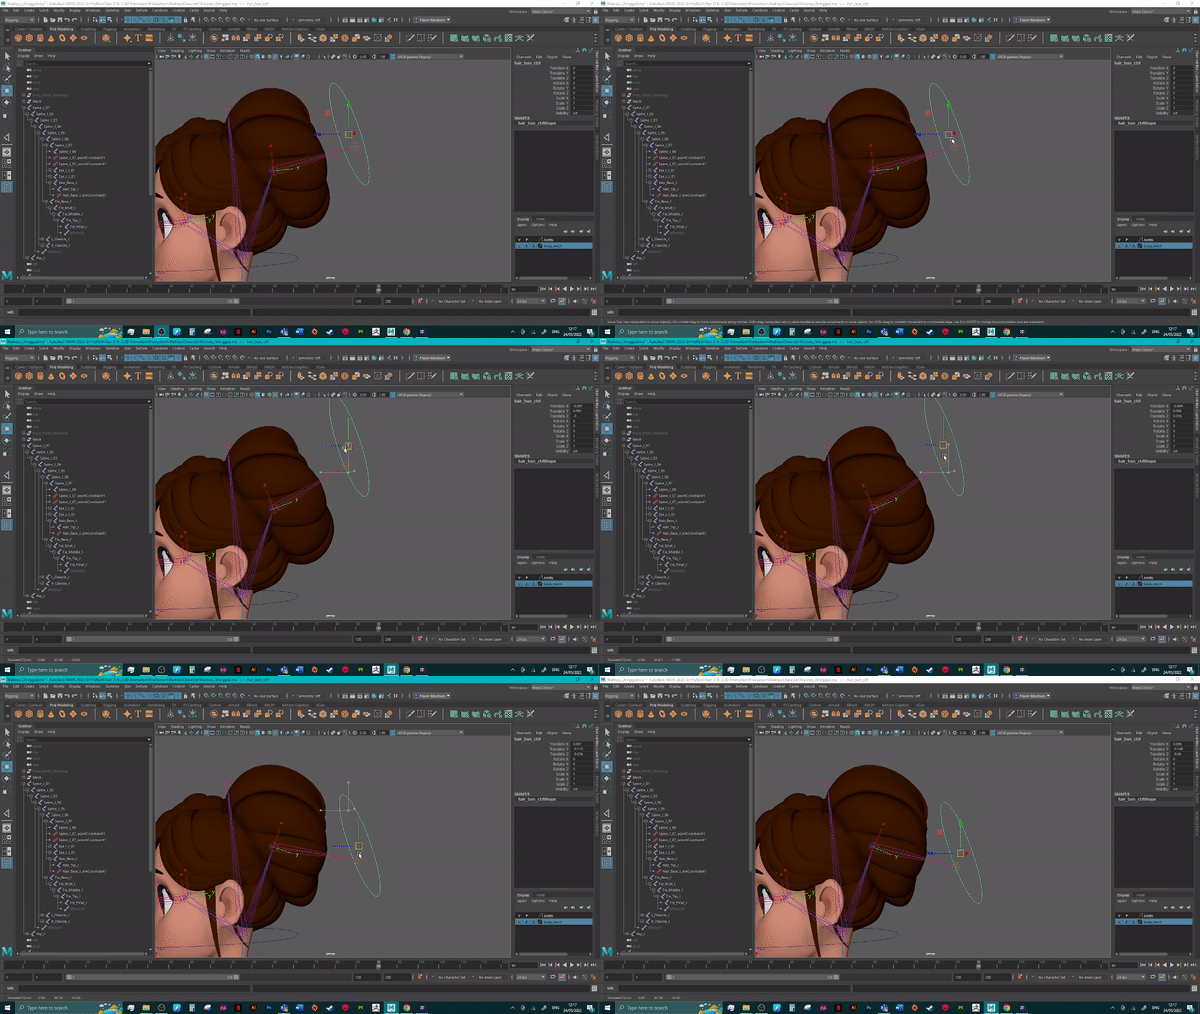
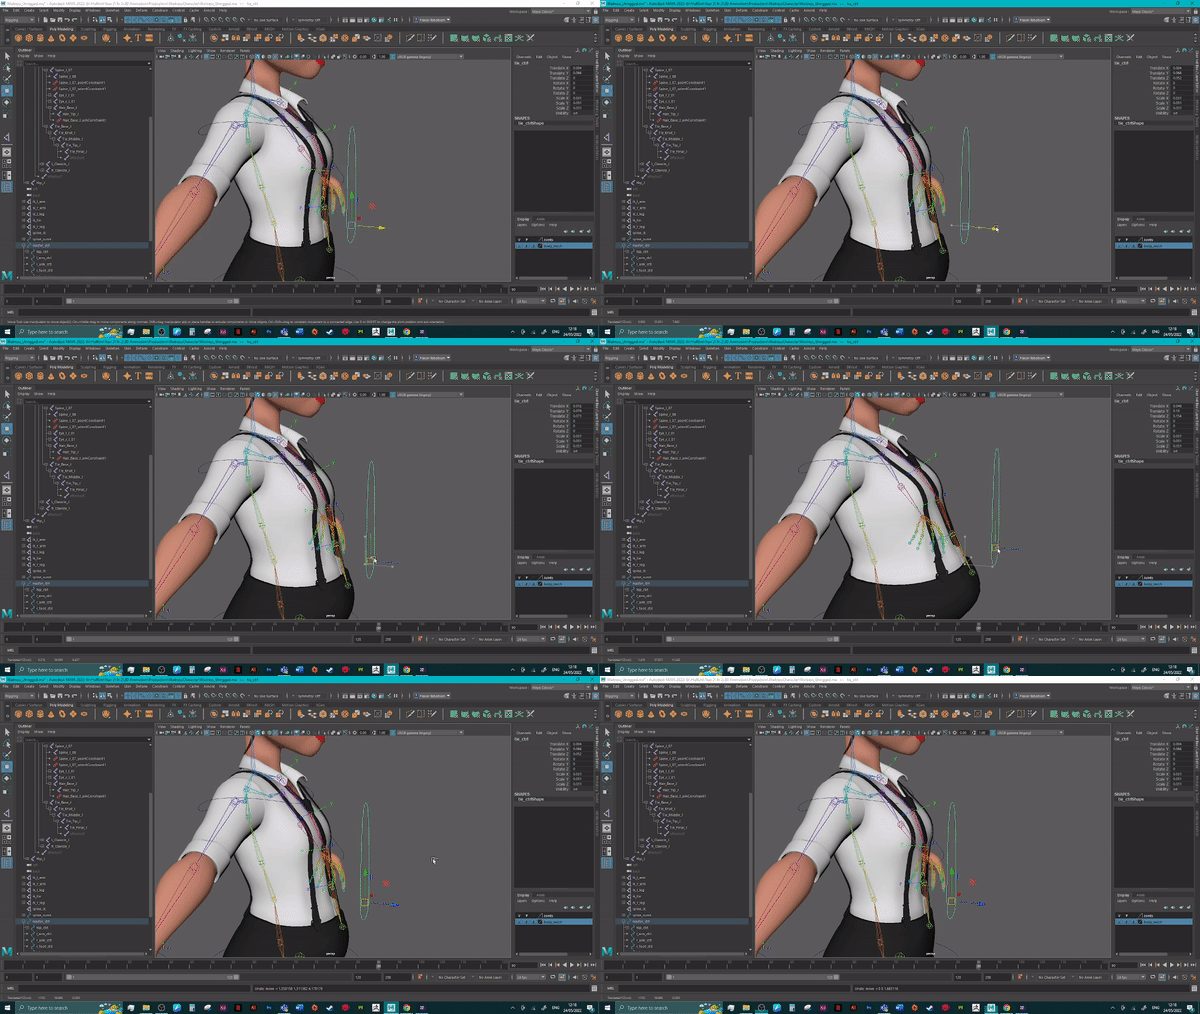
Eventually I added skeleton joints linked to the body skeleton. Which allowed me to aim the eyes (Fig.20). I also added an aim joint for the hair bun (Fig.21) and a IK handle for the tie (Fig.22). letting me control theses parts individually.
:: References ::
Academic Phoenix Plus (2019). ‘Rigging for Beginners: Rig Hands in Maya’. [YouTube Video]. Available online: https://www.youtube.com/watch?v=M4DSxHS8m8I&ab_channel=AcademicPhoenixPlus (Accessed 11/05/2022)
On Mars 3D (2020). ‘Maya Auto Rig with Quick Rig and Mixamo – Rig Any Character in Minutes!’. [YouTube Video]. Available online: https://www.youtube.com/watch?v=NV8bAX28tHA&ab_channel=OnMars3D [Accessed 28/02/2022]