*Disclaimer*. The assignment brief states I need 200 dpi tiff files. I cannot find a method to achieve this in the render setting in maya. These are 200 ppi tiff files, I have spoken with one of the lecturers and believe these should be high quality enough to fulfil the criteria.
Coffee Machine
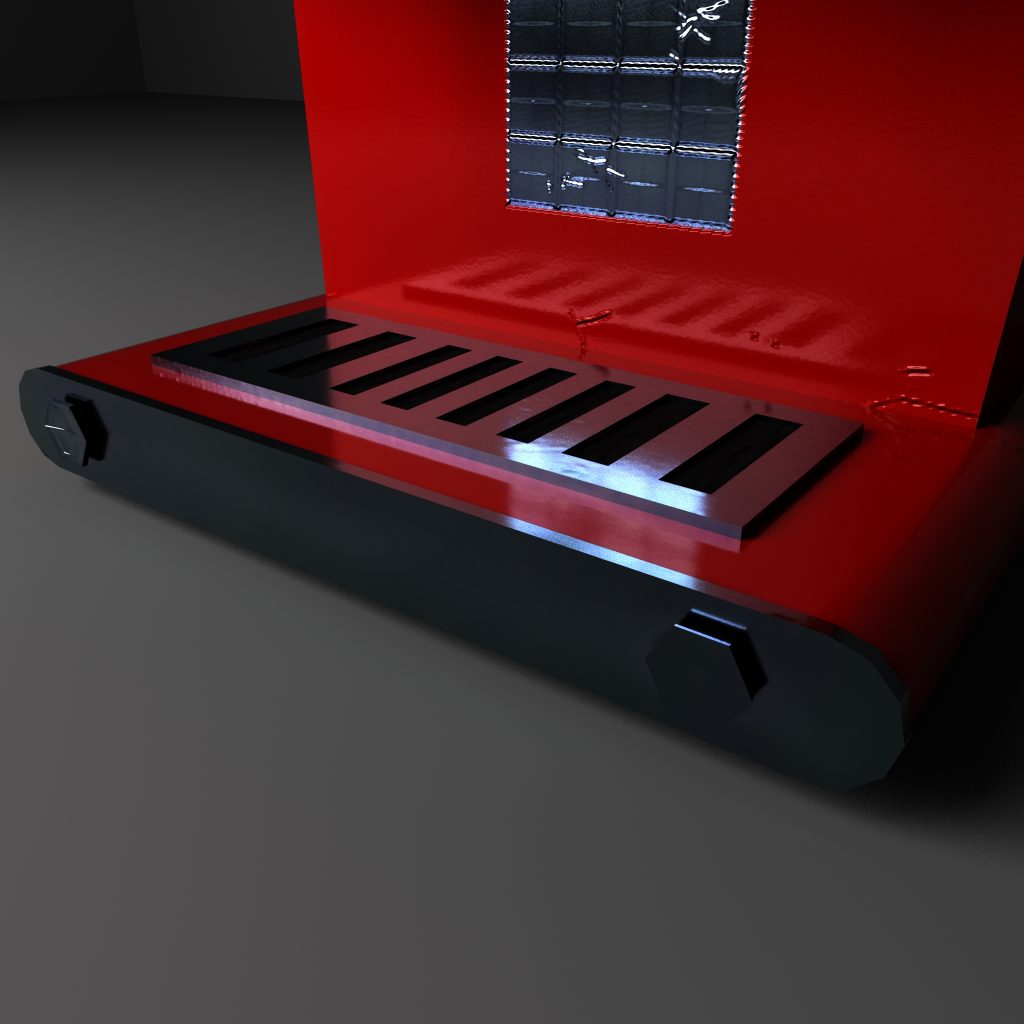
The coffee machine baked pretty well, the rings around the dial faces didn’t translate beautifully however everything else worked fine. One thing of note here I that throughout my models I often used a technique by which I used offset faces to create a tile pattern, you can see this on the drink dispenser.
With that modal I kept the 3d tiles on the low poly model, whereas here I removed them and just baked them on. This is a bit of a double-edged sword. While it made texturing the model easier the mirage only works when faces the model straight on, as there is no height ultimately, I think I would be better leaving the low poly with the 3d information. A compromise I used to solve this issue with my wheels later was to use the poke mesh tool for the low poly, this resulted in the same silhouette but which less geometry data.
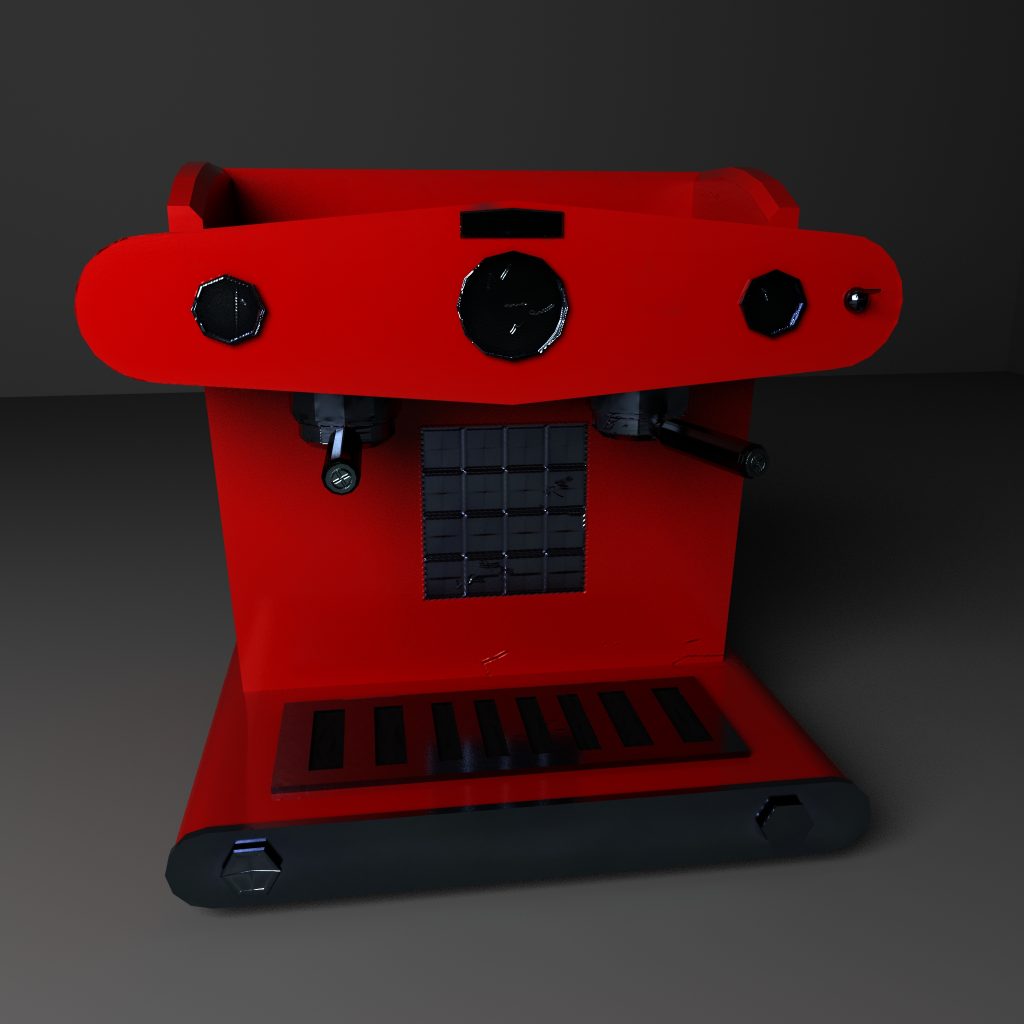

Other than the flat tile face I think this model turned out quite well. The final asset is what I had in mind when I started modelling and I think the subtle scratches and damage give it the look of a well-used item. The colour scheme matches the other assets and I feel this is a very good addition to my asset pack.
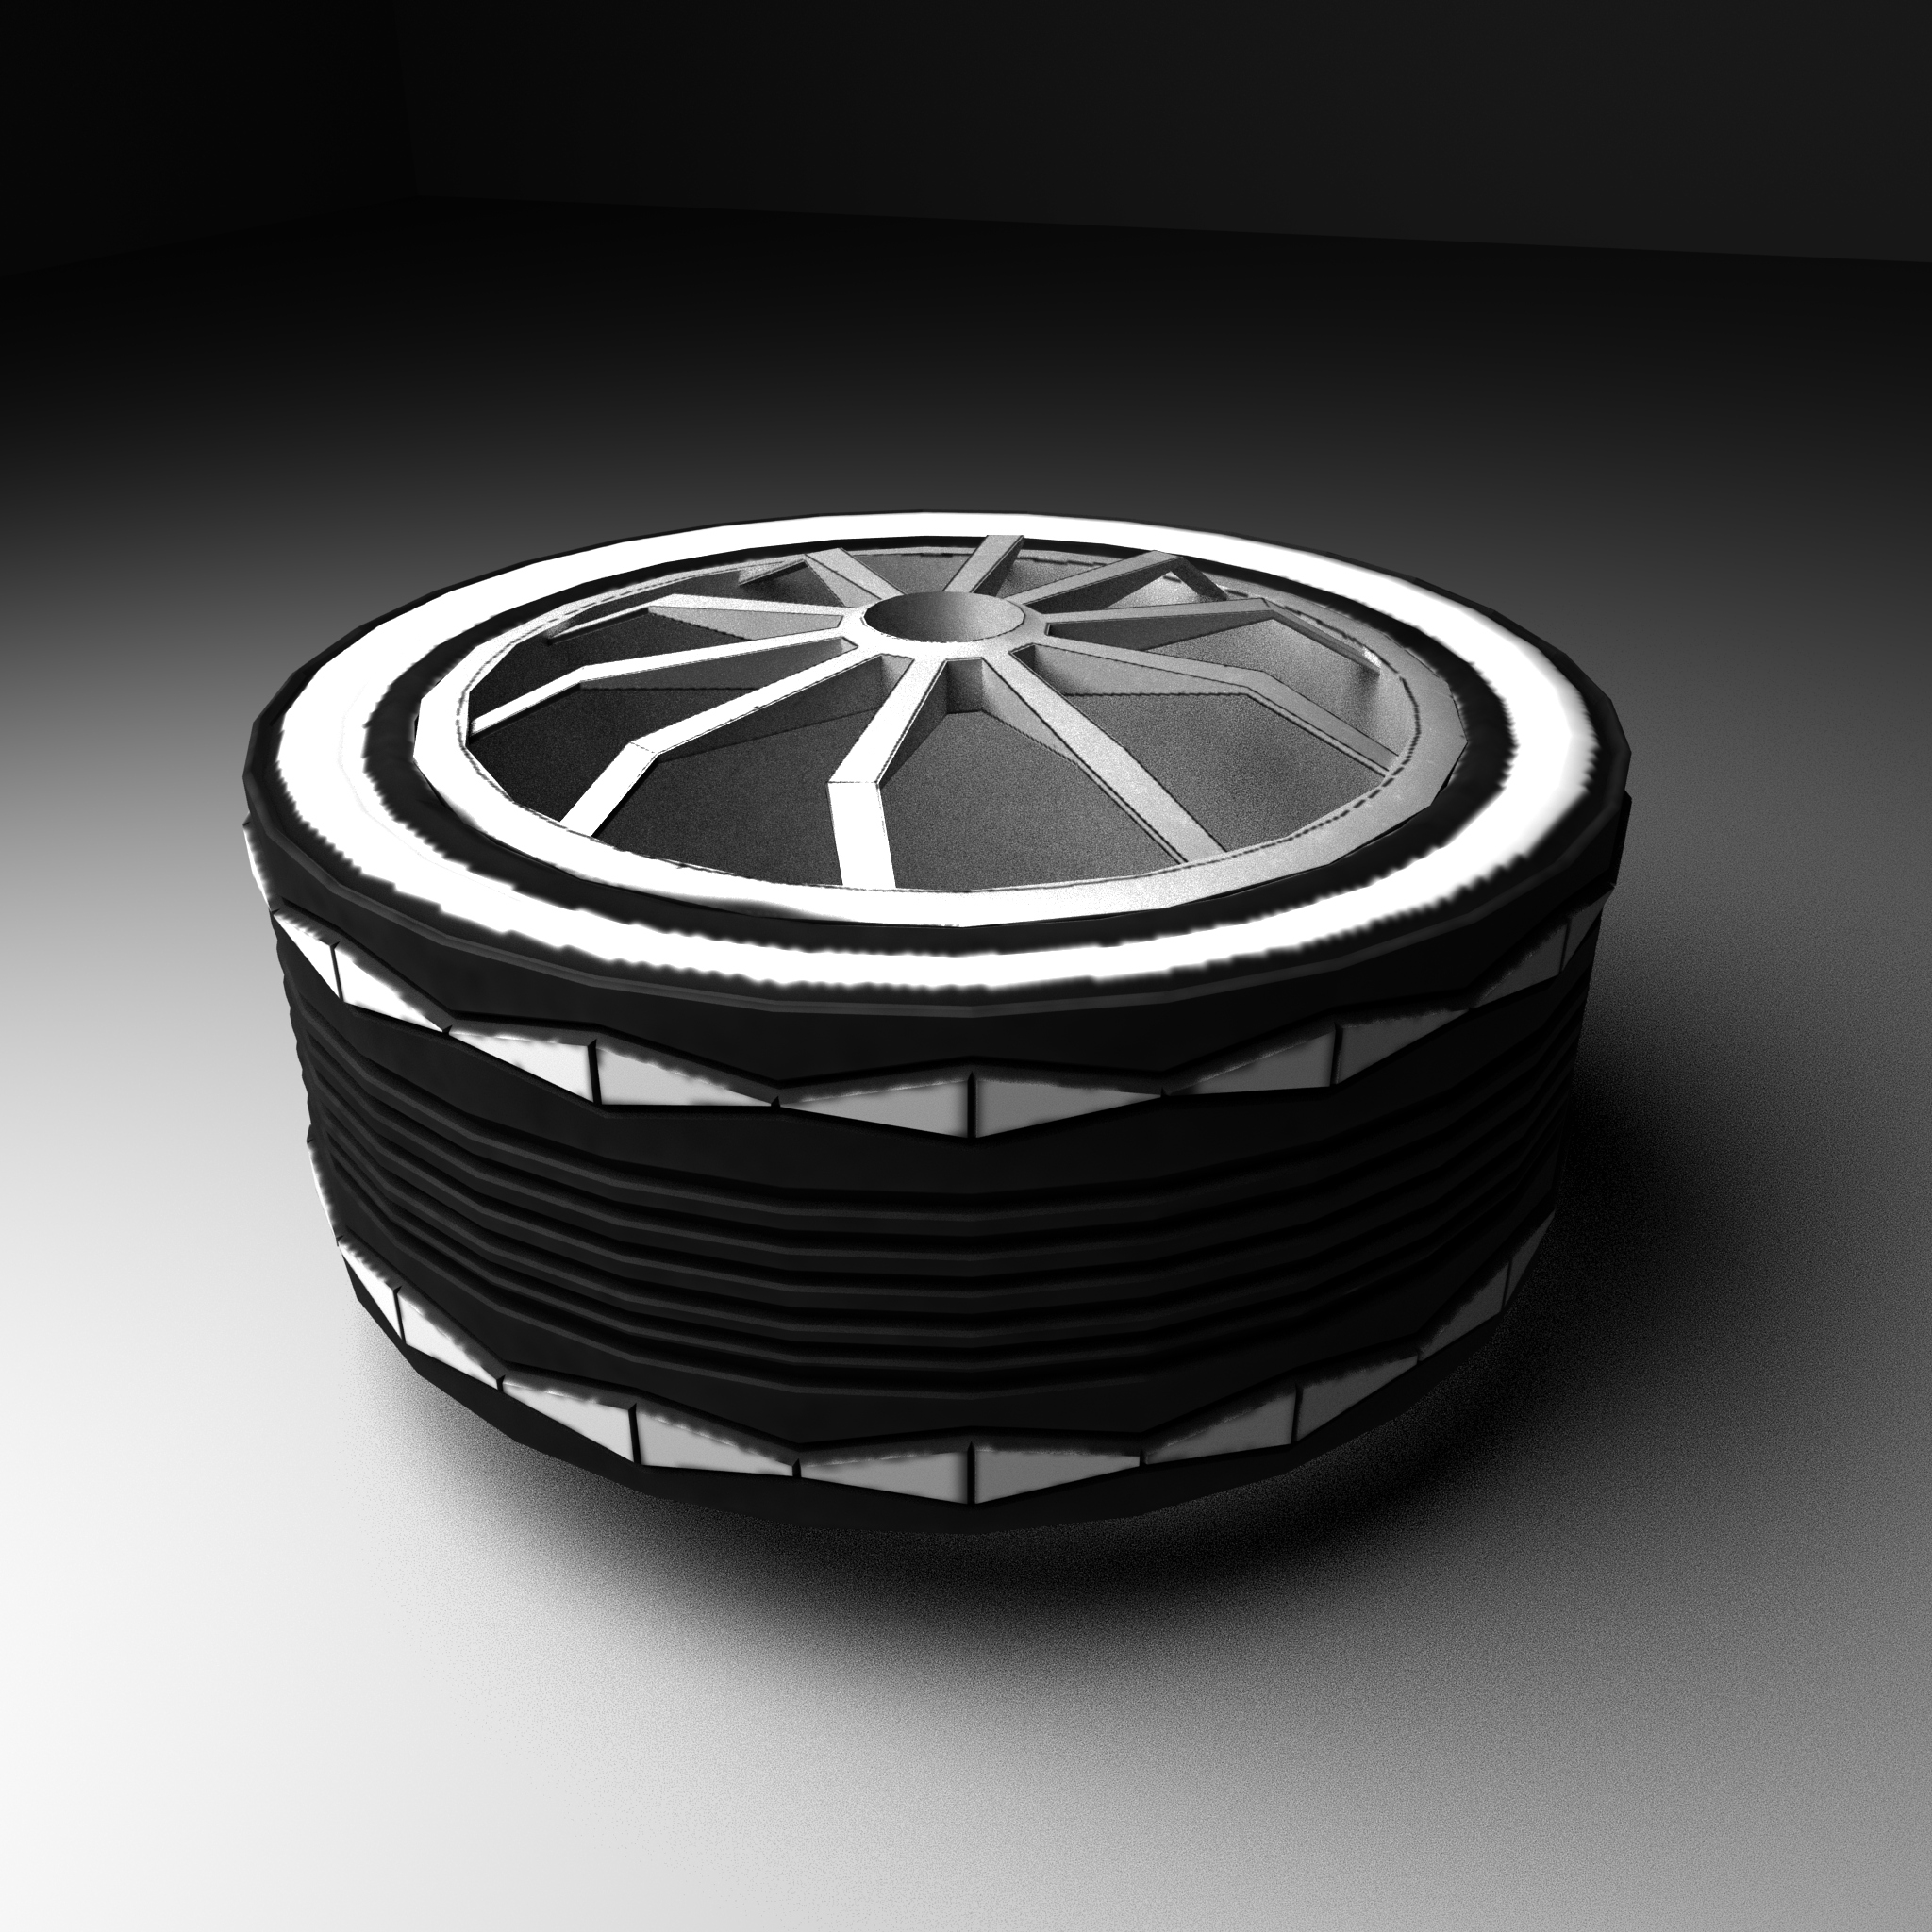
Wheels
I’m a little dissapointed with the wheels, the rubber tyre smart material I used for the tyre of the first I think is a little too dark, making it hard to see the details. Also, the steel rim is a little too rough for my liking, both of these issues could be resolved by simply retexturing the asset but I have no time to do so.
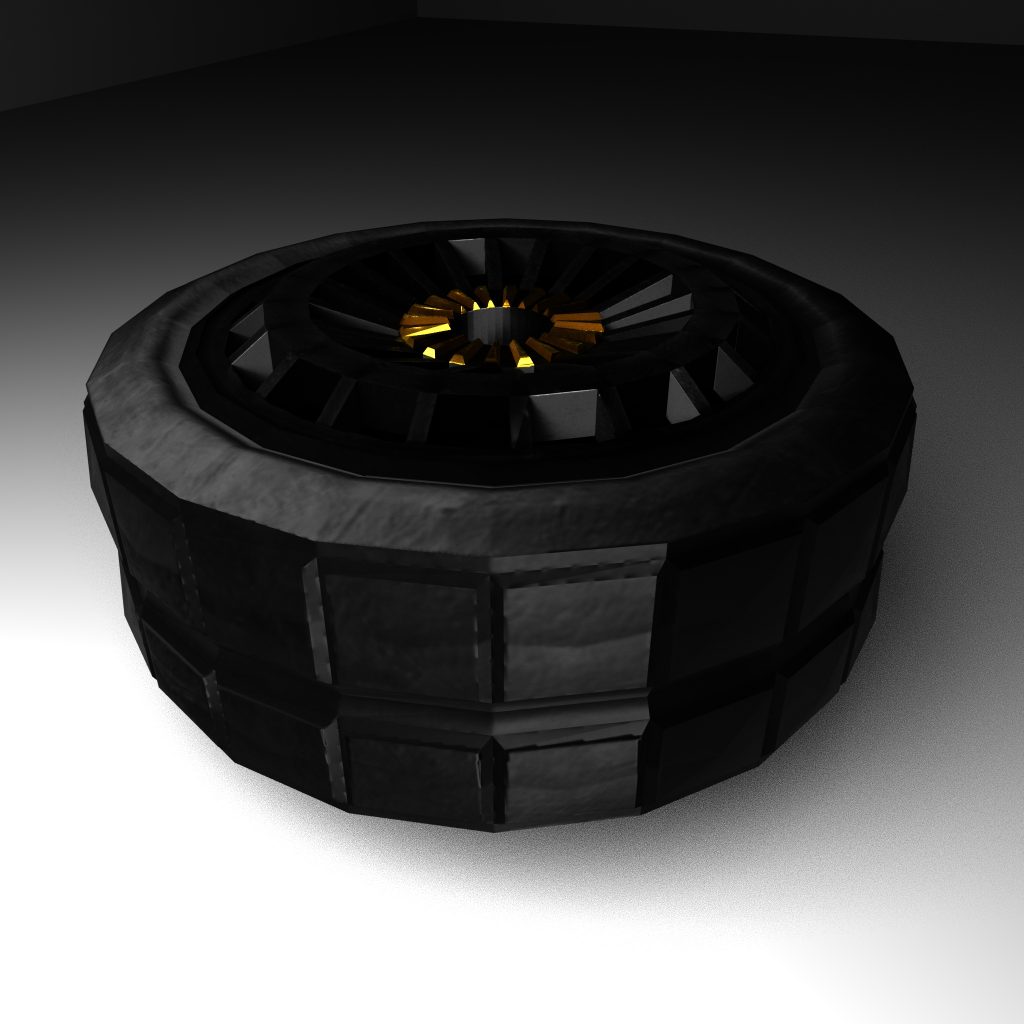
The gold trim is nice though, and I feel like it’s a functional if slightly disappointing asset.
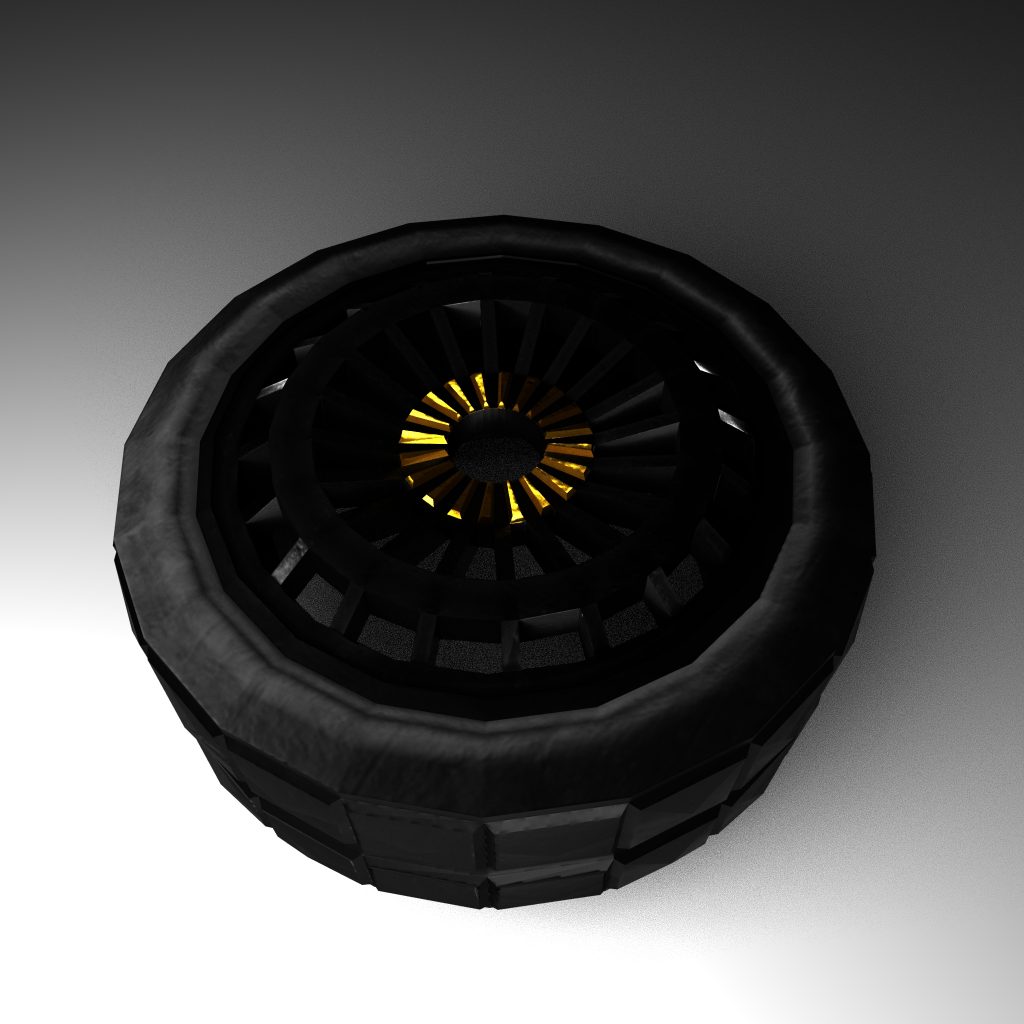
The mistake I made with the second wheel was not planning how I would texture the asset while I UV’d the model. Where I added the white walls the edges are blurred, I think this is because the whole side of the tyre is one piece and so when texturing there is no hard edge. I should have cut out the outline that I wanted white to give a clean-cut line.
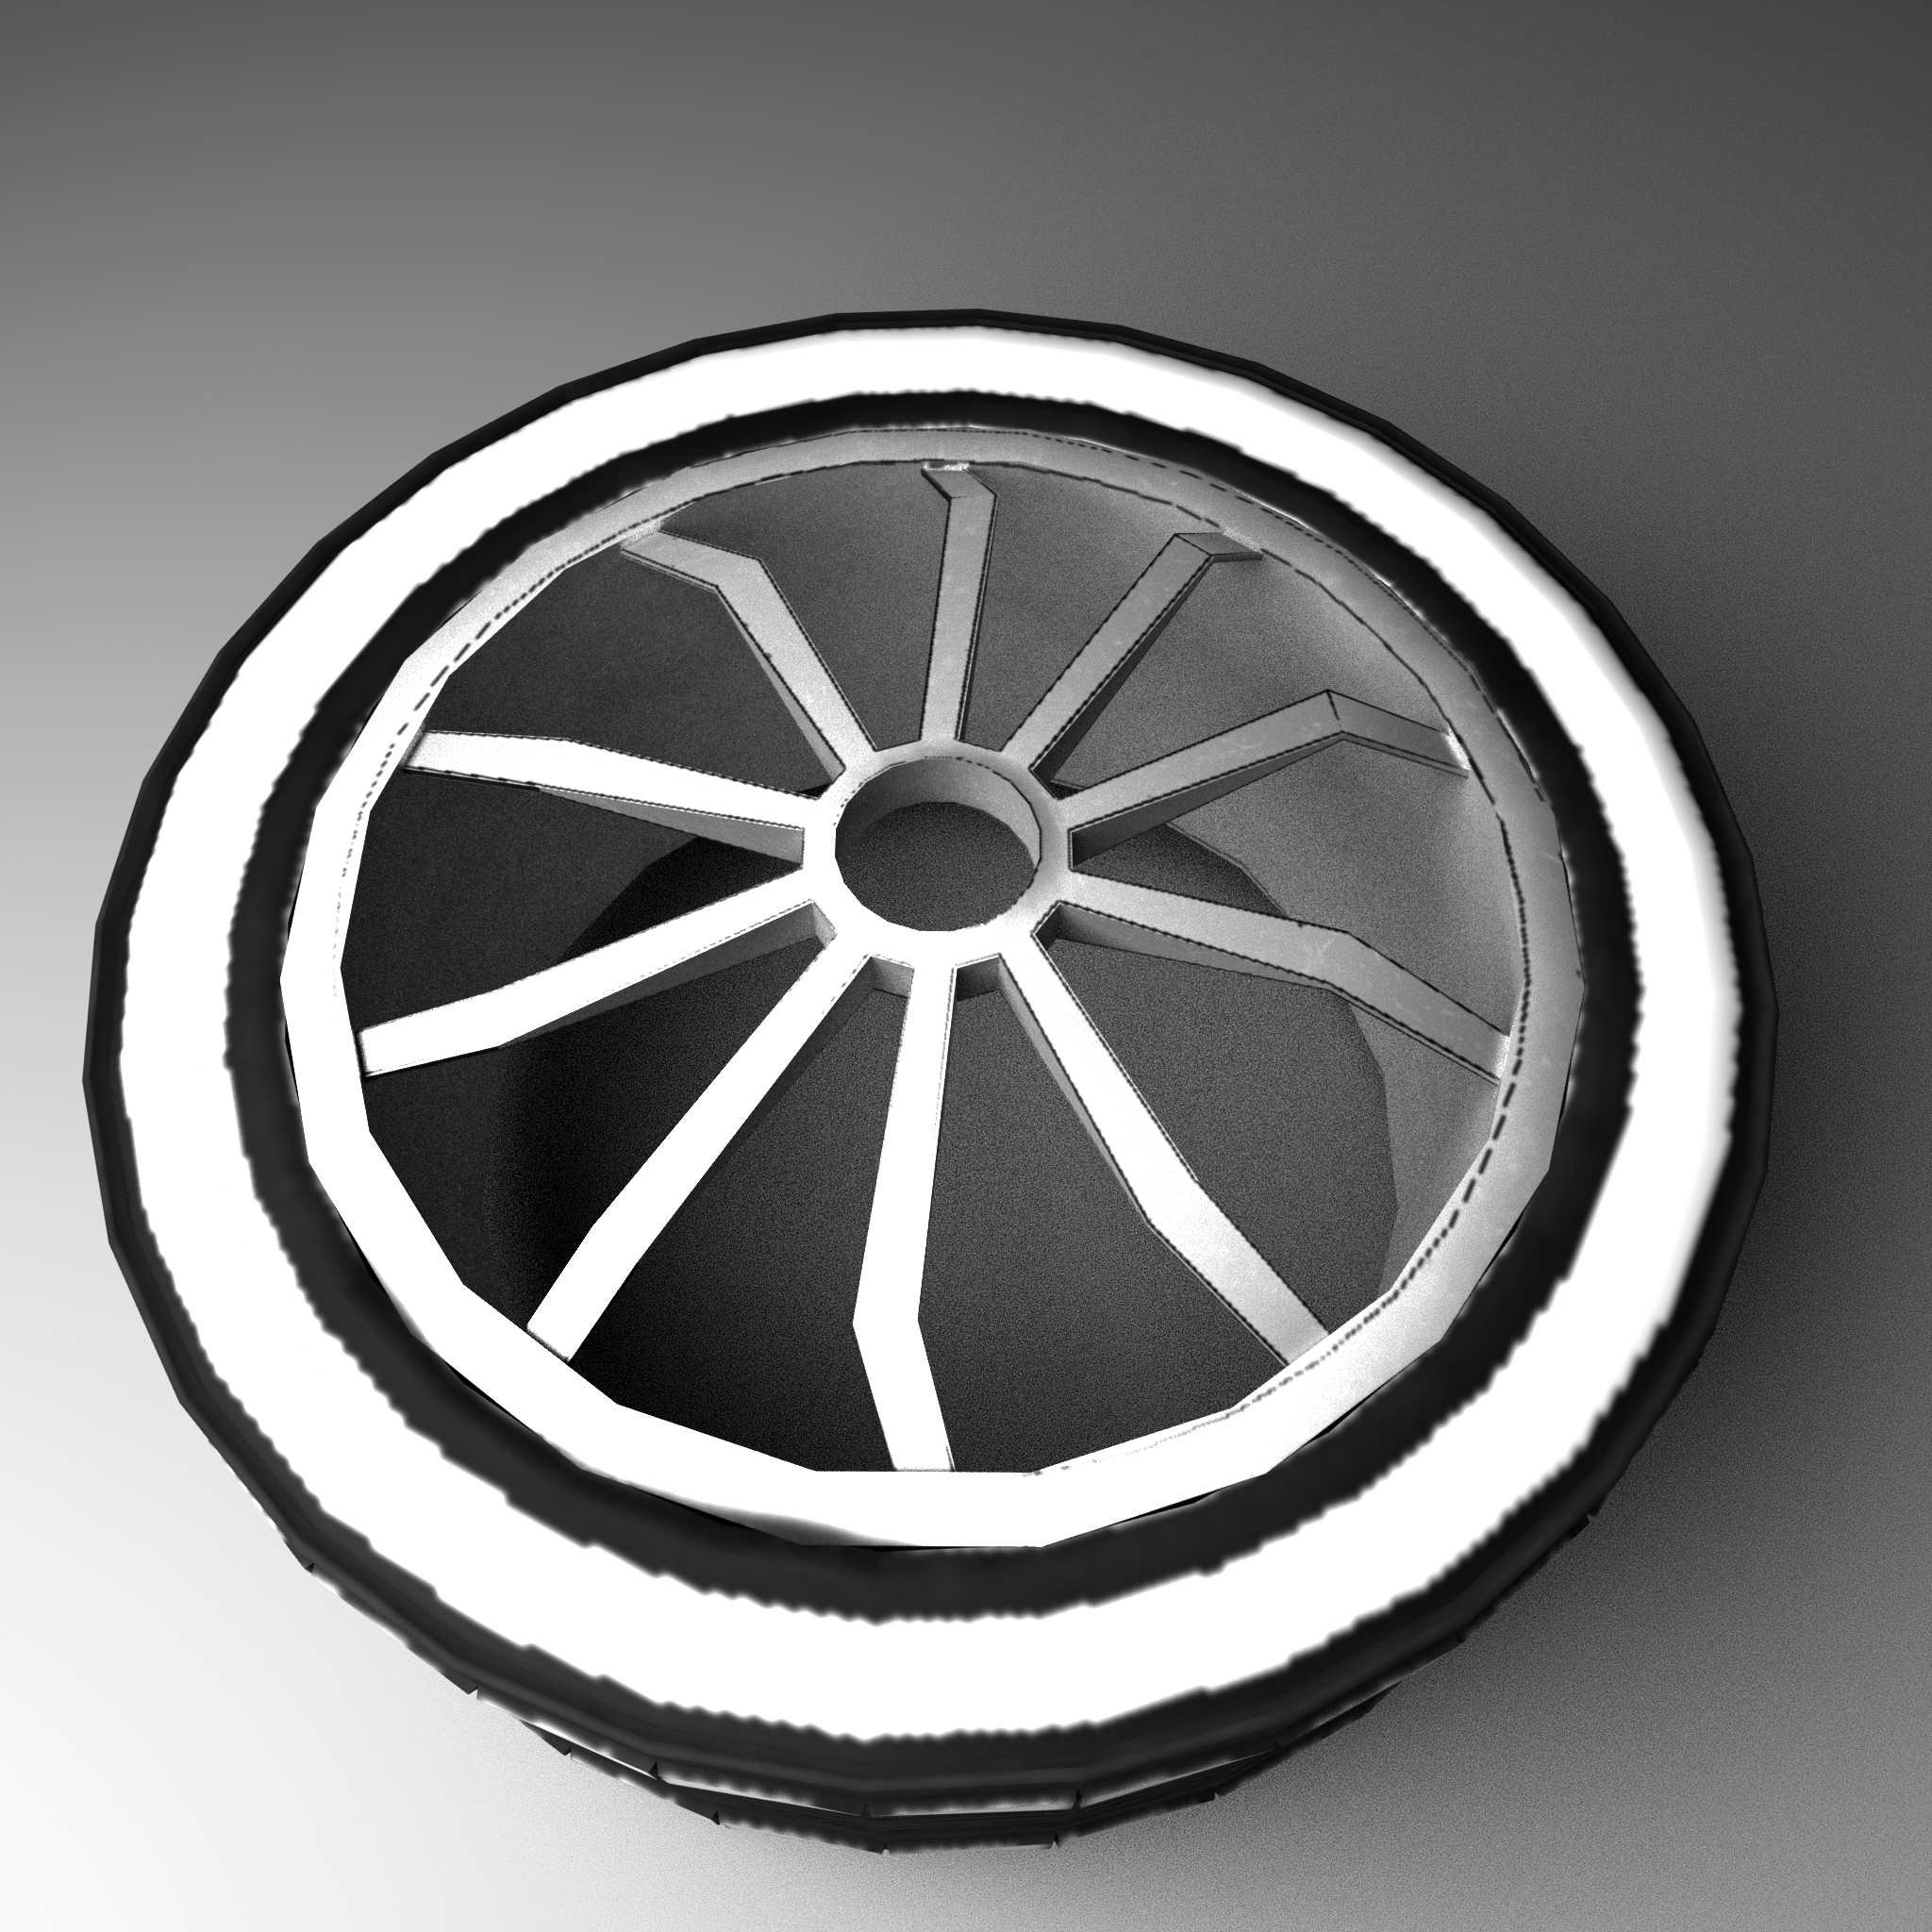
I think this model did work better then the previous one, however ultimately, I’m still a little annoyed at the final result. The rim worked well, mostly because I used a smooth metallic texture as opposed to the rough one, I used before, also the tyre is a lighter shade which works better in the renders. Ultimately though I think the lack of planning when Uv’ing really hurt me later on.
Pingback: 3D Art for Games – Production – Model 9 – Coffee Machine – Fraser Ibbotson – 647603
Pingback: 3D Art for Games – Production – Model 10 – Car Front End / Tyre Stack – Fraser Ibbotson – 647603