Now that I had my environment finished, I could turn my attention to how to make that environment play nicely with rendering VR video. At the moment it was simply an environment set for still renders like I have done with my other assignments, so it was time to consider things like embodiment and just how I was going to capture the environment in 4k 360 video.
:: Getting Handsy ::
I talked at length about embodiment in my pre-production posts, and to sum it up I was in two minds about whether I wanted to include on screen hands or not. The reality of the situation was I would be moving the viewer against their will, and the experience wasn’t truly interactive, but it would be good to show an understanding of embodiment even if it was just for show.
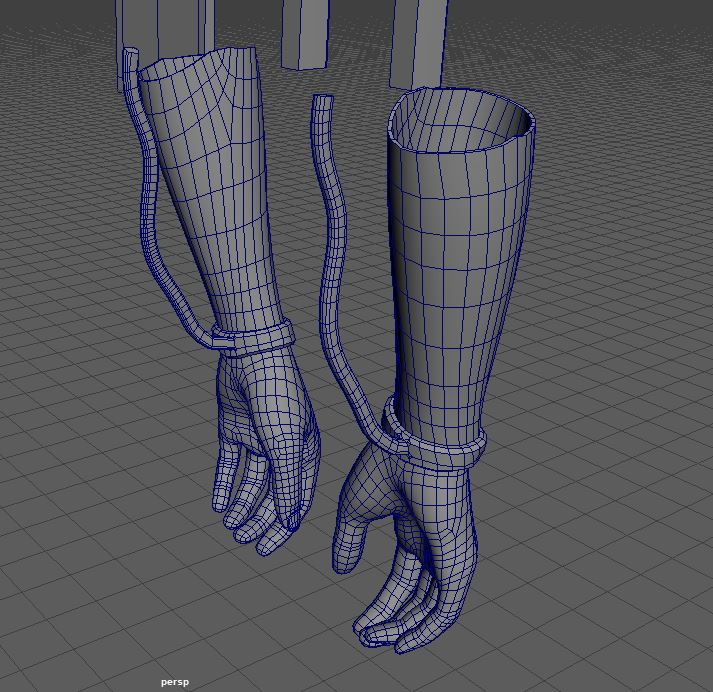
With that in mind I created a pair of hands, which I took from duplicating one of the character meshes from DAZ, and then deleting faces and extracting to give a thickness (Fig.1). I also modelled rope cuffs to the wrists, which would really help with making the hands seem like they belong in the scene they inhabit (which was something I discussed being important in my considering VR post).
I then textured the hands, making sure to add an opacity to the texture maps, thus allowing me to have semi translucent hands I could pose in front of the camera to help direct where the viewer should be looking at any one time (Fig.2)
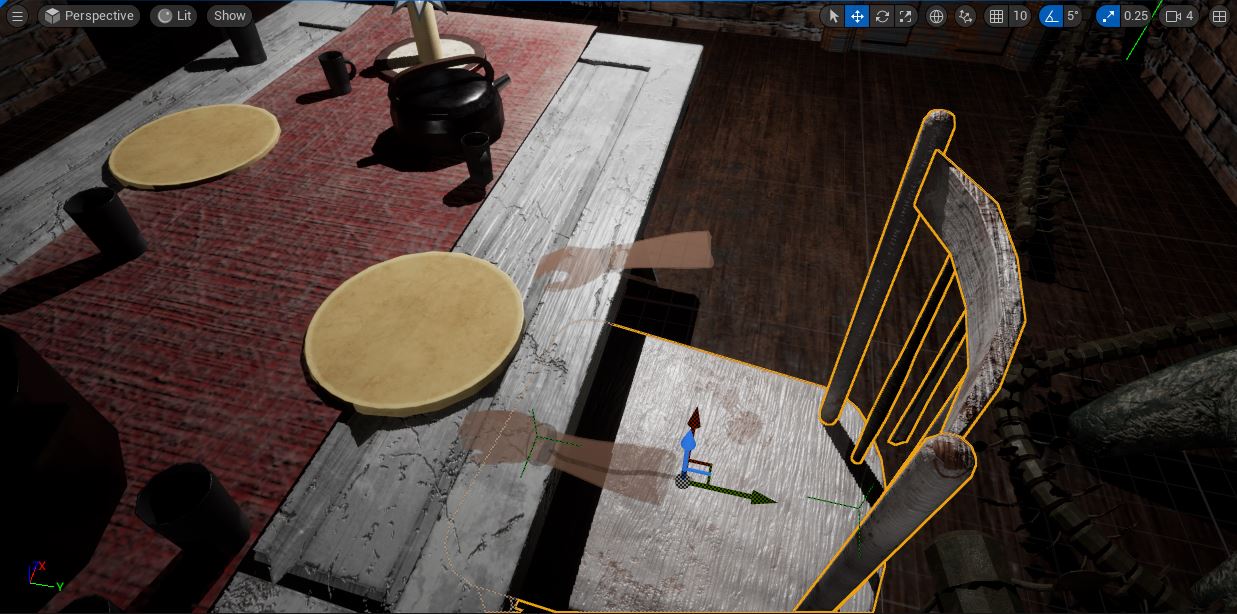
There was however a pretty big issue with this plan, there was no way of making the hands stay in place on the screen when moving the camera in the movie render que (Fig.3) I don’t know if this was something specific to using a cinematic camera actor or whether Unreal Engine simply doesn’t allow you to parent static mesh actors to camera actors.
I also tried simply keying the hands to follow where I wanted the viewer to look when rendering however this also didn’t work by nature of capturing 360 videos. The hands were just so obviously not connected to where the viewer wants to look that they broke the emersion of the video more than they added to it. Really you would want to add the hands on screen in premiere pro after production, but again I am not sure that would work with having the video be 360 degree.
Ultimately, I had to just not include the hands, which is really disappointing as I do think the final video could become a bit confusing visually. I am left with solely using directional audio to try and direct where the viewer looks, which naturally relies on them having access to that dual directional audio.
:: Technical Points ::
Next I had to figure out how to render 360 degree frames from Unreal Engine. Fortunately, I found the below video (WINBRUSH, 2022). Which discusses how by activating a couple of plug-ins (panoramic renderer and movie renderer) you can export horizontal 360 degree frames, which Premiere pro can then render as a monoscopic 360 degree video.
Once I had the frames from Unreal Engine I found the below video (Levine,J, 2017) which really helped me to understand how to set up a VR project within Premiere Pro. Showing me how to add things like the view in VR button, which allowed me to change the editing window to be movable like the final video will be when exported to YouTube.
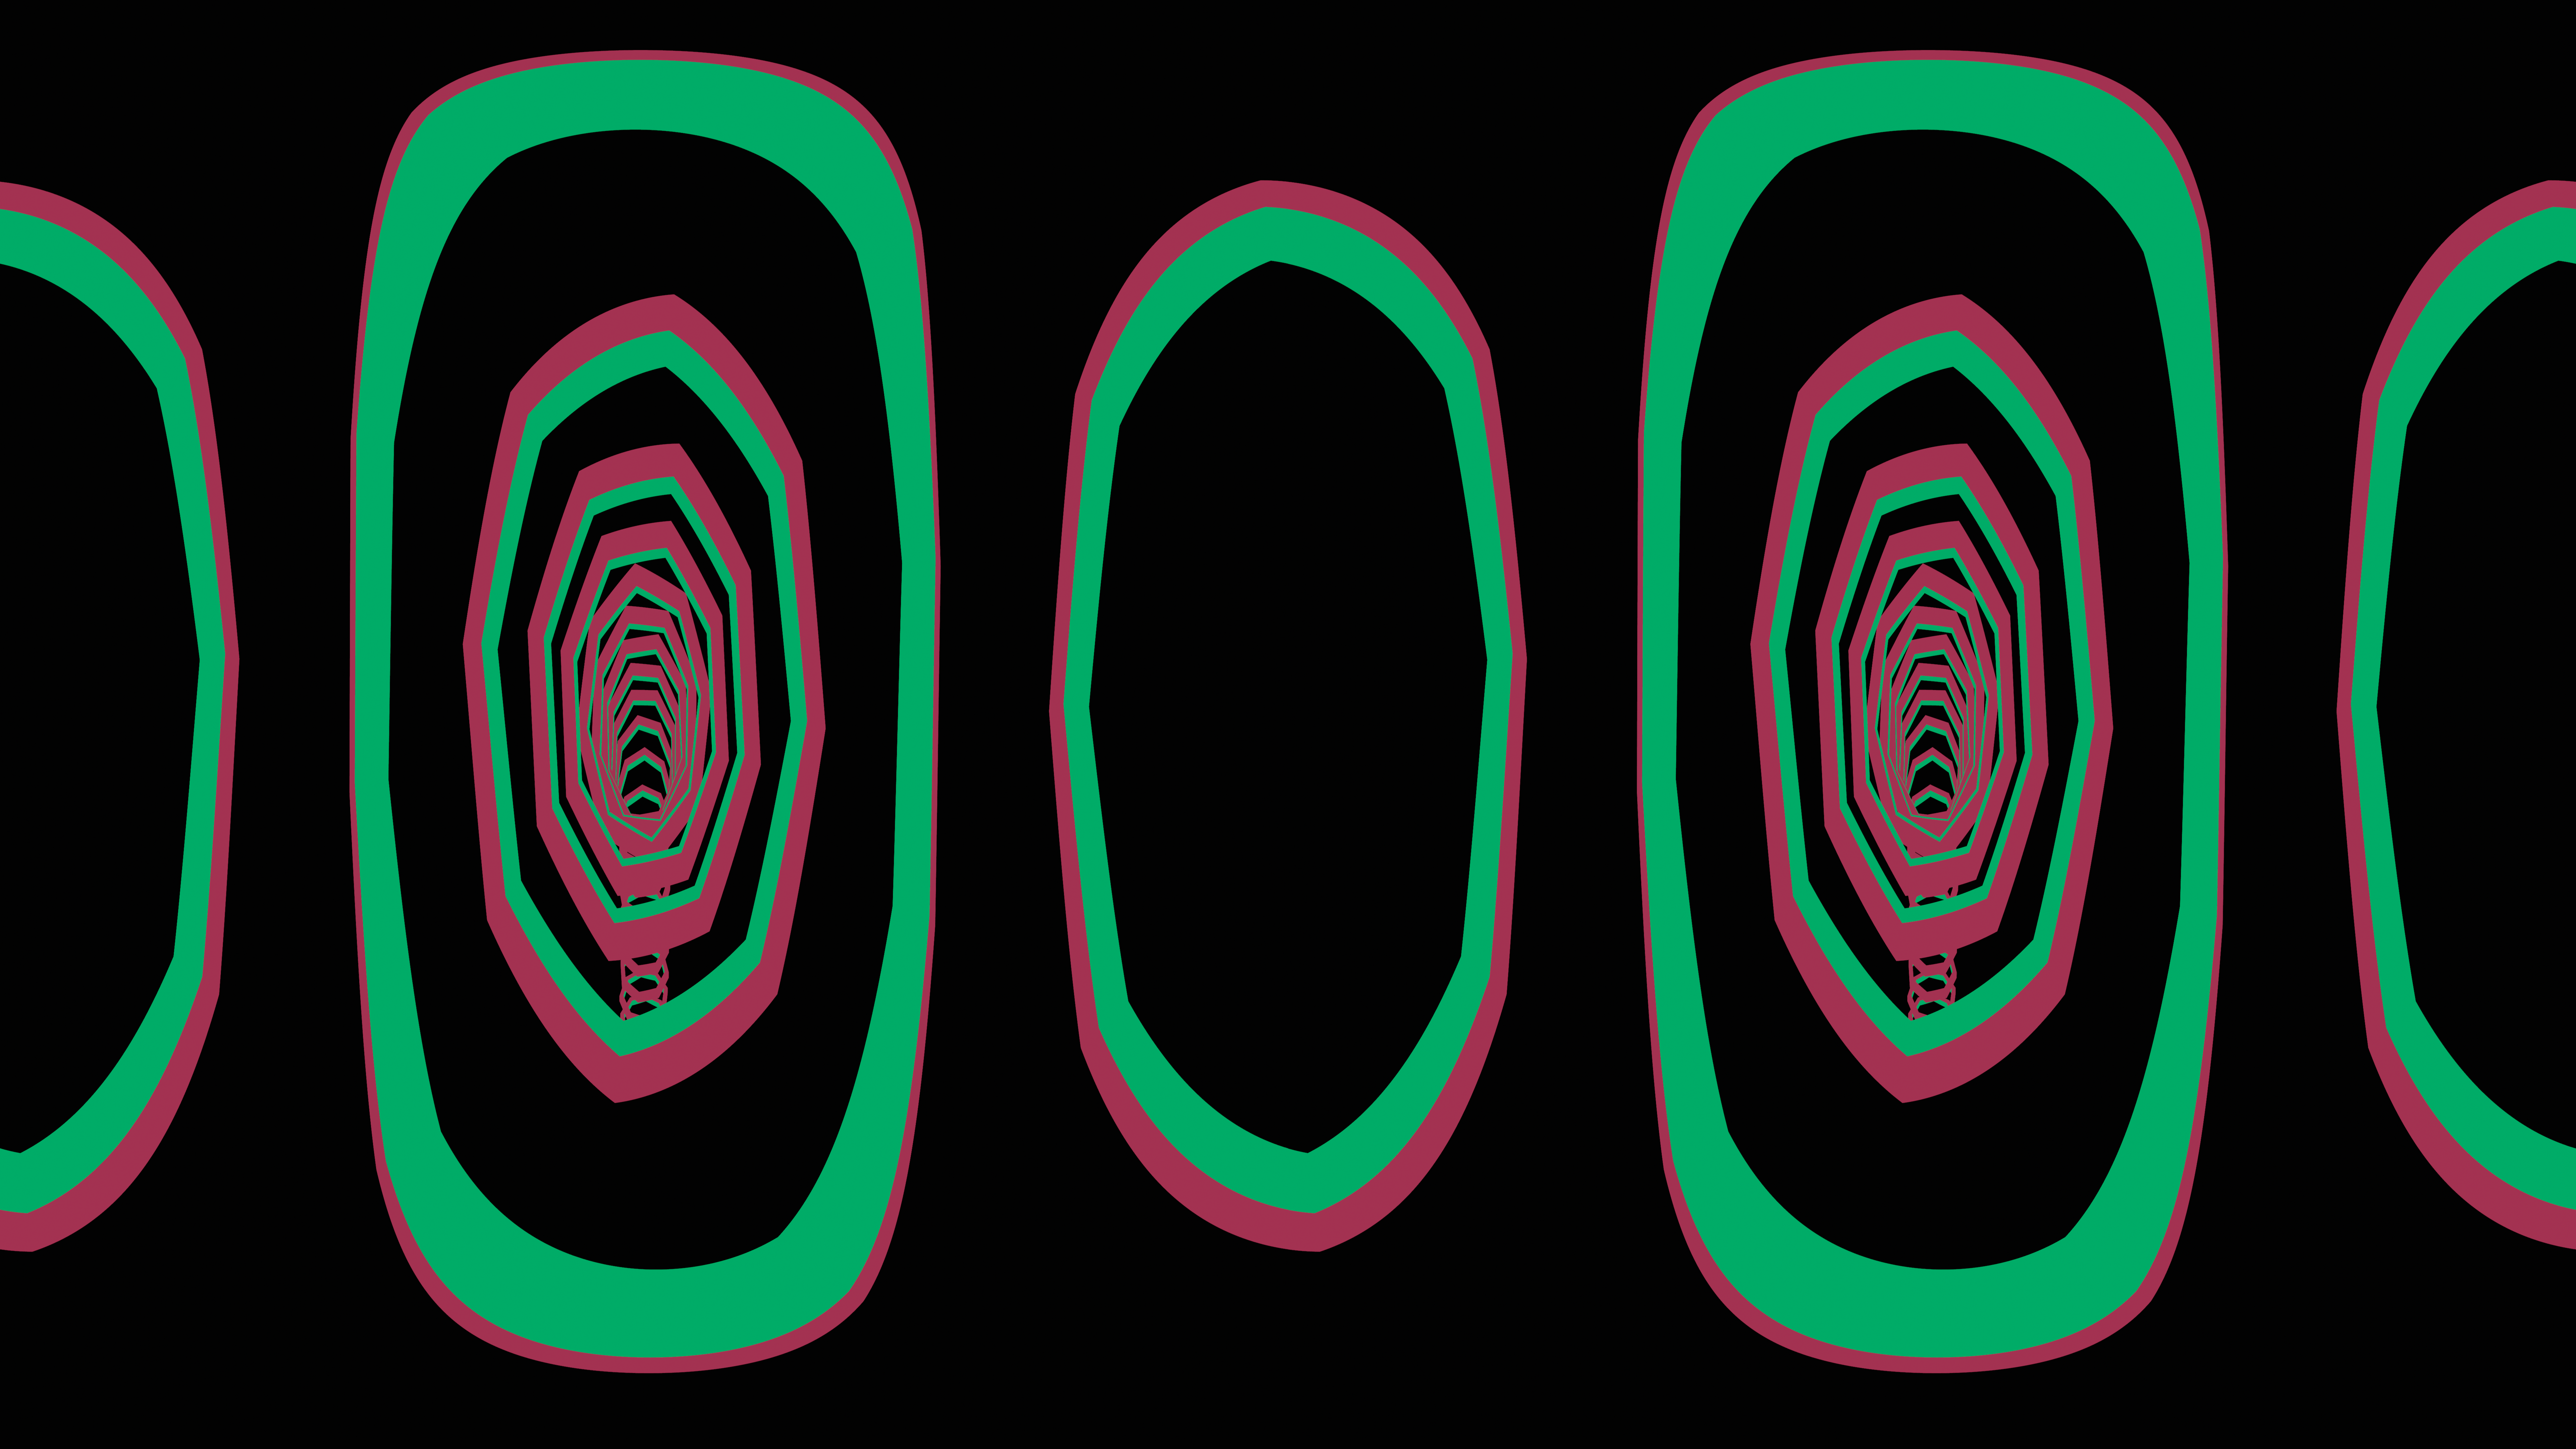
I decided at this point that for me to sell the idea that the viewer is in a dream I would include a ‘down the rabbit hole’ warp effect. (Fig.4). This I could create simply using Maya, following the instructional video on canvas and using a curve node effect with MASH. I did add a randomiser node for the X axis, just to give a bit more depth to the effect.
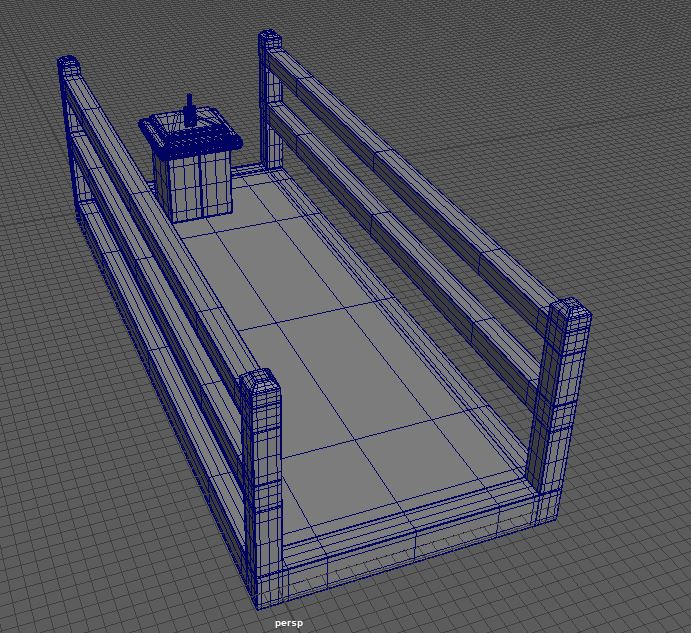
I did also create the few assets needed to create a different scene, one where the viewer drinks from a bottle then transition to the warp effect and then the scene from inside the building. However I couldn’t render get the atmospheric fog effect to work properly in Unreal Engine and without that blocking off the surroundings the walkway on its own made for a very poor visual (Fig.5)
I finally had the complete production in Premier Pro (Fig.6), just waiting for the audio to be added and any transitions or visual effects to be implemented. I did notice that personally I found the movements of the camera a little unsettling to the viewer (not in a good way), but I didn’t really have a way to counter this other than recording a directed video.
:: Summary ::
In this post I have discussed my failed attempt to add hands into the video for embodiment reasons, and shown what videos I followed in order to capture 8K 360 frames from Unreal Engine and import them in Premiere Pro. My next step is to add the audio elements to the project and any video transitions required to finish.
:: References ::
Jason Levine (2017). ‘How to Edit 360/VR Video in Premiere Pro CC 2017 (Monoscopic & Stereoscopic)’ [YouTube Video] Available online: https://www.youtube.com/watch?v=-xNeooQ8tAE&t=710s&ab_channel=JasonLevine [Accessed 18/06/2023]
WINBRUSH (2022) ‘Unreal Engine 5 360 Panoramic EASY! | No coding No Plugins’ [YouTube Video] Available online: https://www.youtube.com/watch?v=SpkP1XCF_mE&ab_channel=WINBUSH [Accessed 18/06/2023]