In this post I will detail how I went about exporting the character from Maya into Marmoset so I could capture my renders, wireframe renders and turntable video.
:: Production ::
With the modelling complete all that was left was to get the character into Marmoset so I could get some nice renders. There were a few little tweaks I needed to fix before I could render the character. The dress clipped with the body of the character (Fig.1) which required me to manipulate the faces some more in Maya. It was important to rename the AI Standard Surface textures of the various character parts so that I could organise what texture maps would be needed for what nodes (Fig.2).
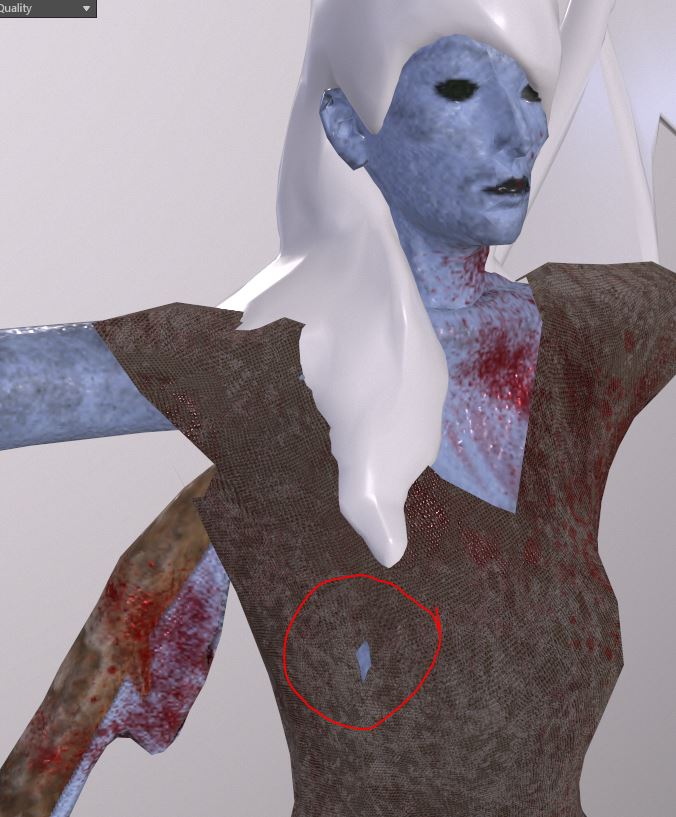
Fig. 1 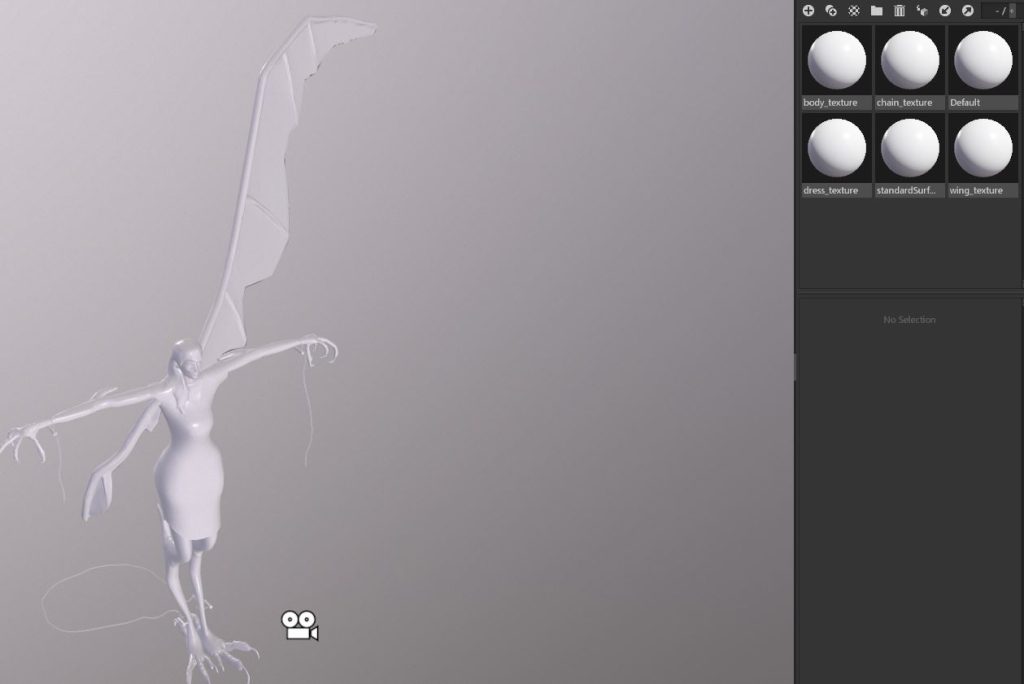
Fig. 2 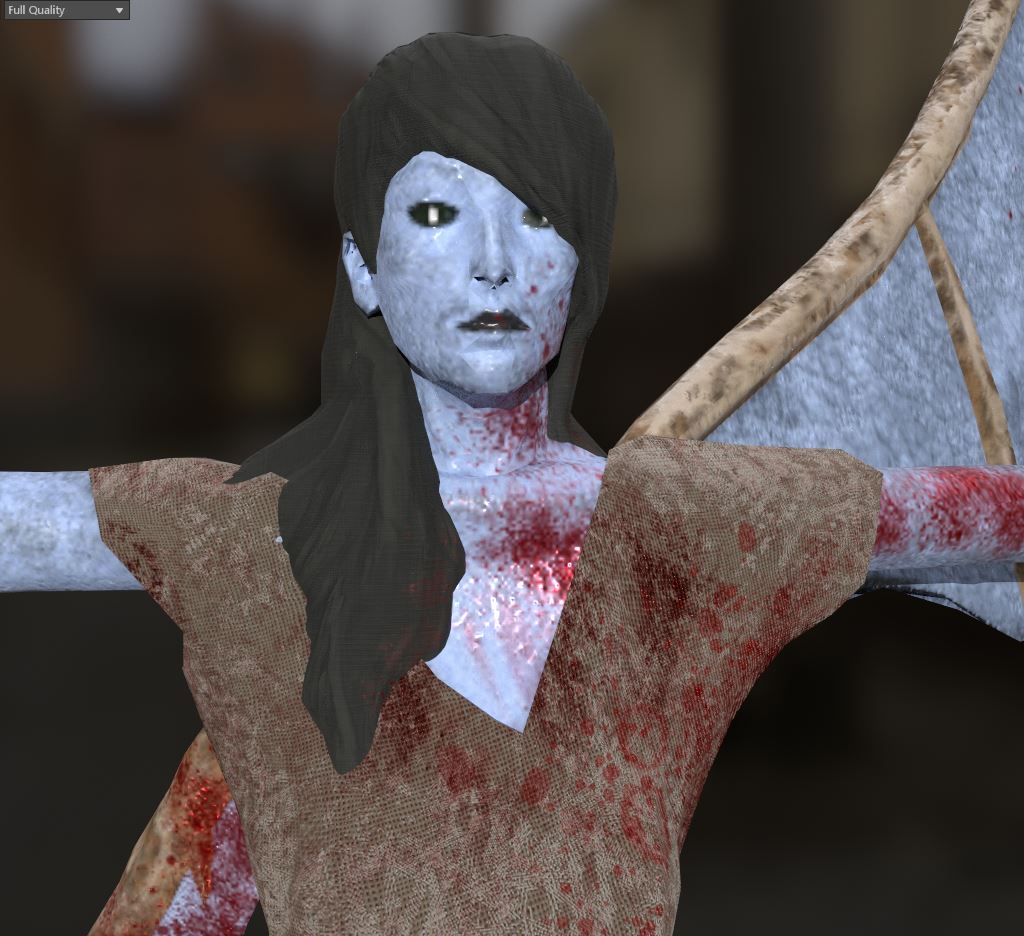
Fig. 3
I also had to quickly open the character in Substance Painter again as I hadn’t added any pupils to the eyes and though these were a small part of the model it was very noticeable in the renders. In my Head post you can see how I planned to use a fascinating texture from a real world animal however I found that the bake resulted in a pretty low resolution head that would not have allowed me to show the fine details of the head. Because of this I ended up with the much more simplified eyes that you can see in the renders (Fig.3)
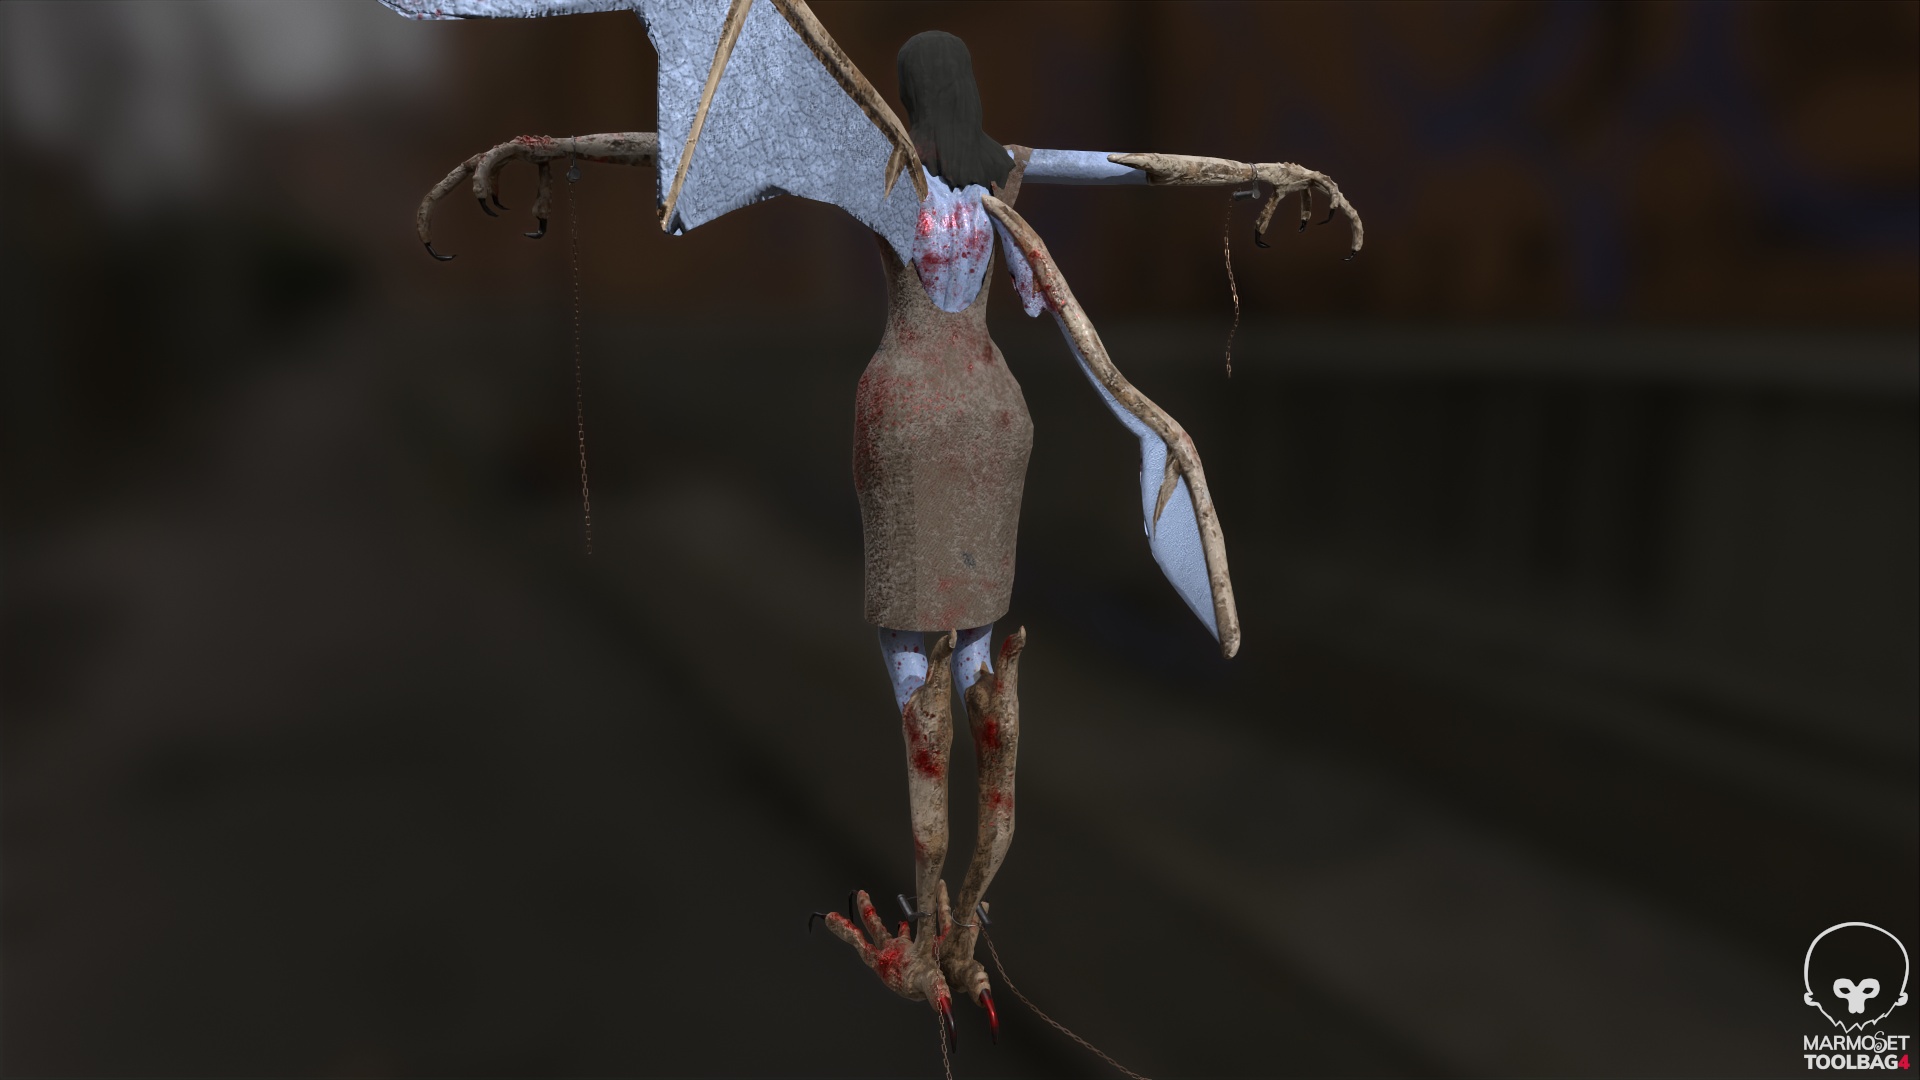
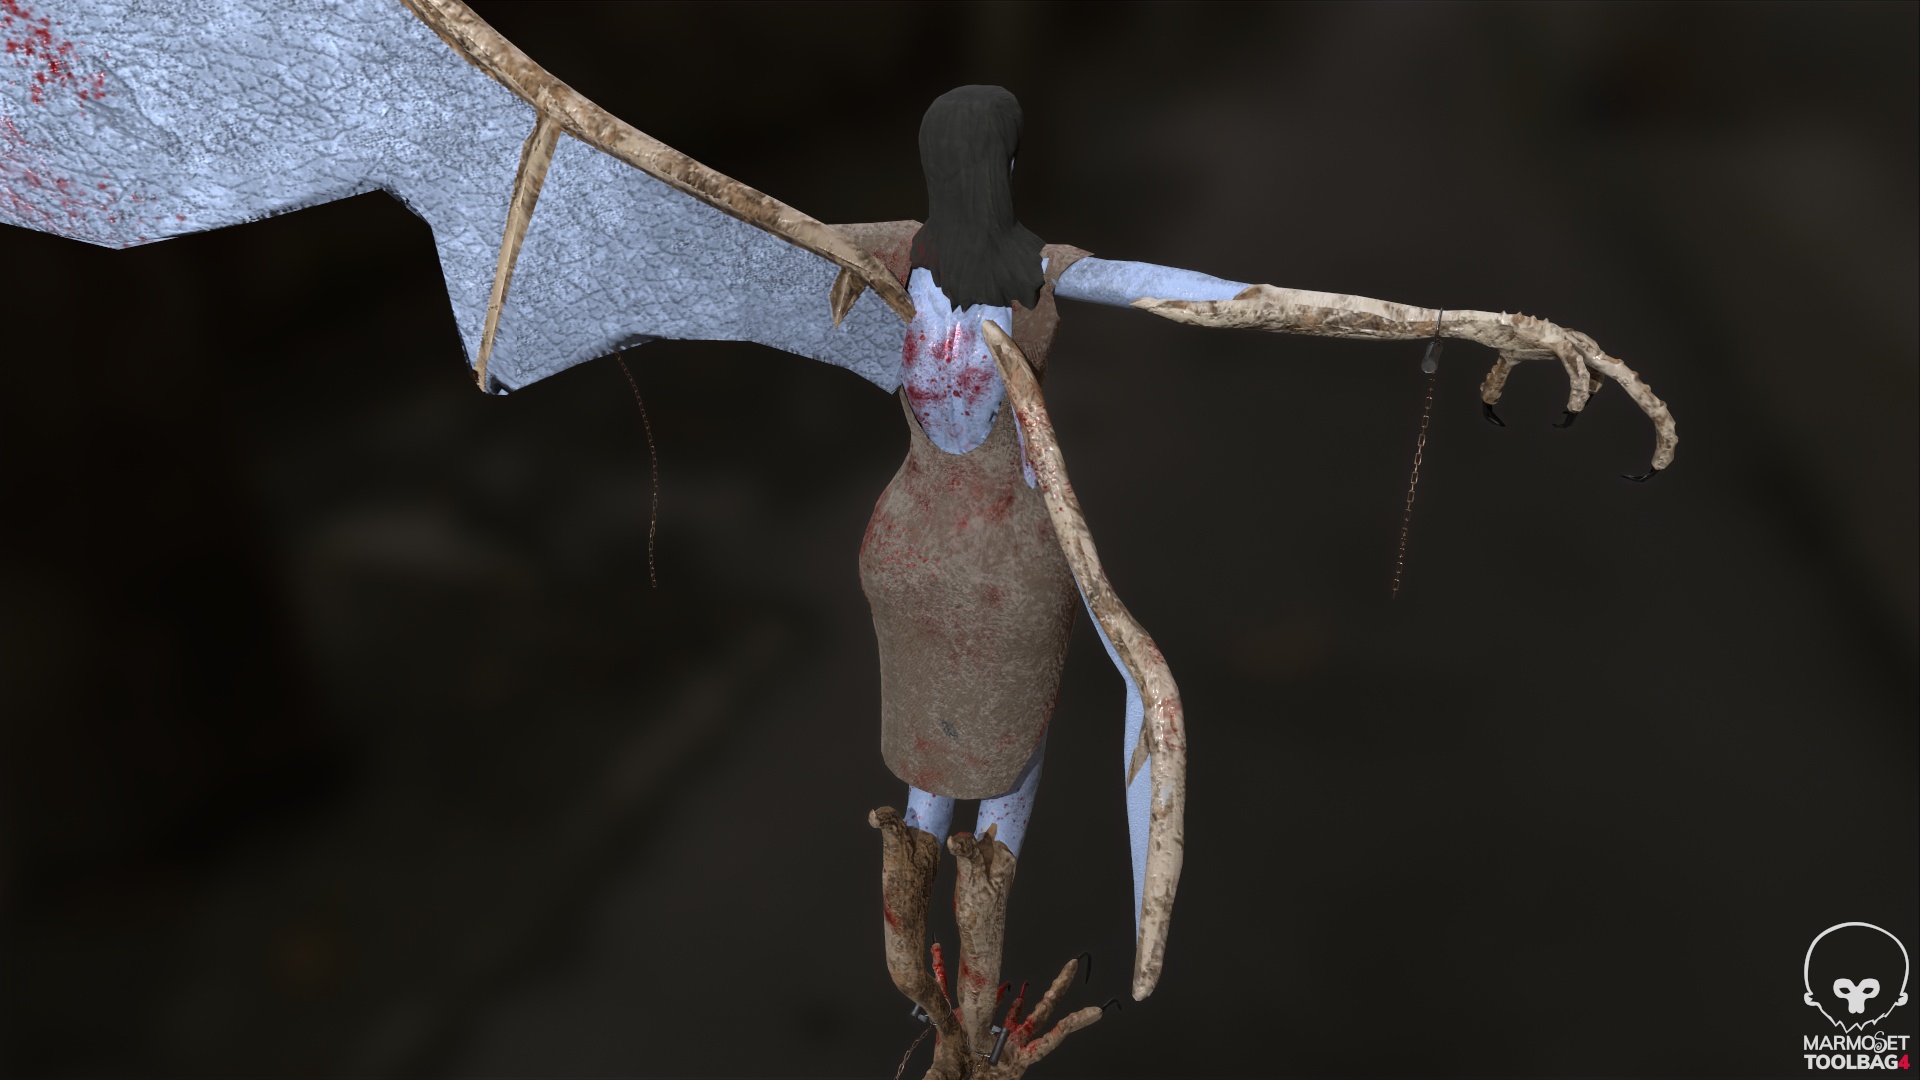
:: Still Renders ::
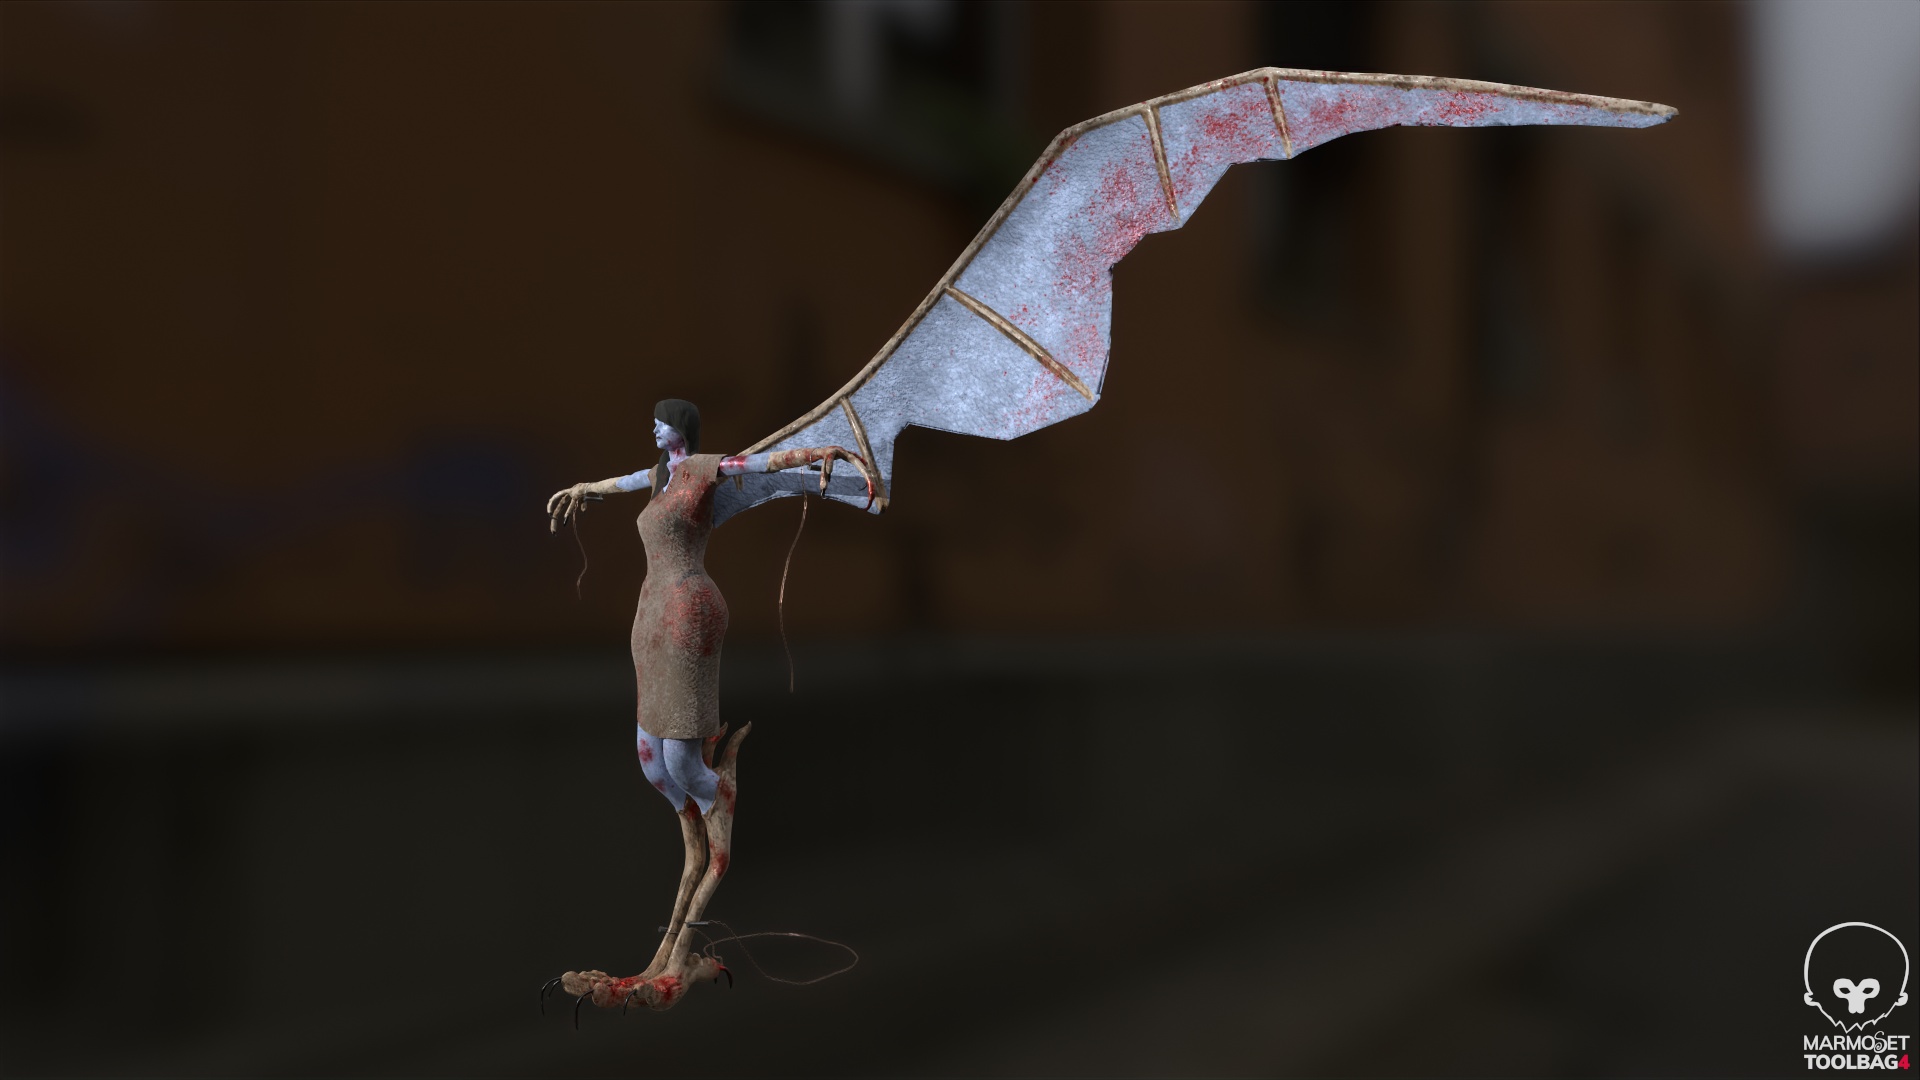
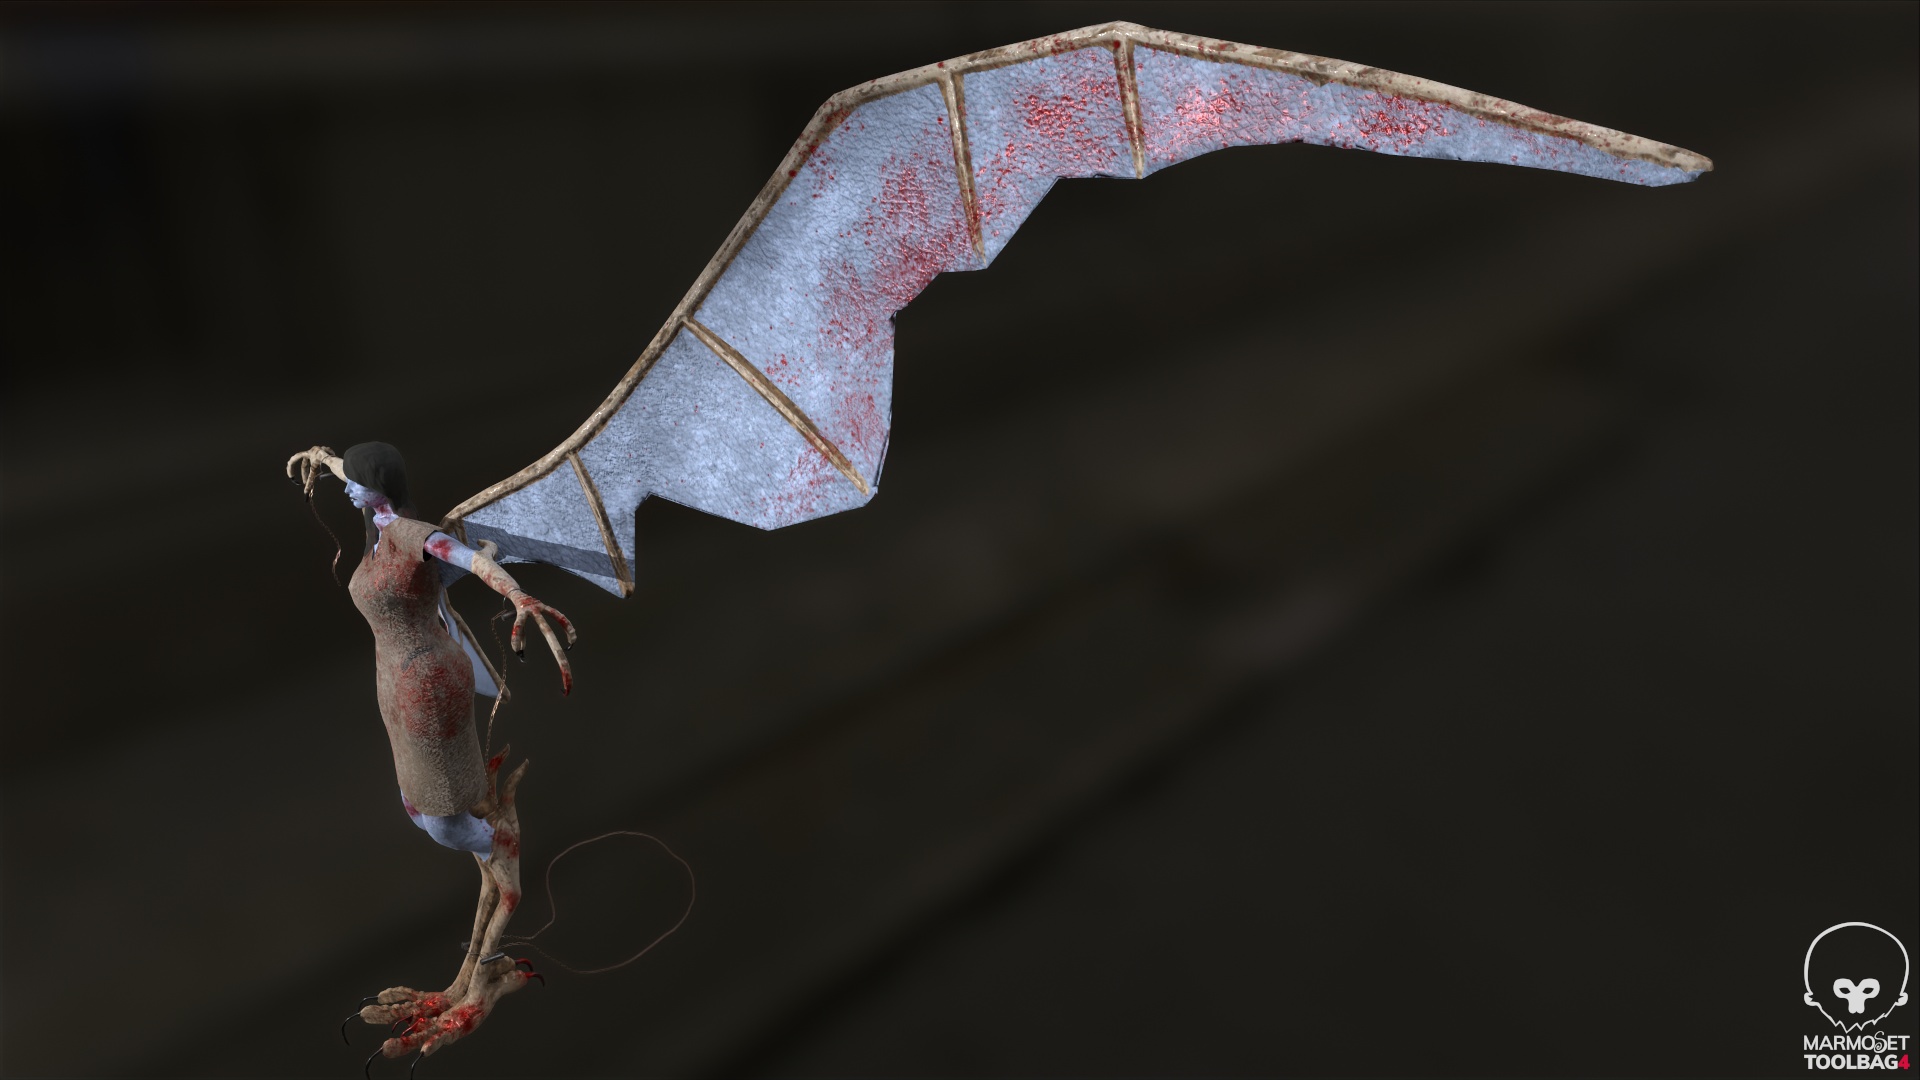
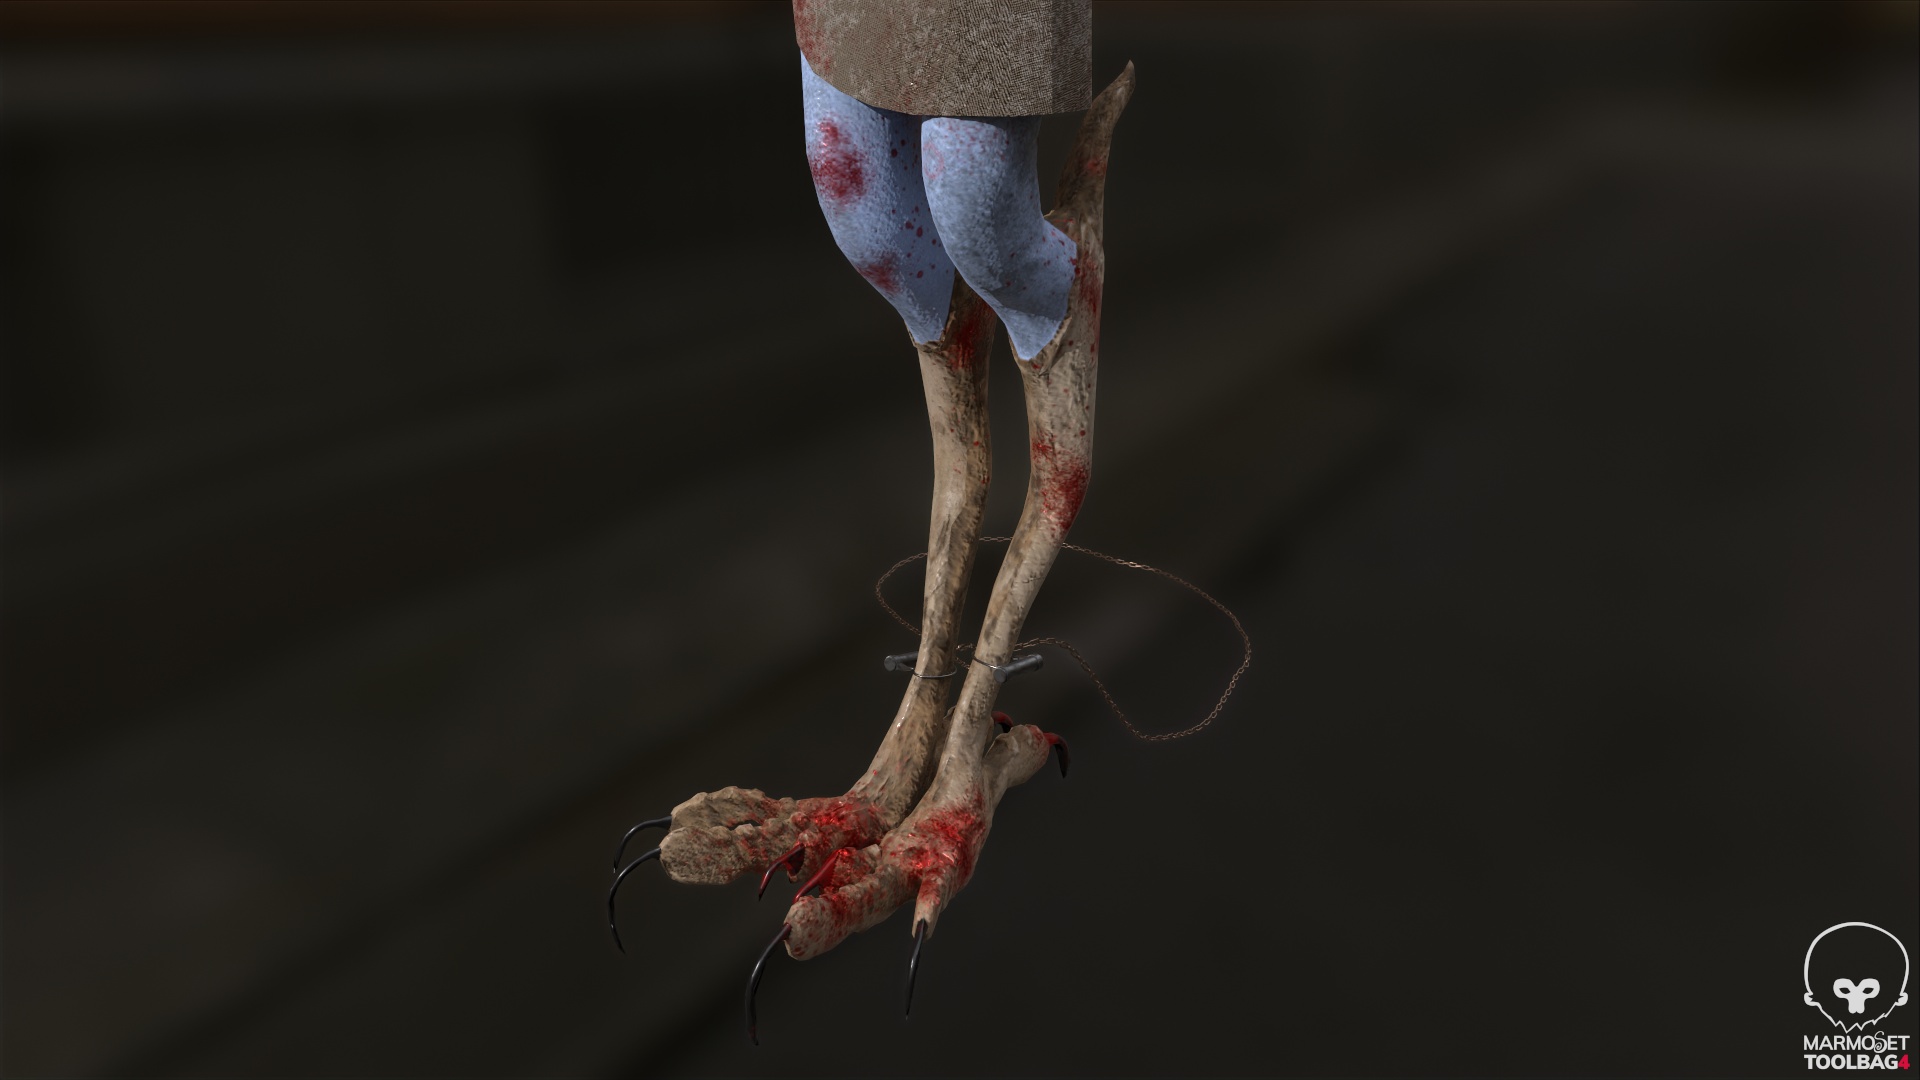
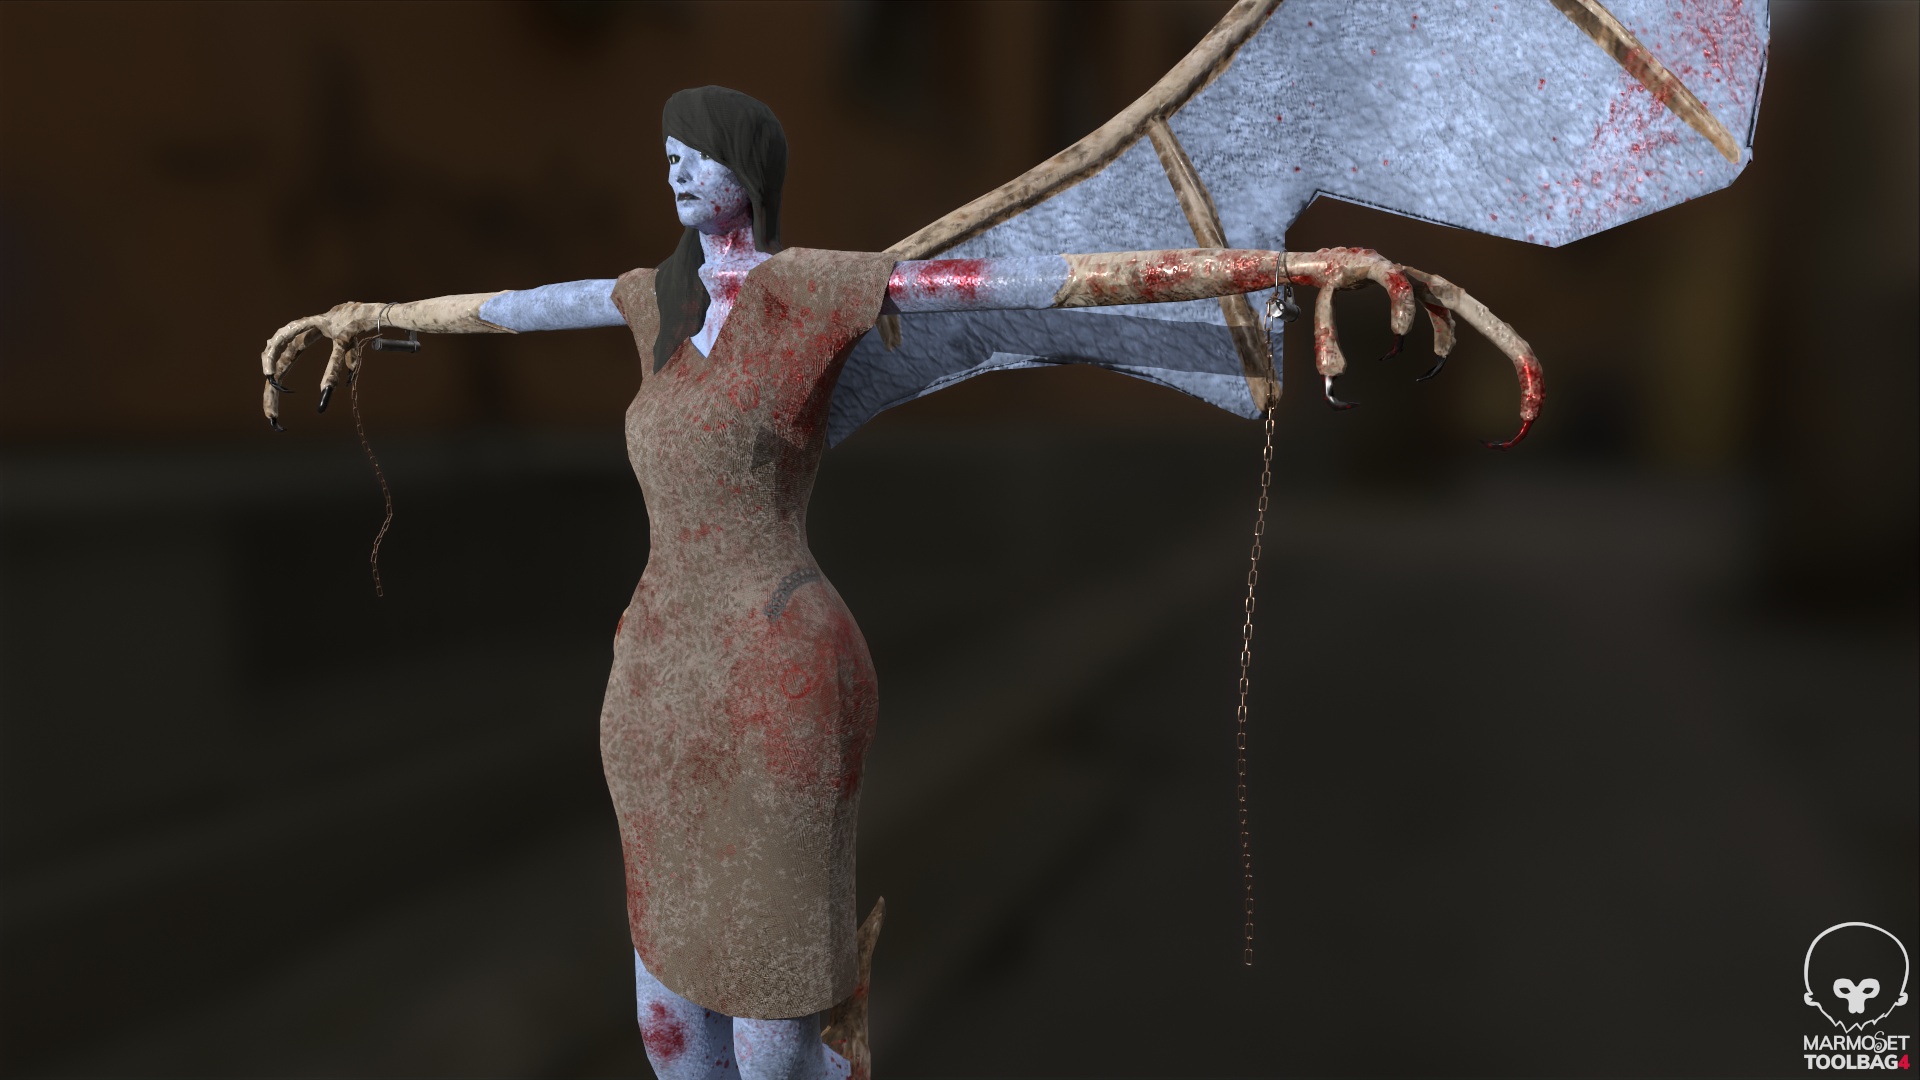
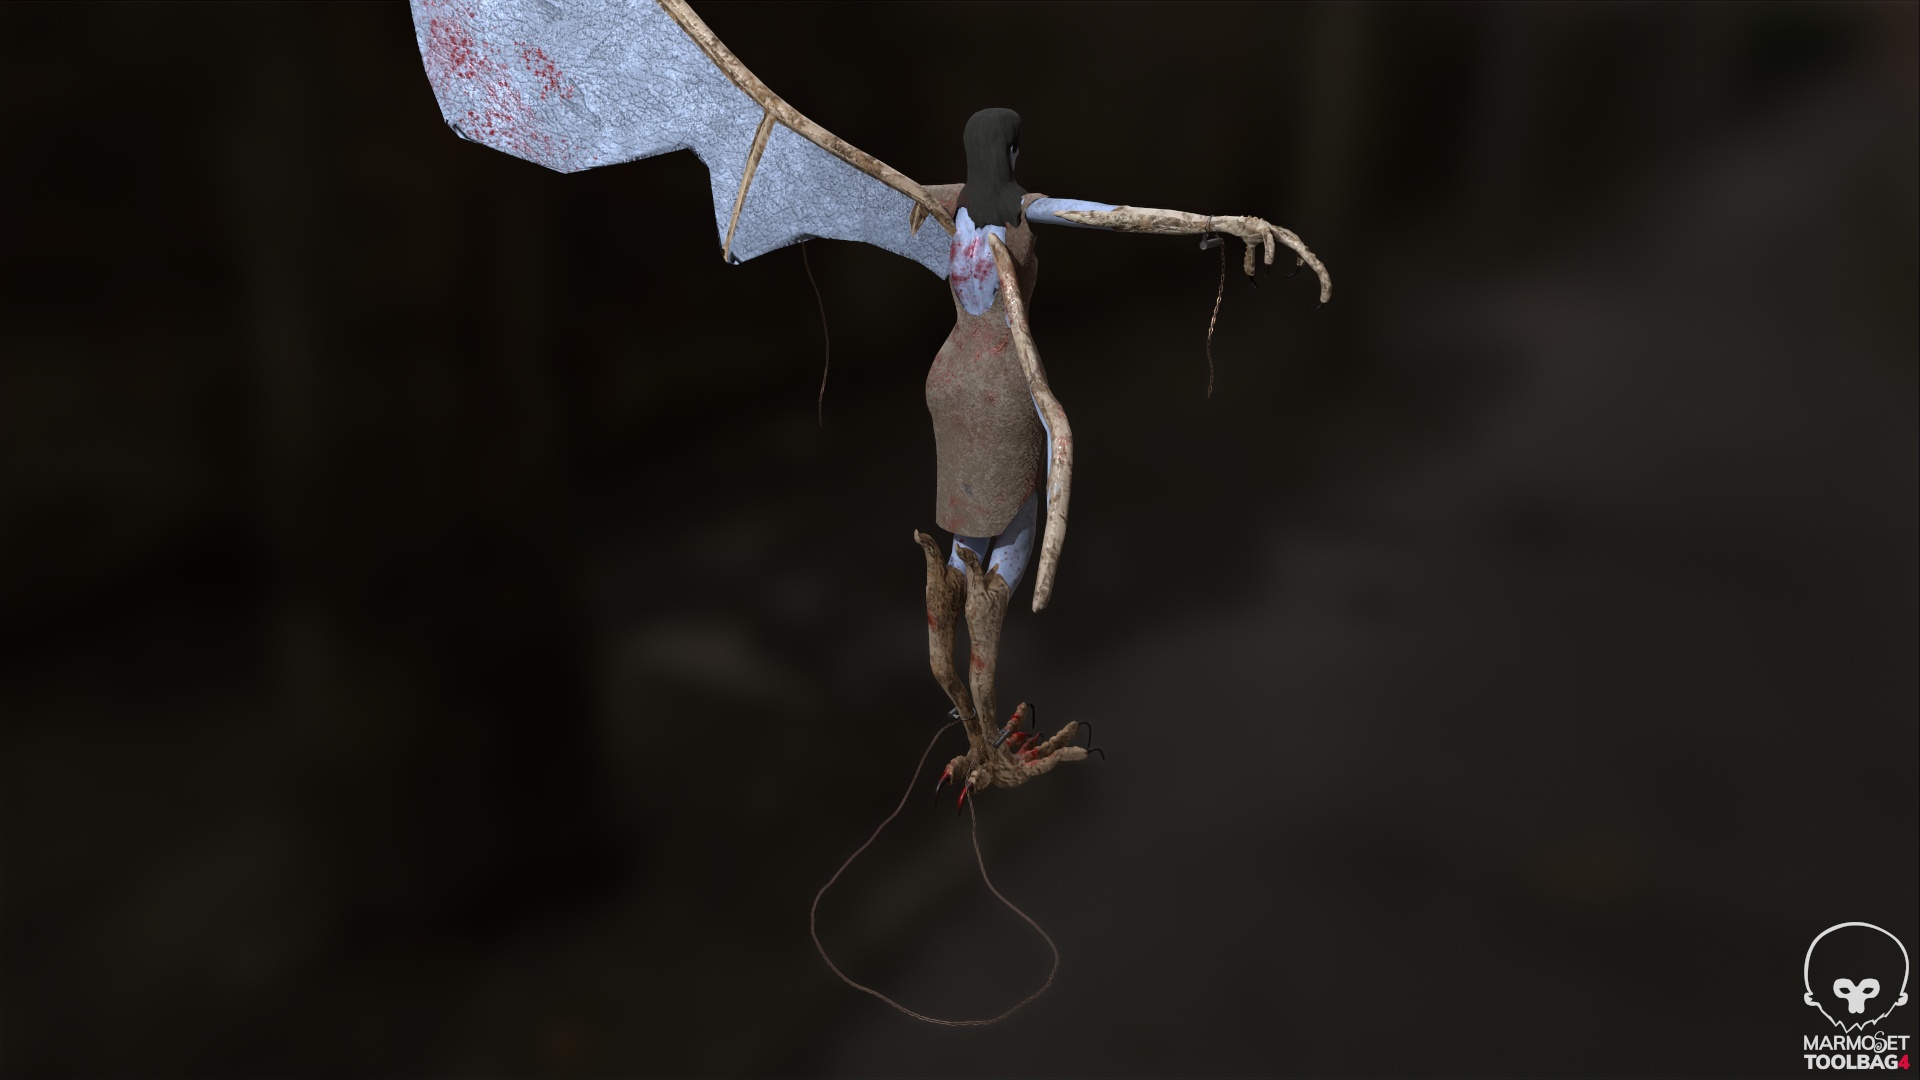
It was easy enough to get the still renders of the character. You can view all angles below and my perspective thoughts on the overall process can be found in my ‘Final Thoughts’ post.


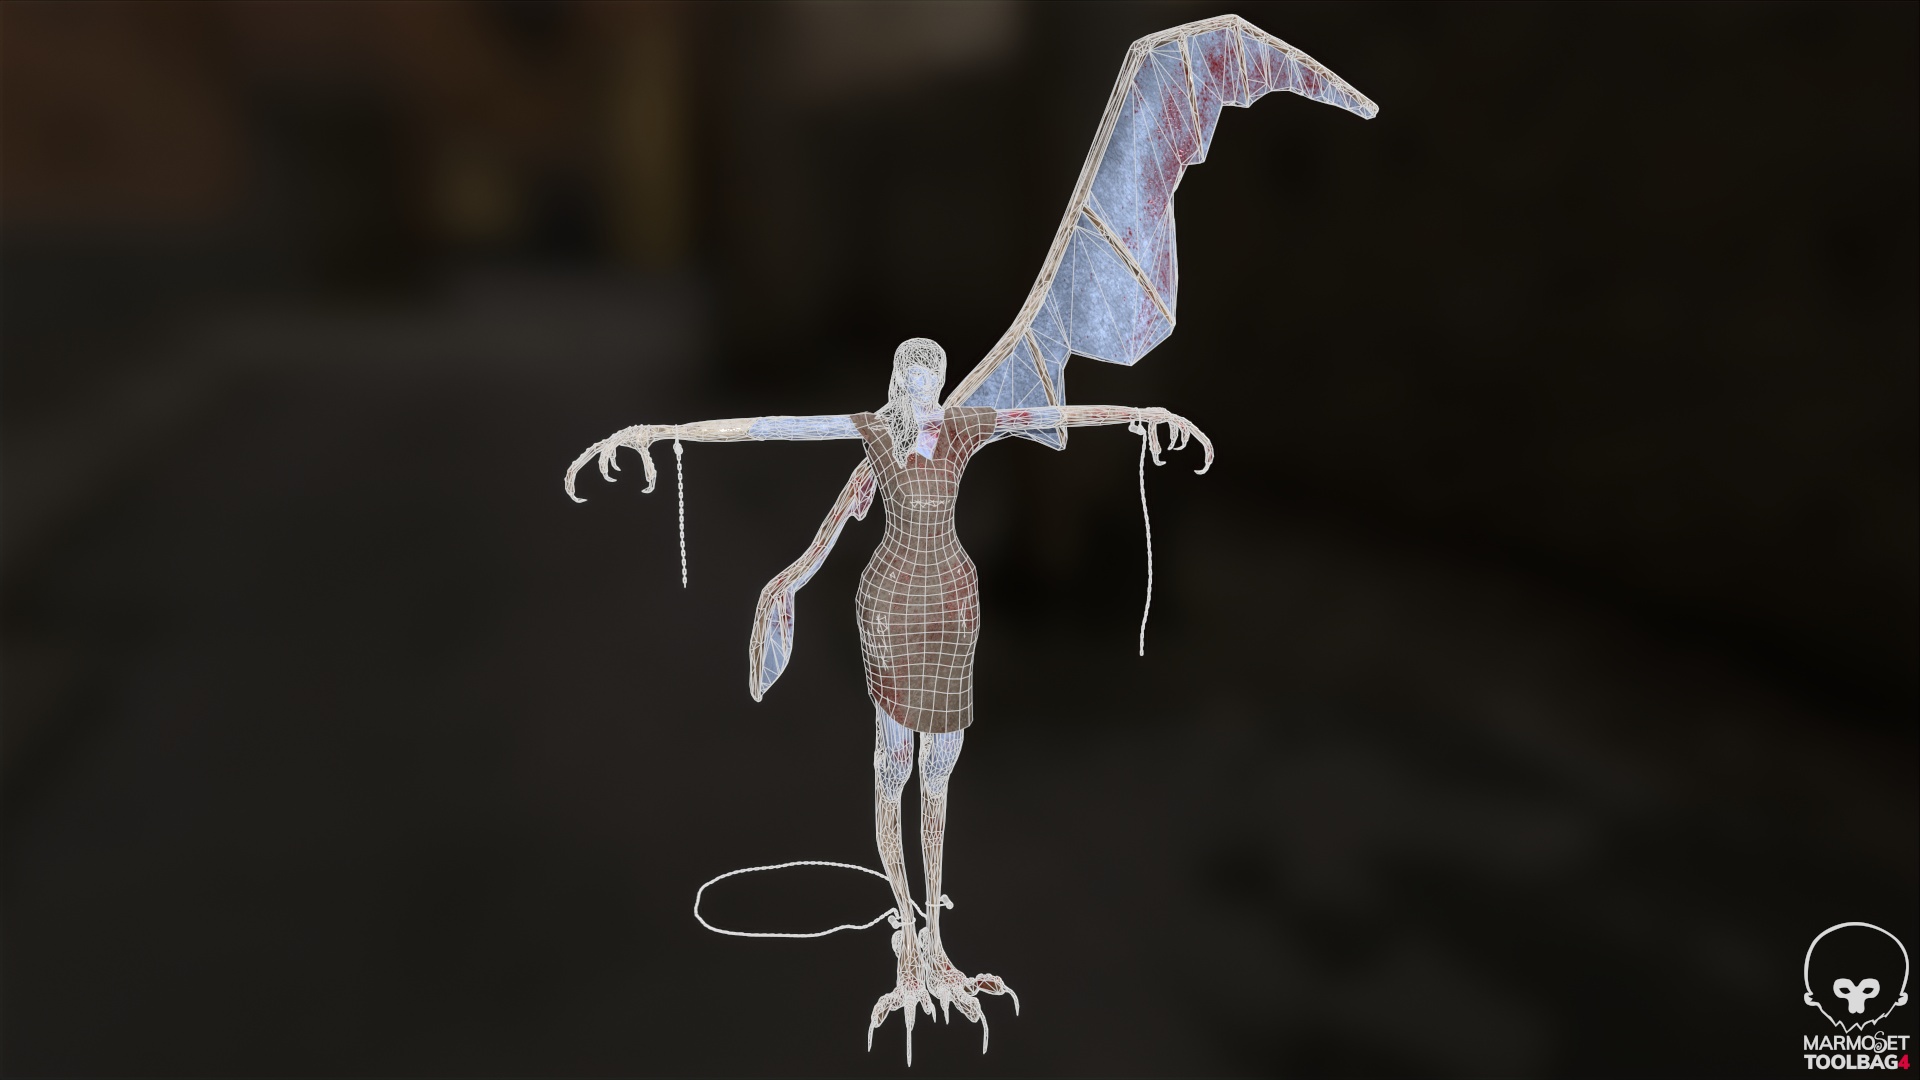
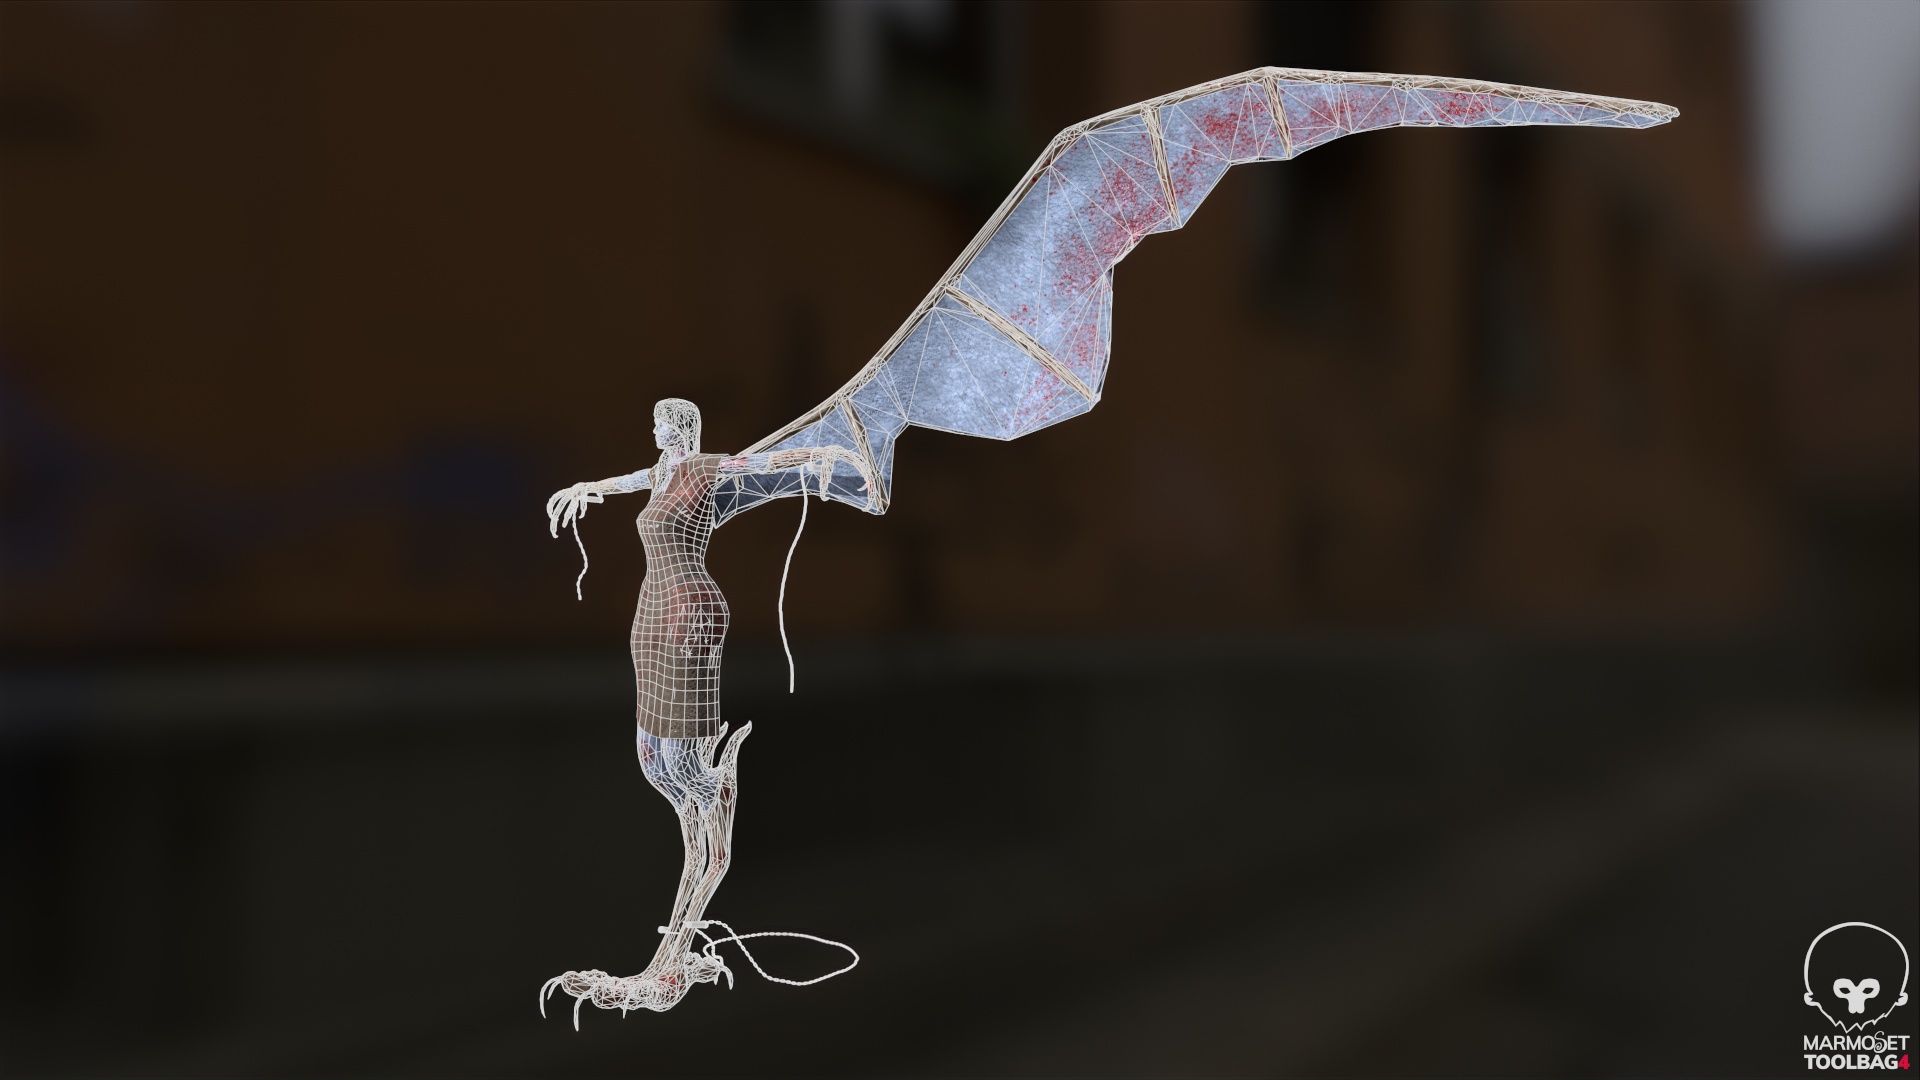
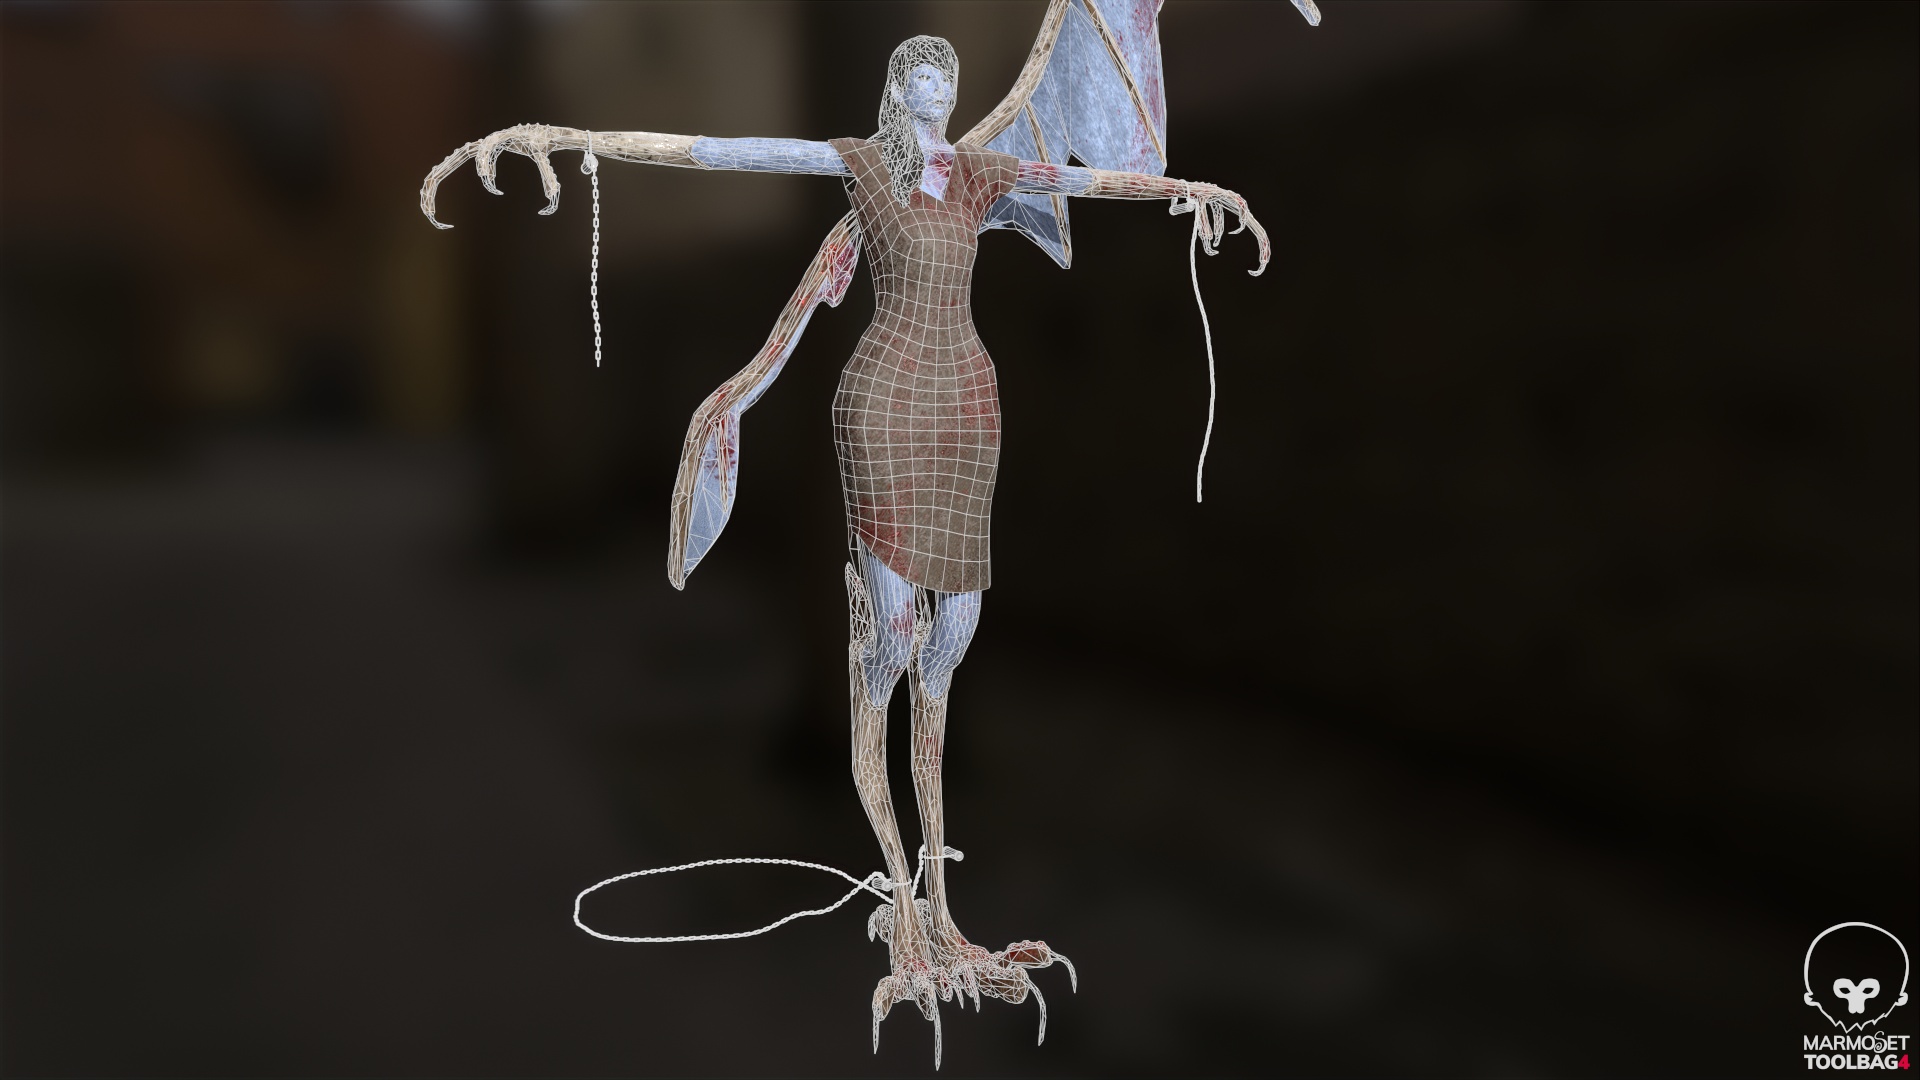
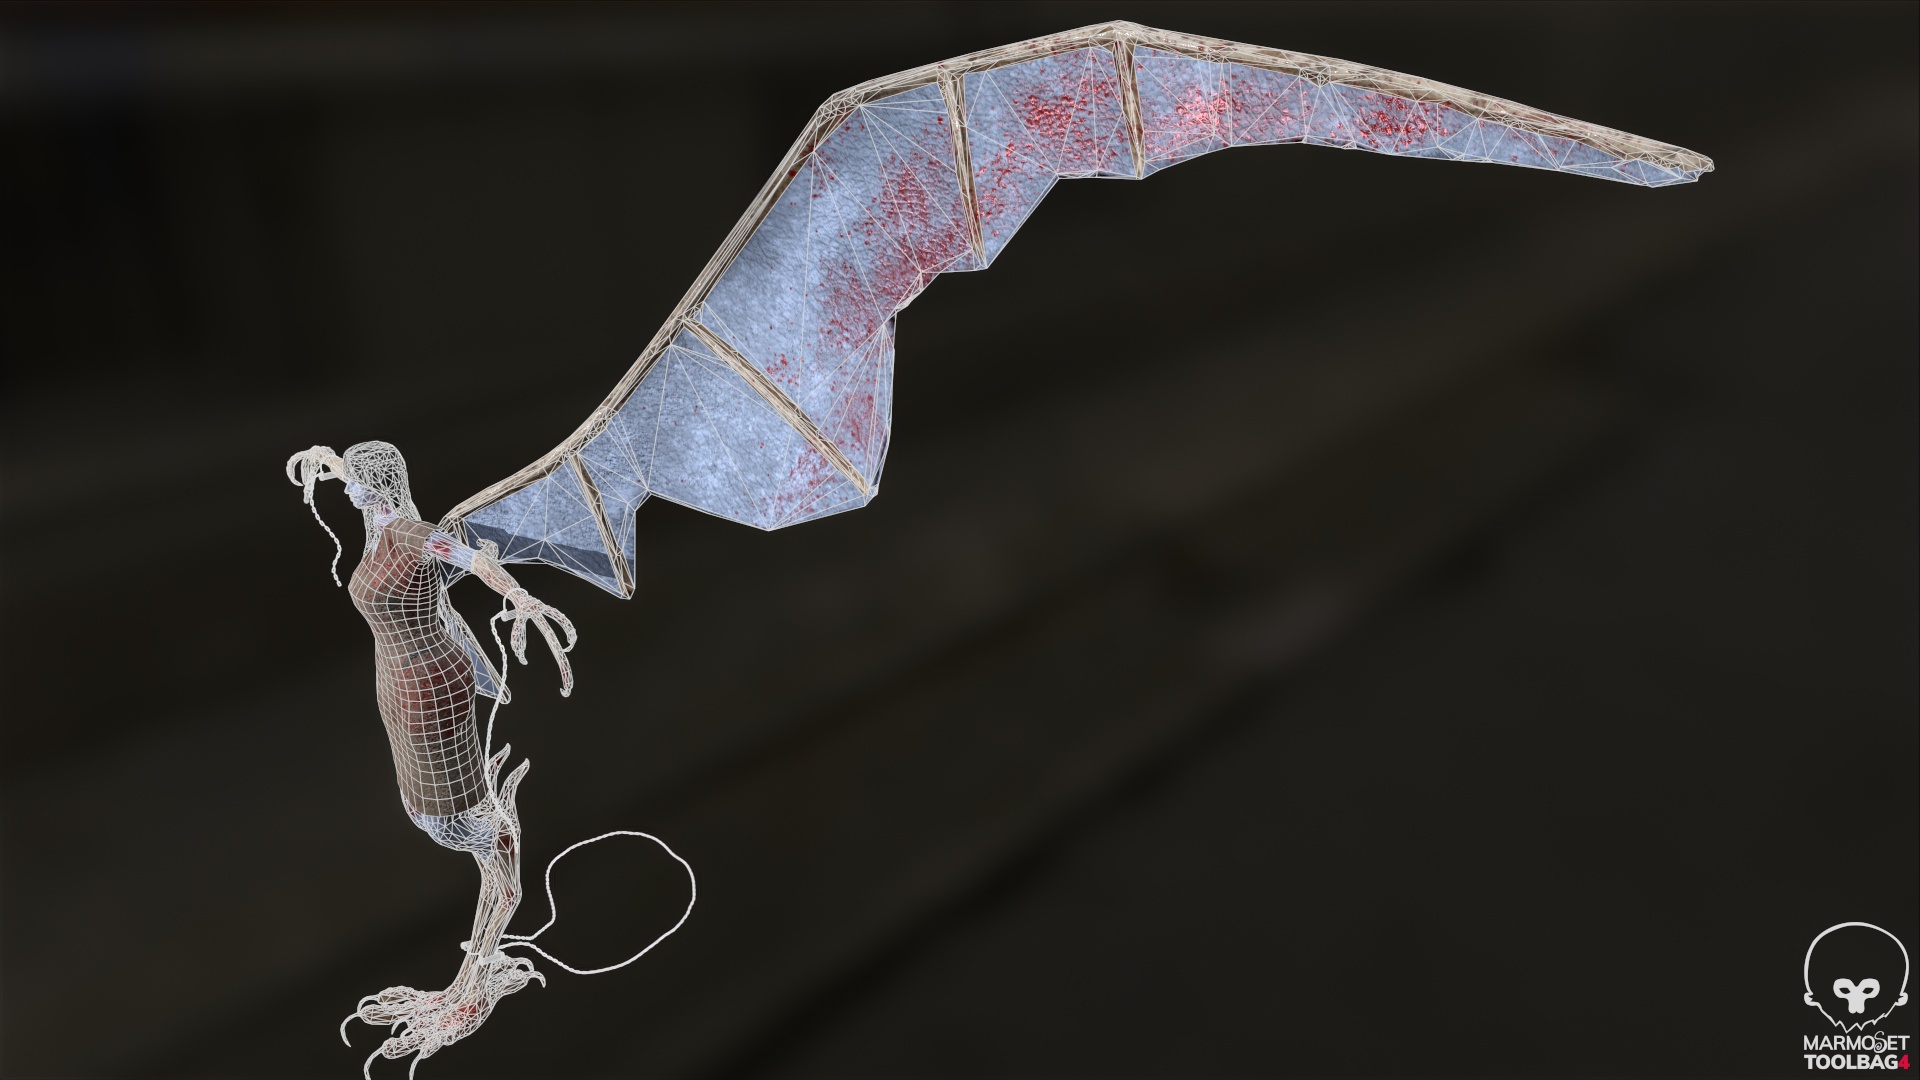
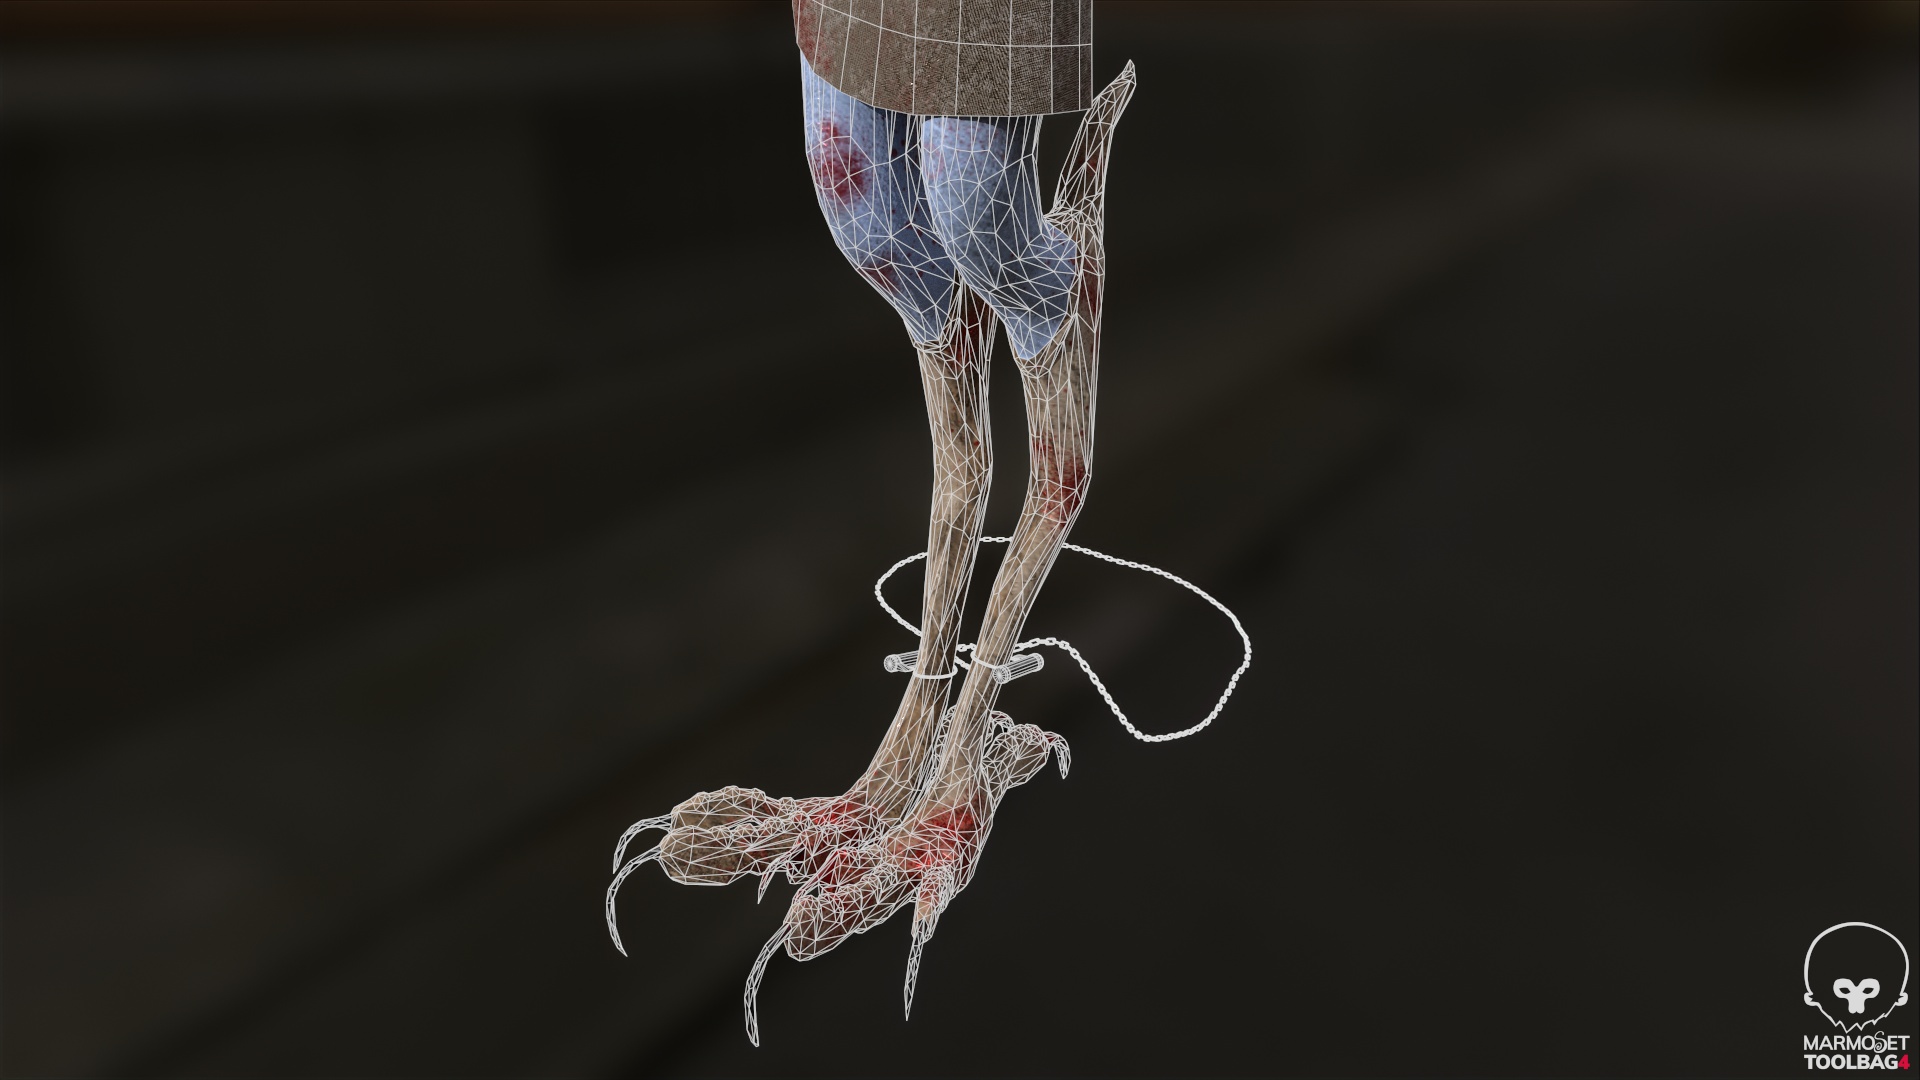
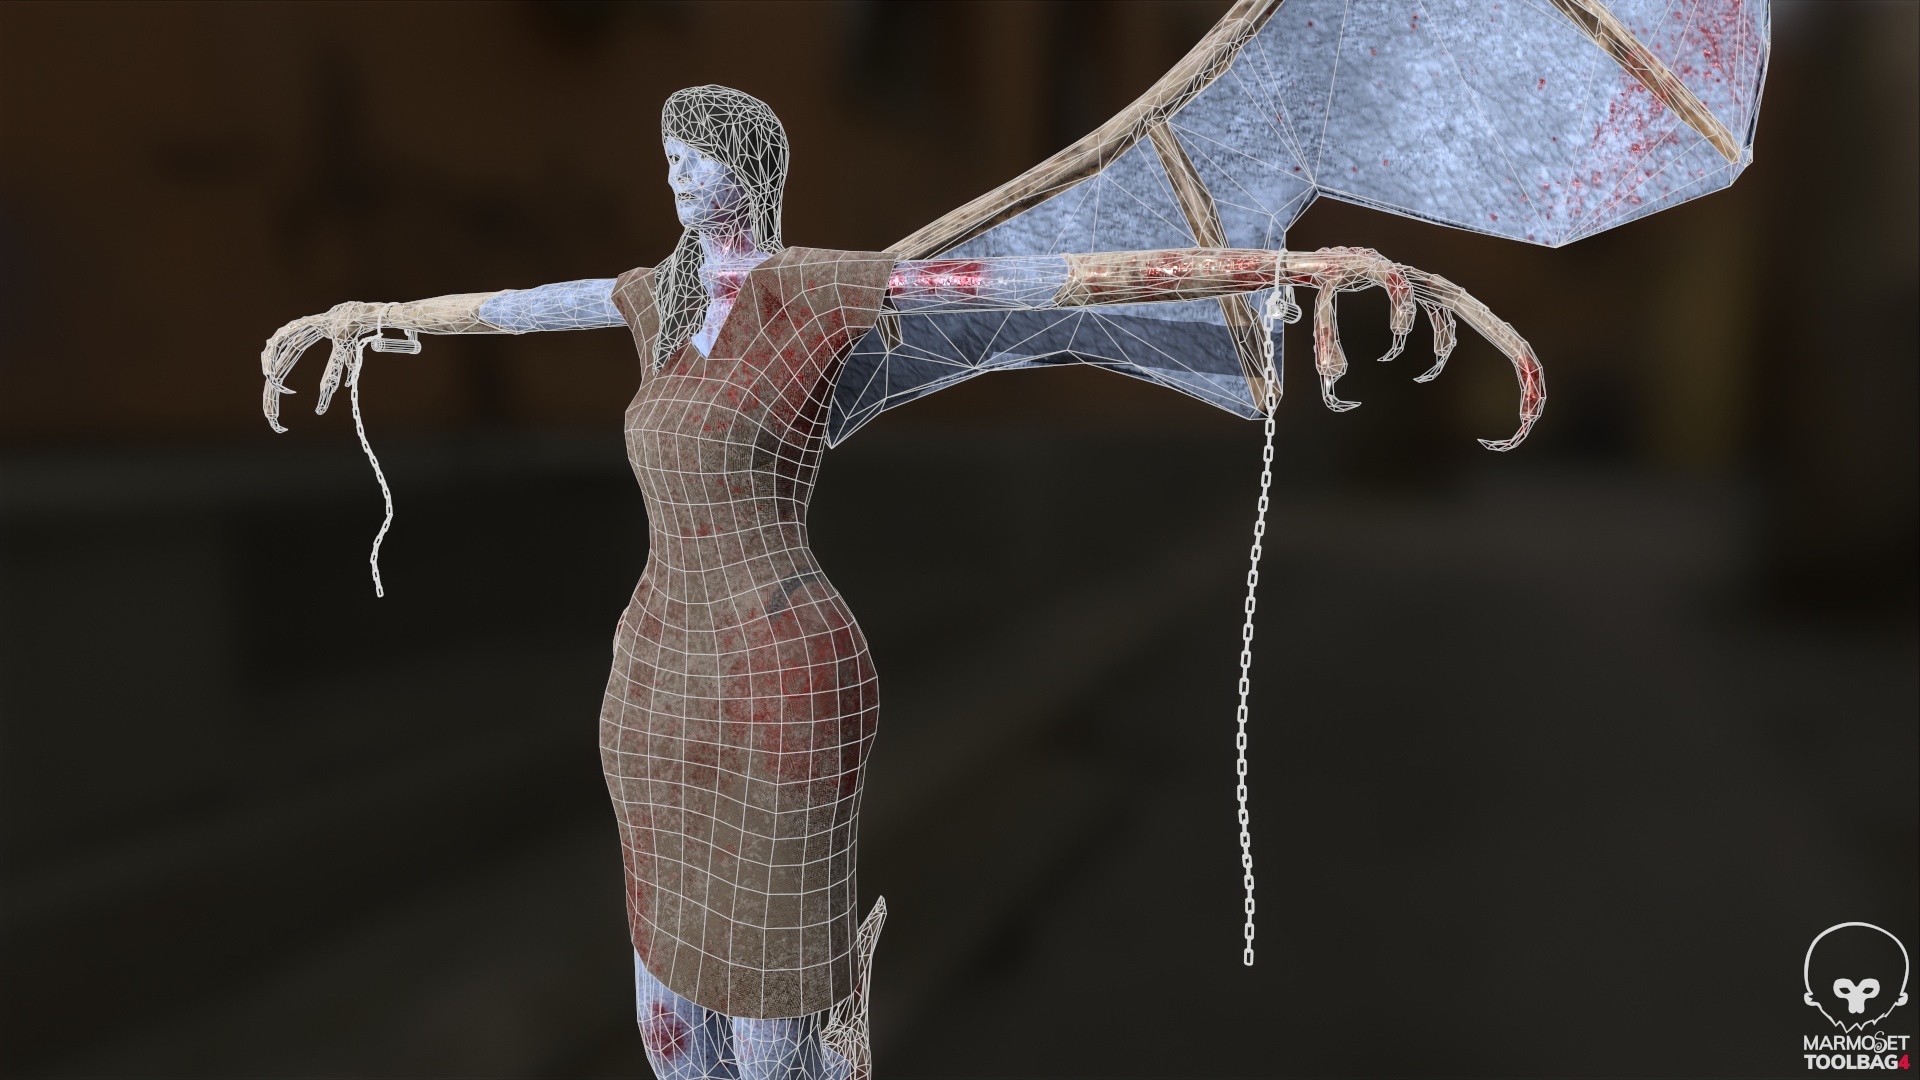
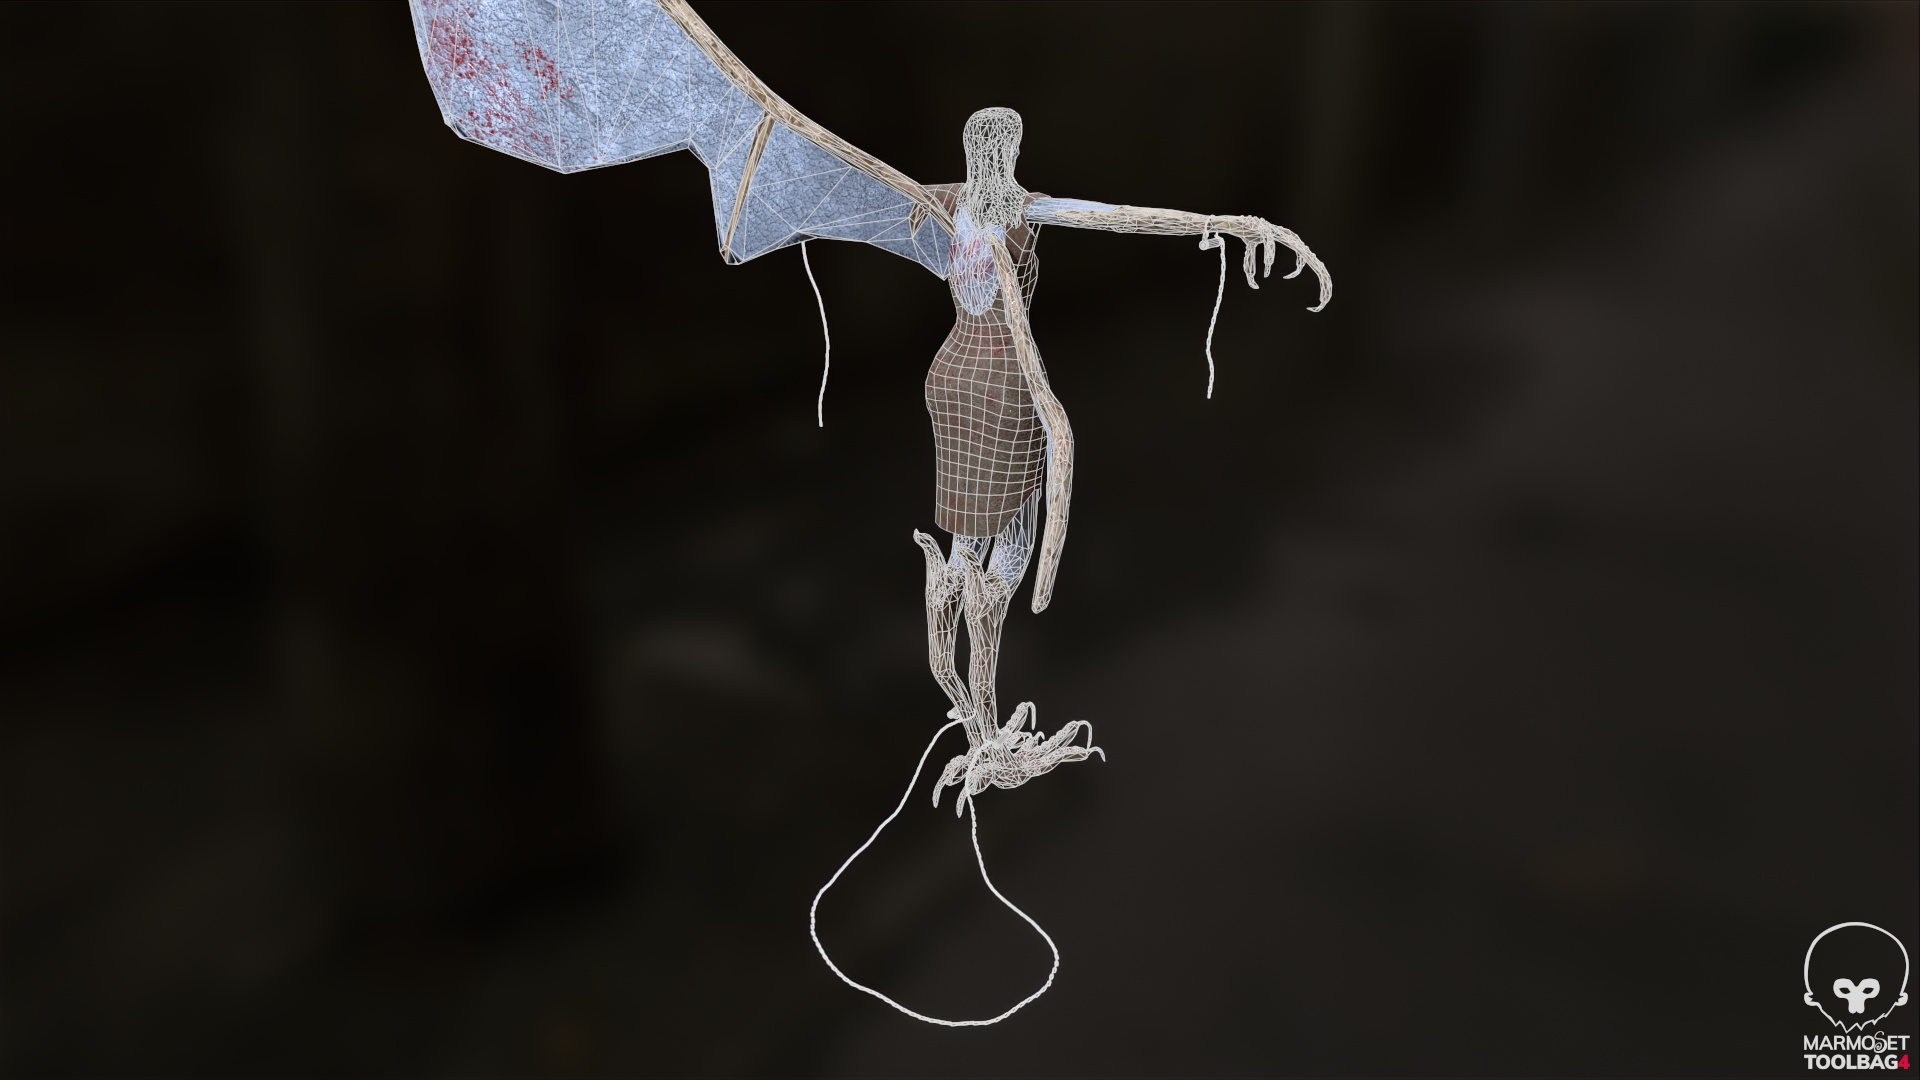
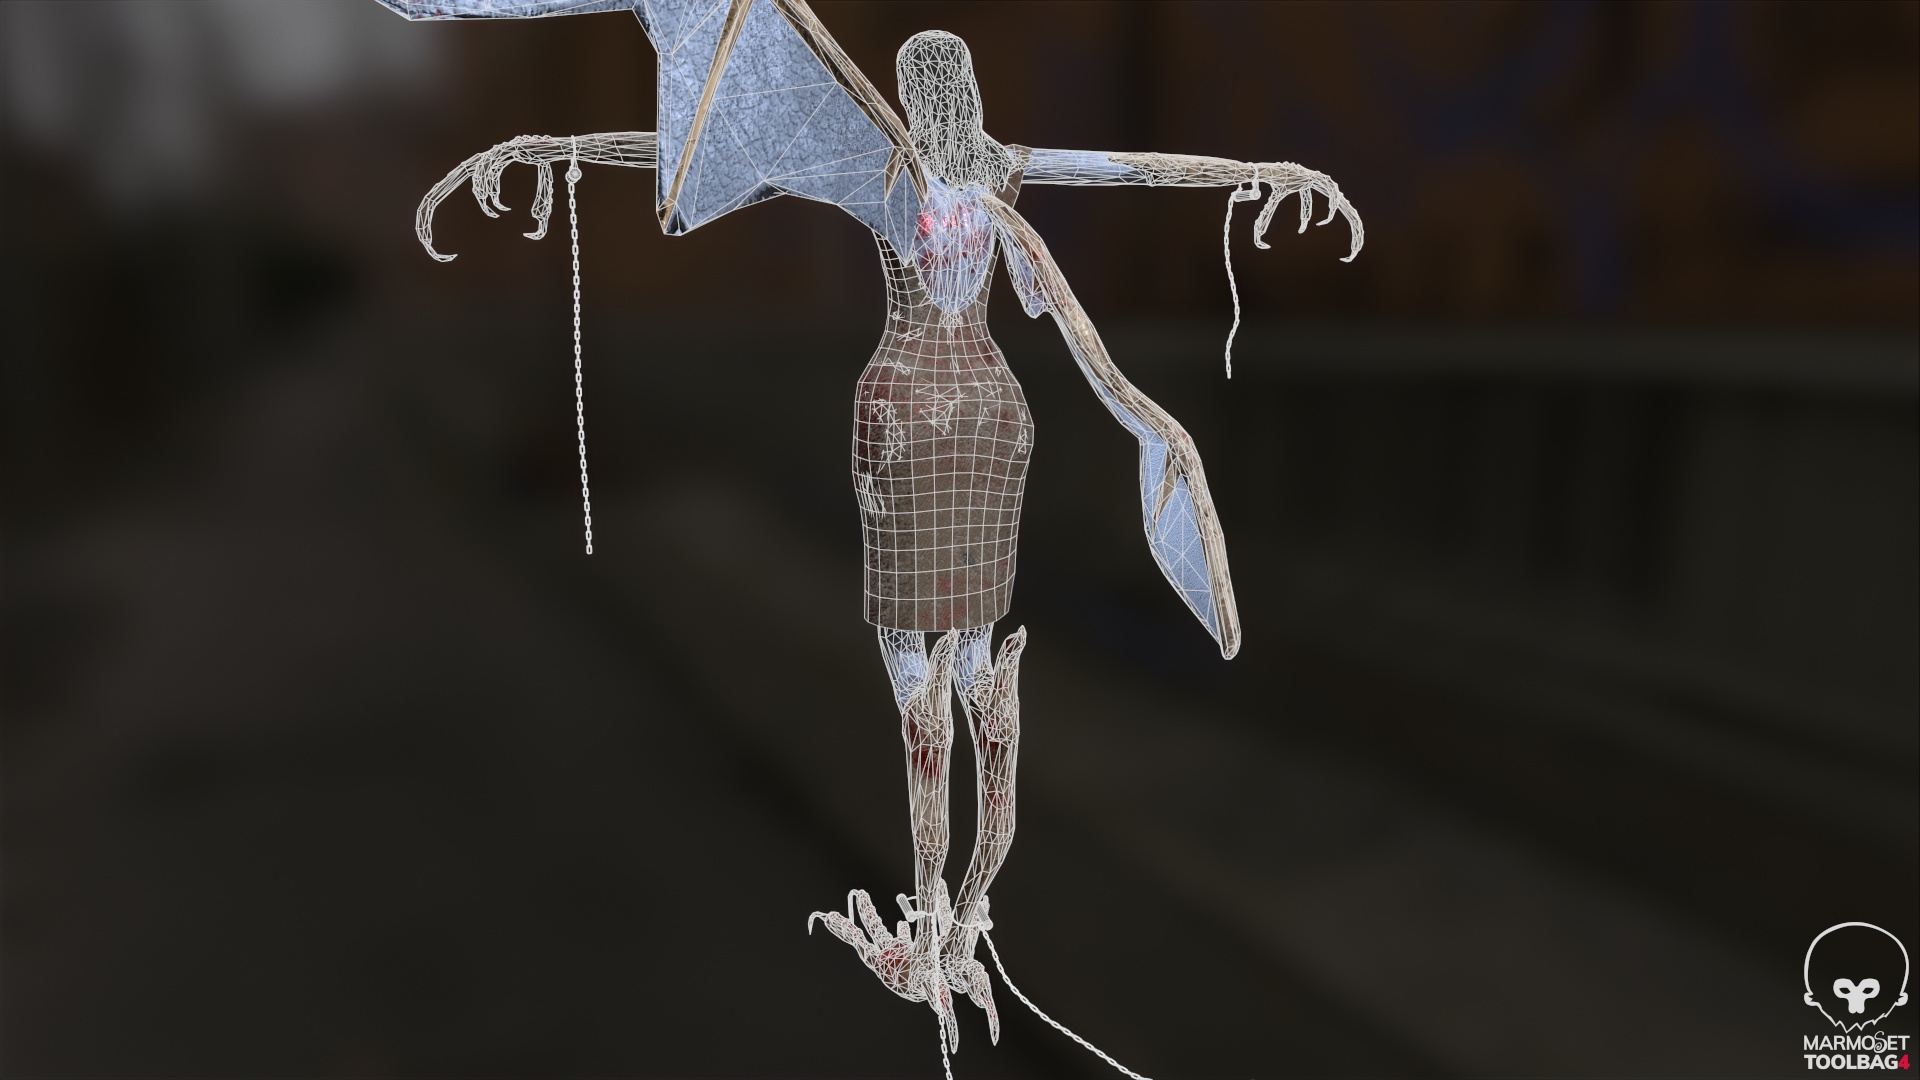
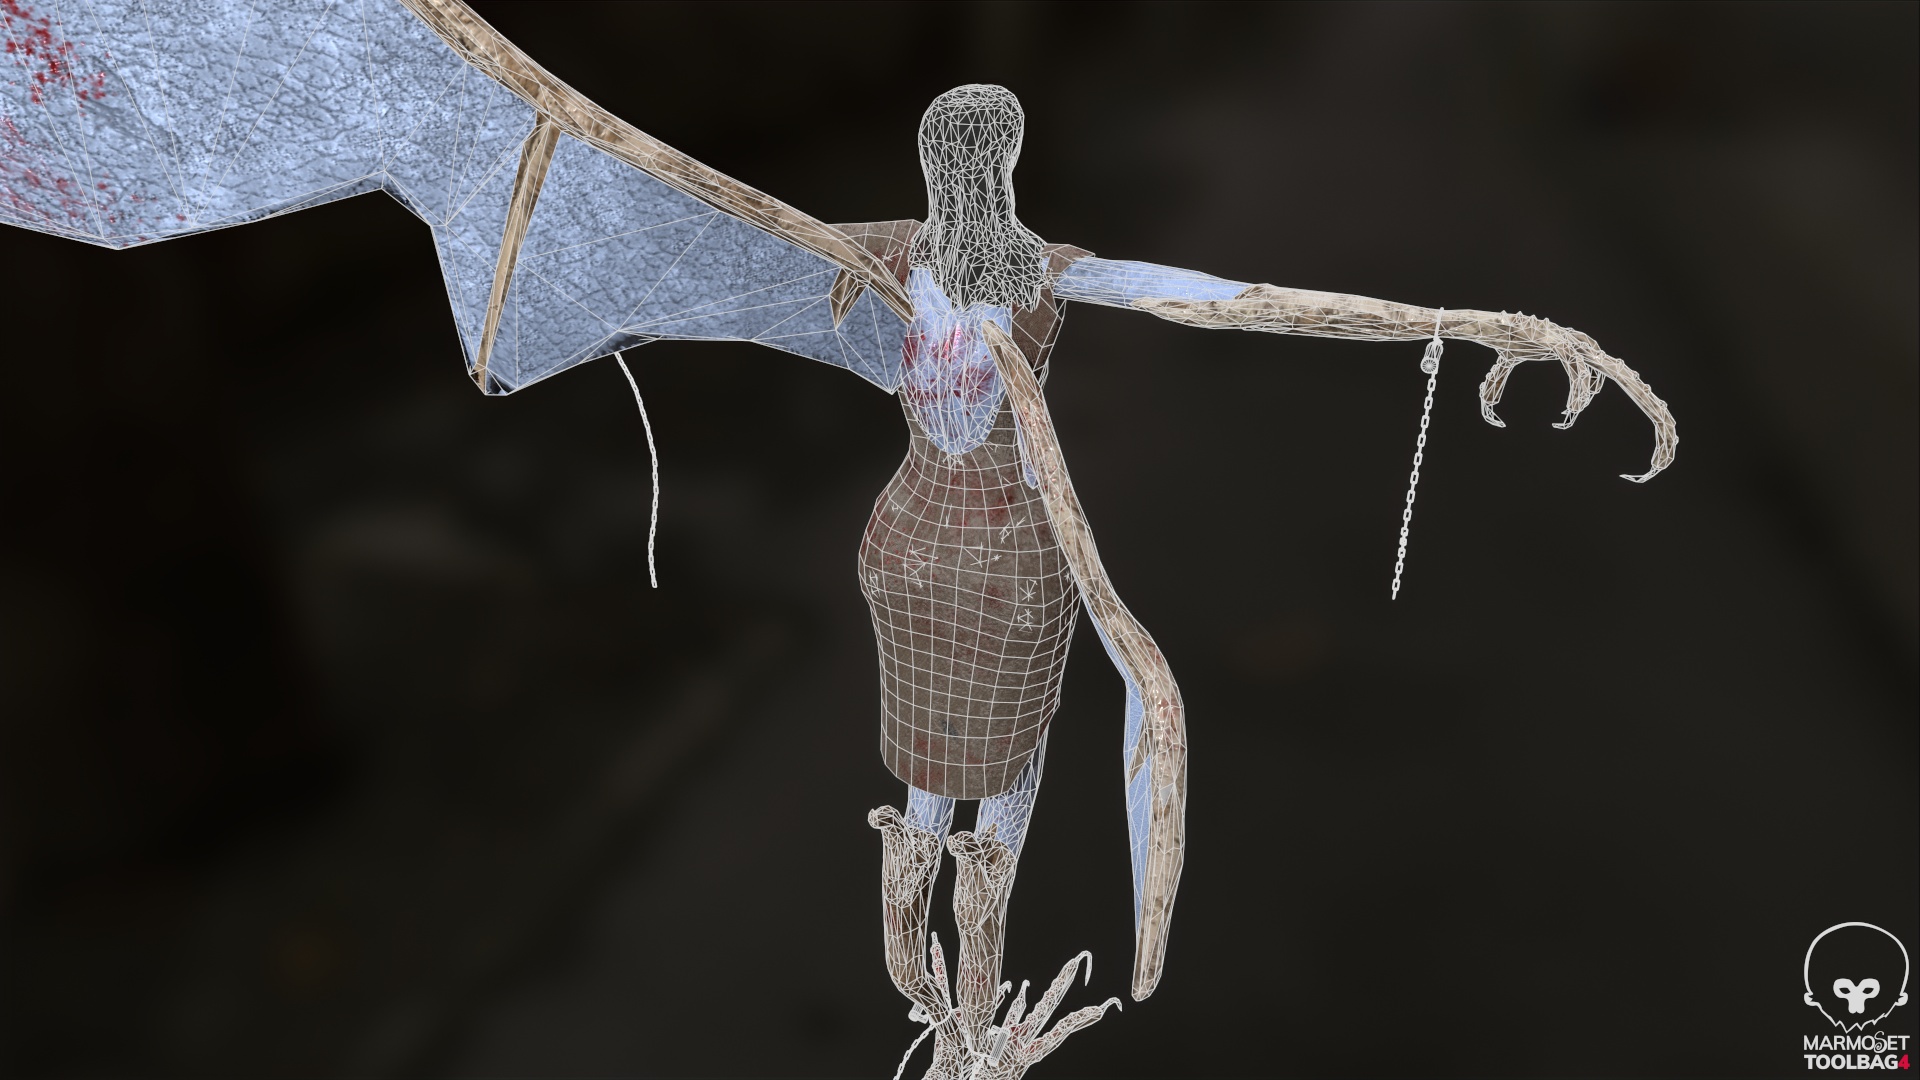
:: Wireframe Renders ::
Below you can see the same renders as above but with the wireframes viewable. I have a lot of thoughts about the topology of my character and you can also find them in my ‘Final Thoughts’ post.
:: Turntable Video ::
Now, I had used Marmoset to capture still renders before, but I had not used the software to create a video, nor a turntable video. So, I had to find a few guides on how to do this. The problem was a lot of guides such as the one below was specific to older versions of marmoset to the one I was using (Marmoset 4) and so didn’t really help me much as the process of creating a turntable had changed. Though I did later find how to create a turntable by simply browsing the menus.
I also struggled for a while with getting the centre of the turntable how I wanted. See my character is asymmetrical which meant that by having the character rotate around the centre point the body of the character would swing around the base of the wing. Now I did find a tutorial which showed how to move your pivots in Marmoset however none of these seemed to have an effect on the turntable centre. Eventually I figured out that the turntable uses the frame centre from the turntable which was not something I could change. But I could simply move the body of the character to the middle of the frame instead of leaving the model in the position it is in when imported.
Below you can see the turntable video of my character. It was very difficult to get a nice turntable of the character with the giant wing providing something of a dilemma when it came to fitting the whole character in while being close enough to see details.
:: References ::
Marmoset (2015). ‘Marmoset Presents: Just a Tip | Center Your Pivot’. [YouTube Video]. Available online: https://www.youtube.com/watch?v=bUGNVhunTlo&ab_channel=Marmoset [Accessed 08/01/2022]
MR2D-Dev (2019). ‘Rendering a Turntable in Marmoset Toolbag’. [YouTube Video]. Available online: https://www.youtube.com/watch?v=3lgZiiUvn8U&ab_channel=MR3D-Dev [Accessed 08/01/2022]