:: Pre Production ::
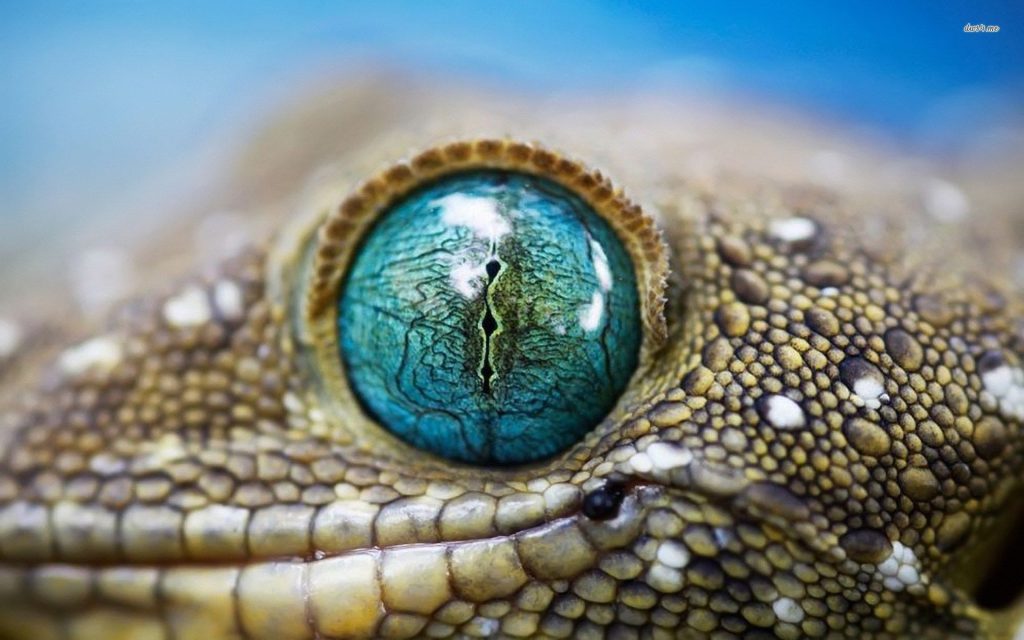
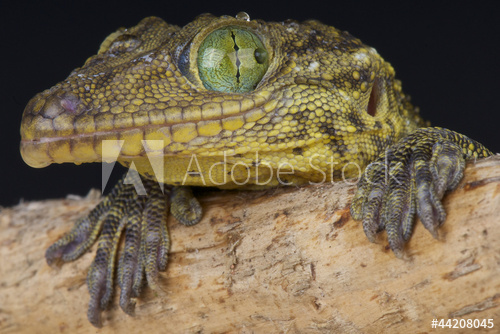
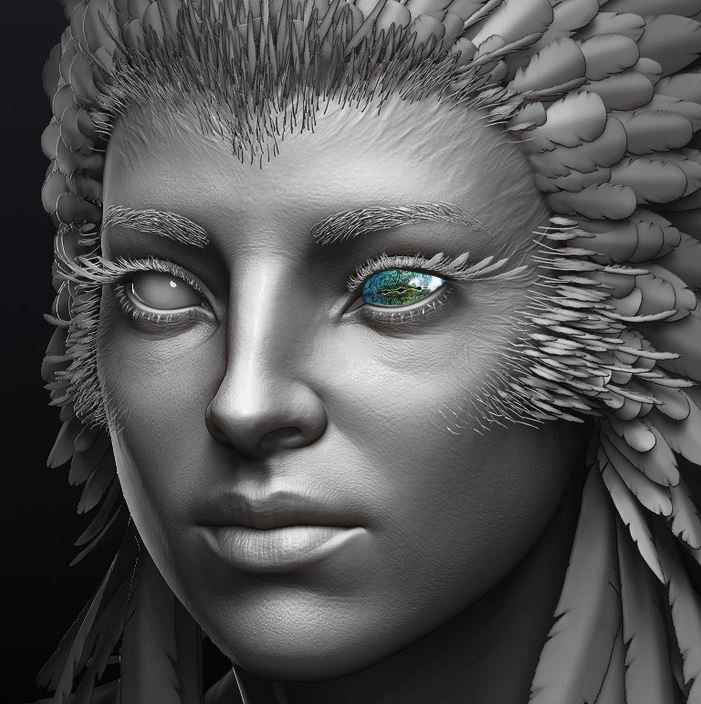
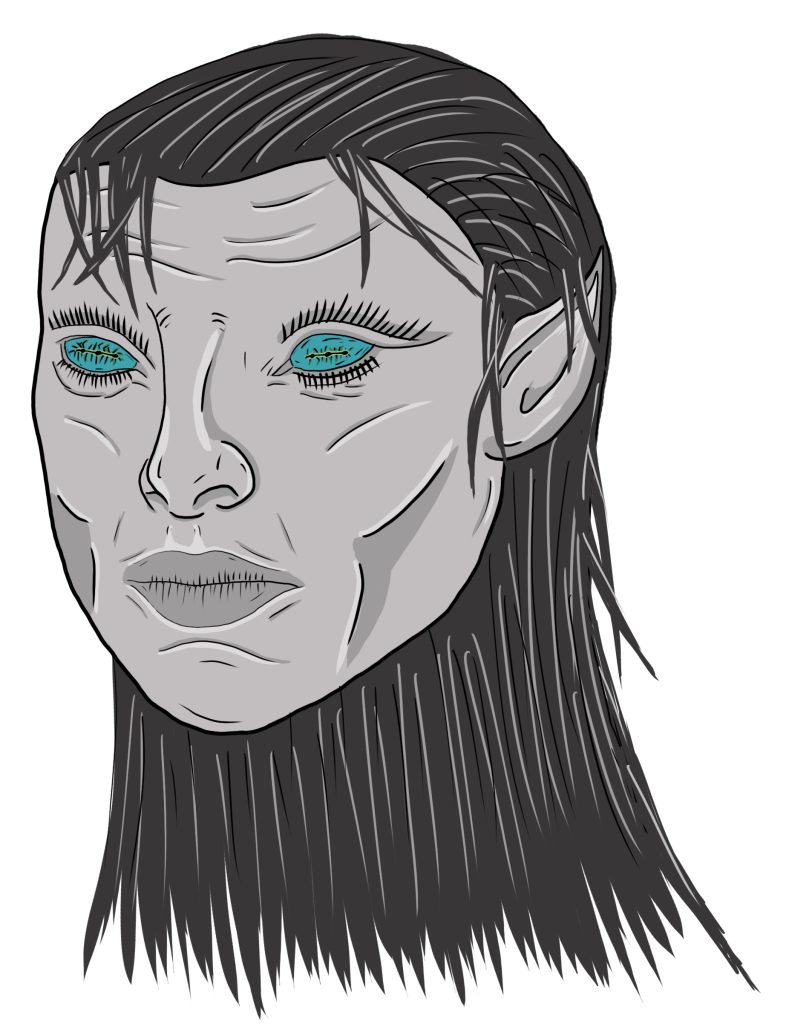
With the head I intend to change my character from the book descriptions quite a lot. This is in an attempt to make my character appear more monstrous than that described in the book material. For example, I changed the eyes from the human appearance described to those of the gecko smithii/green eyed gecko (REF.1 + REF.2). I really loved the bright and vibrant eyes of the animal, and the pupil design is fascinating, the eyes also are cool in their tone which will help with the overall colour pallet.
‘She hissed when they approached, human eyes flicking from Ireth to Rone.’
Charlie N, Holmberg (b) (2019: p.168)
It is very important to not give the character human eyes if I want to give a monstrous appearance. Human’s naturally look to a person’s eyes, and so you can make a very monstrous character seem human if you give them human eyes. Conversely, to make sure that my character seems monstrous I must avoid doing so.
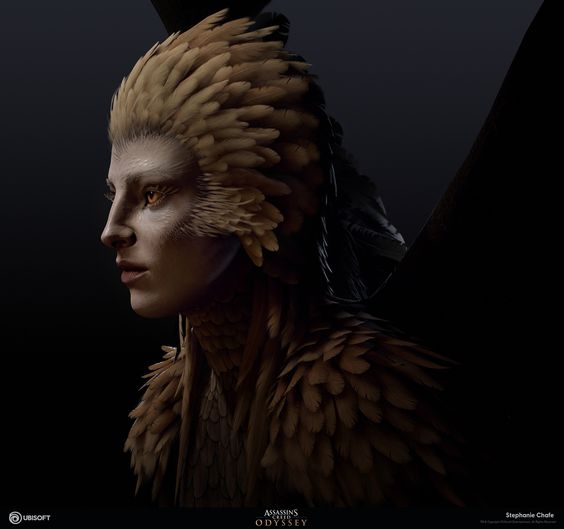
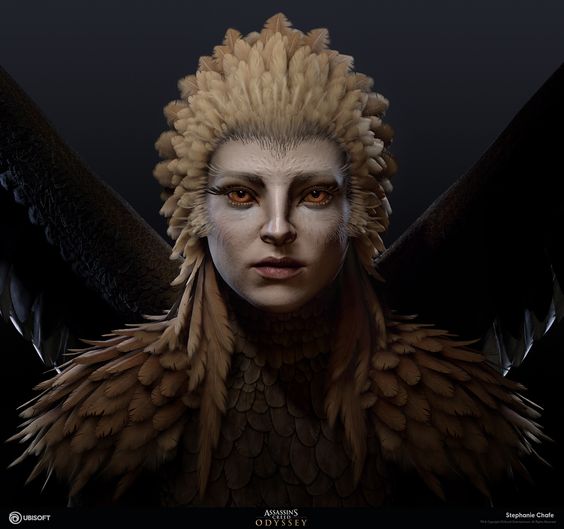
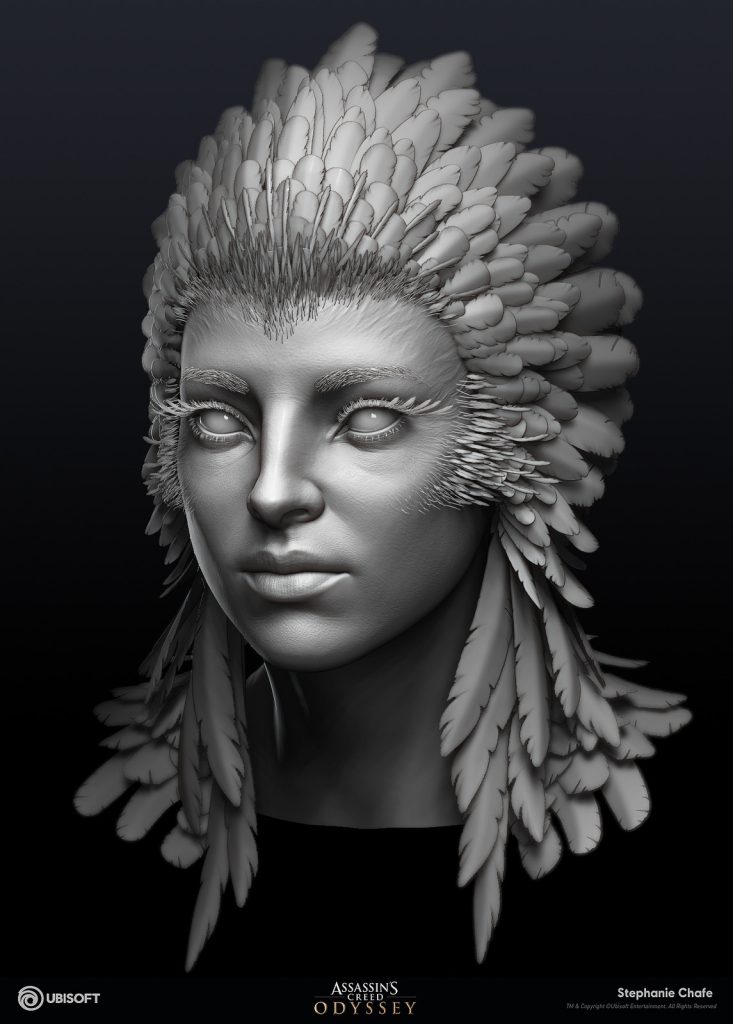
I did ponder about changing the hair of the character, from the long black human hair described in the books to the more feathered mane approach shown in references 3 through 5. (REF. 3 + REF.4 + REF.5). While I think this look is wonderful I believe it makes the character appear rather regal and imposing, which is not the look I want to achieve. Instead if I use human hair but make it rather thin, or greasy that might help with the malnourished look I want to achieve.
When making the 2d drawing of my design I did run into a concern with my choice of eye. While I do think the monstrous design of eyes is better than using those of a human I fear by using such thin and unique pupils they will become very hard to spot when the character is shown in their t pose. I will see if this is in fact a problem when I add texture to the character. If it is an issue at that stage I will change the eye texture to that of a cats. Thus being more legible from a distance while still not being human.
:: Production ::
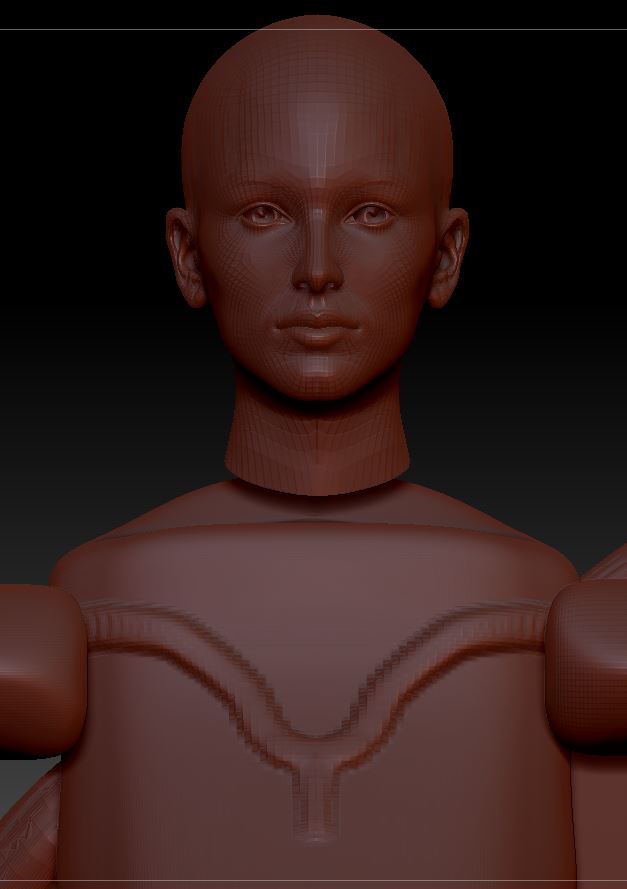
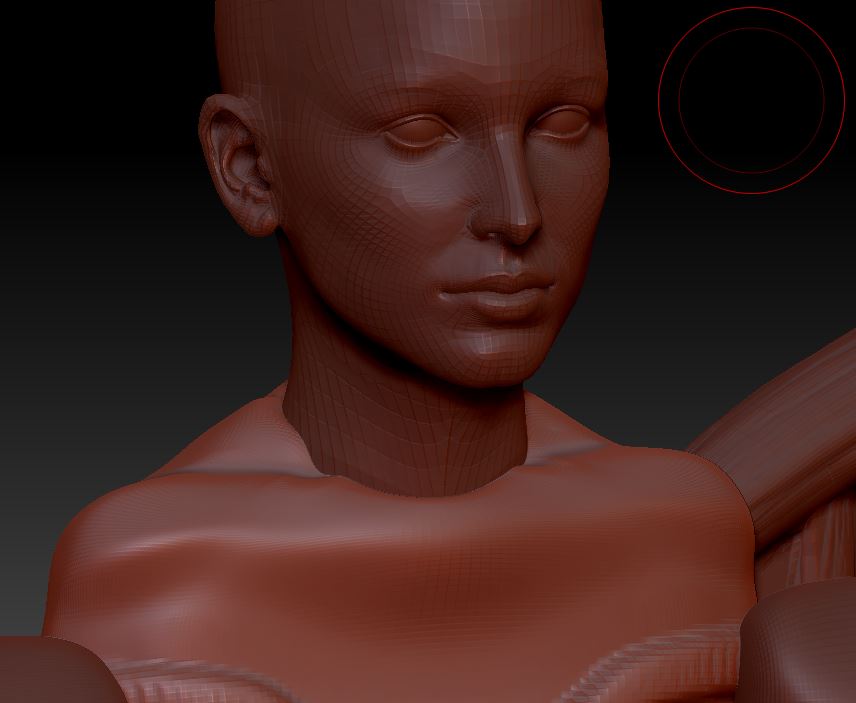
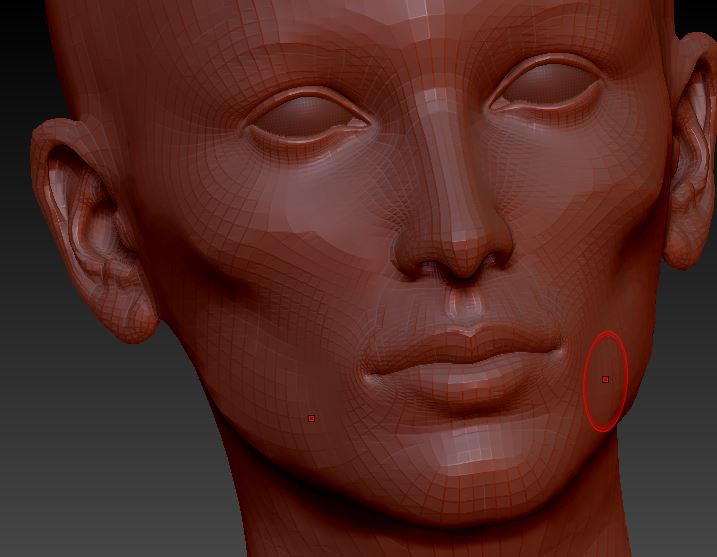
The head of my model is the most human aspect of the character, and so I wanted the head to seem pretty much like a standard head, all be it with slight editing. This meant that I could use the demo female head subtool as a base for this part of the model (Fig.1). Now, firstly I had to scale the head down to match the rest of the body (Fig.2) and then intrude into the cheeks of the head (Fig.3).
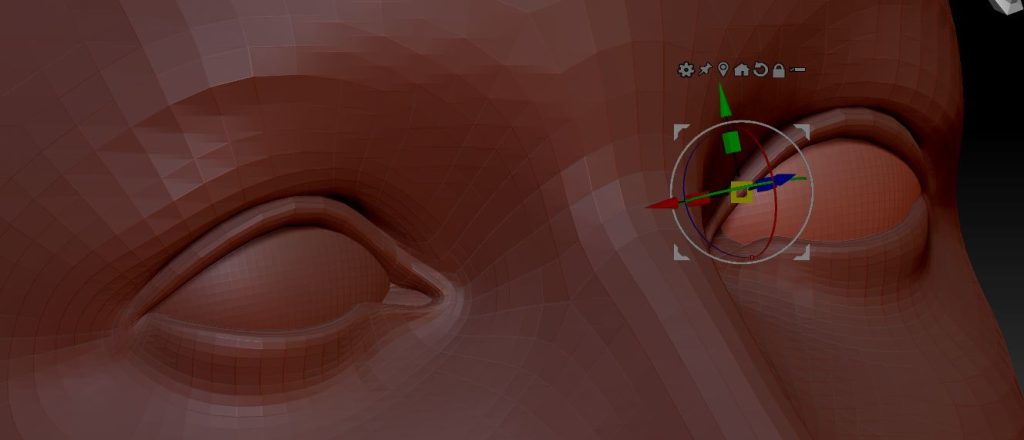
I also had to change the eyes of the head sculpt, as while it does come with eyes and teeth as a separate subtool the eyes were modelled to add round pupils. However, as seen in the pre-production material I was not aiming to give my character humanoid eyes. As such simple spheres allowed me to experiment with the texture later, without having to worry about the eyeball mesh (Fig.4)
Next came a big question, what to do with the model’s hair? There are methods of creating individual hair particles in ZBrush. However, by this point in my process I had decided on a workflow for texturing and rendering the model which included exporting the model into other software’s (Substance Painter & Maya). The methods of producing individual hair strands without sculpting don’t work well when exported from ZBrush and so I had to figure out how to create realistic hair using sculpting brushes.
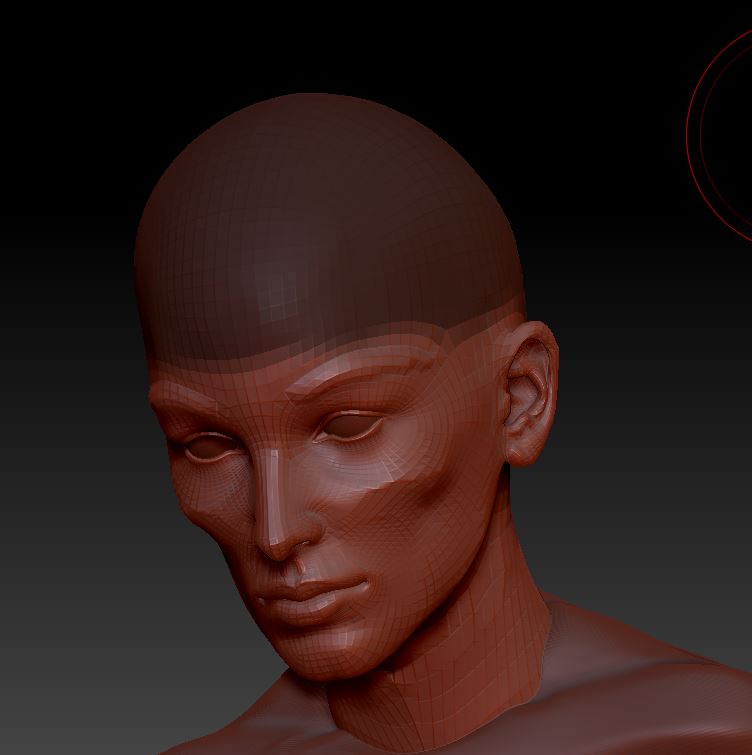
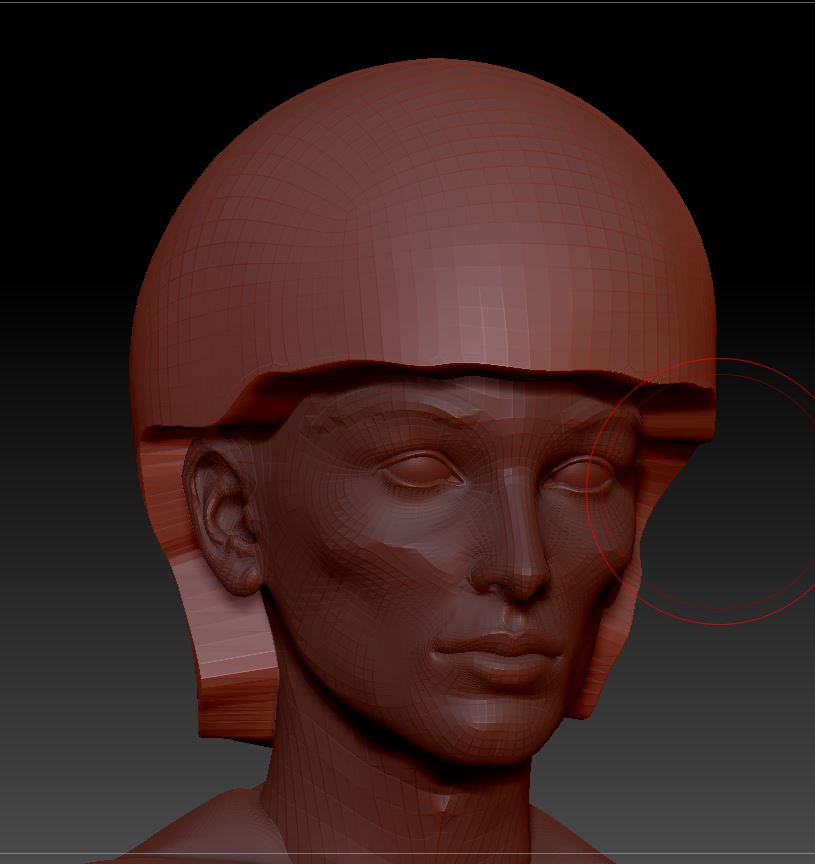
I found the above video, which shows a easy way to create a separate hair subtool based off the curvature of the head already used. This involved creating a mask around the top of the head (Fig.5) which I could then extrude from (Fig.6) to create a new layer to model from.
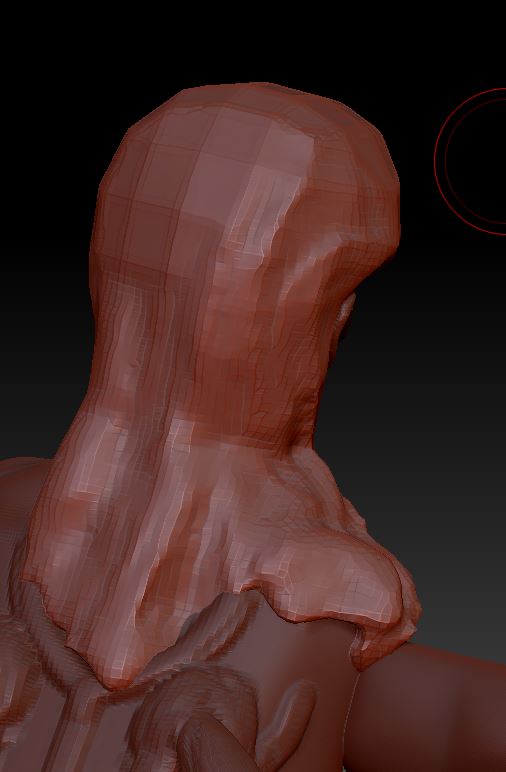
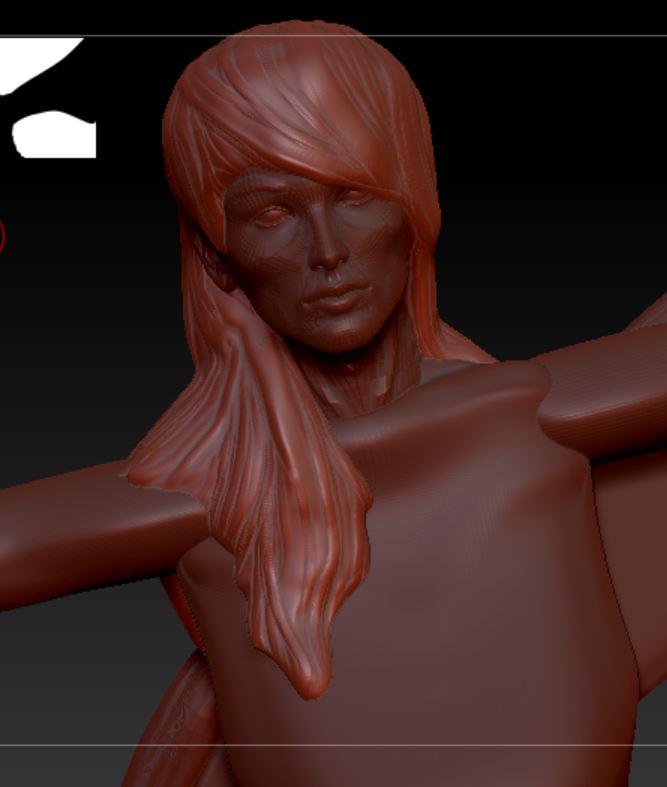
Then I simply used the move brush to create a rough outline of how the hair would sit on the character, front and back (Fig.7 & Fig.8). Before going in with the clay buildup brush, without an alpha selected to build up the hair in various brush sizes (Fig.9)
With the hair now at a stage I was happy with the time had come to combine the various subtools into one mesh, which I can then export and texture. This was a necessary step as to animate the character some trimester 2 I would need a single mesh from which to work. You can find the next steps of my modelling here, where I have all the pieces together and the changes that had to be made once this happened.
With the individual body parts modelled, my next step was to merge the different subtools into one. Which would be needed for exporting the character and animating the character next semester. You can find the next steps of my process in my ‘Full Body’ post.
:: References ::
Chafe, S (A) (2018) (Artstation post). Available online: https://www.artstation.com/artwork/Qzm0Nx [Accessed 22/10/2021]
Chafe, S (B) (2018) (Artstation post). Available online: https://www.artstation.com/artwork/Qzm0Nx [Accessed 22/10/2021]
Chafe, S (C) (2018) (Artstation post). Available online: https://www.artstation.com/artwork/Qzm0Nx [Accessed 22/10/2021]
Edge-CGI 3D Tutorials and more! (2014) ‘How to Sculpt Hair in ZBrush Tutorial HD‘. [YouTube Video]. Available online: https://www.youtube.com/watch?v=JWF4SKhWKfI&t=369s&ab_channel=Edge-CGI3DTutorialsandmore%21 [Accessed 20/12/2021]
Holmberg, C.N. (A) (2019) ‘Smoke and Summons’ 47North; Unabridged edition.
Holmberg, C.N. (B) (2019) ‘Smoke and Summons’ 47North; Unabridged edition.
Mgkuijpers (n.d.) ‘Greed-eyed gecko/ Gekko smithii’ [Online Image]. (Adobe Stock). Available online: https://stock.adobe.com/uk/images/green-eyed-gecko-gekko-smithii/44208045?as_campaign=ftmigration2&as_channel=dpcft&as_campclass=brand&as_source=ft_web&as_camptype=acquisition&as_audience=users&as_content=closure_asset-detail-page [Accessed 22/10/2021]
WallpaperAccess (n.d.) ‘Reptile Eye Wallpapers’ [Online Images] Available online: https://wallpaperaccess.com/reptile-eye [Accessed 22/10/2021]
