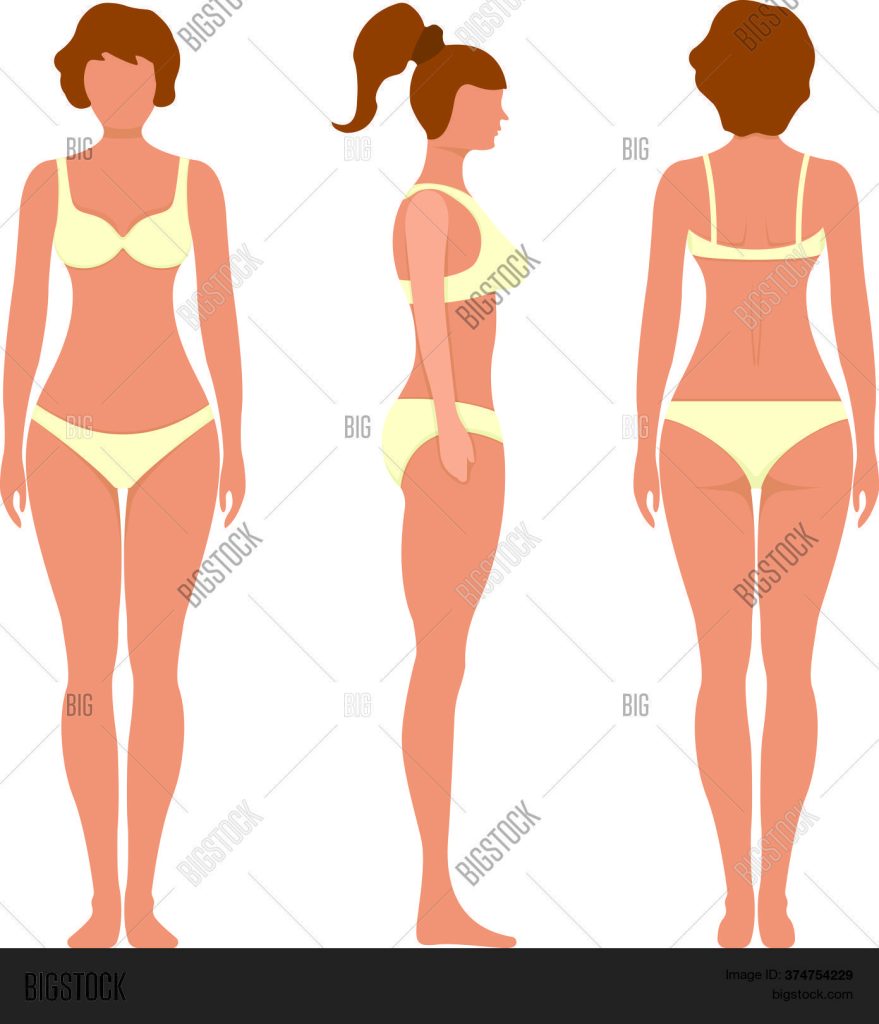
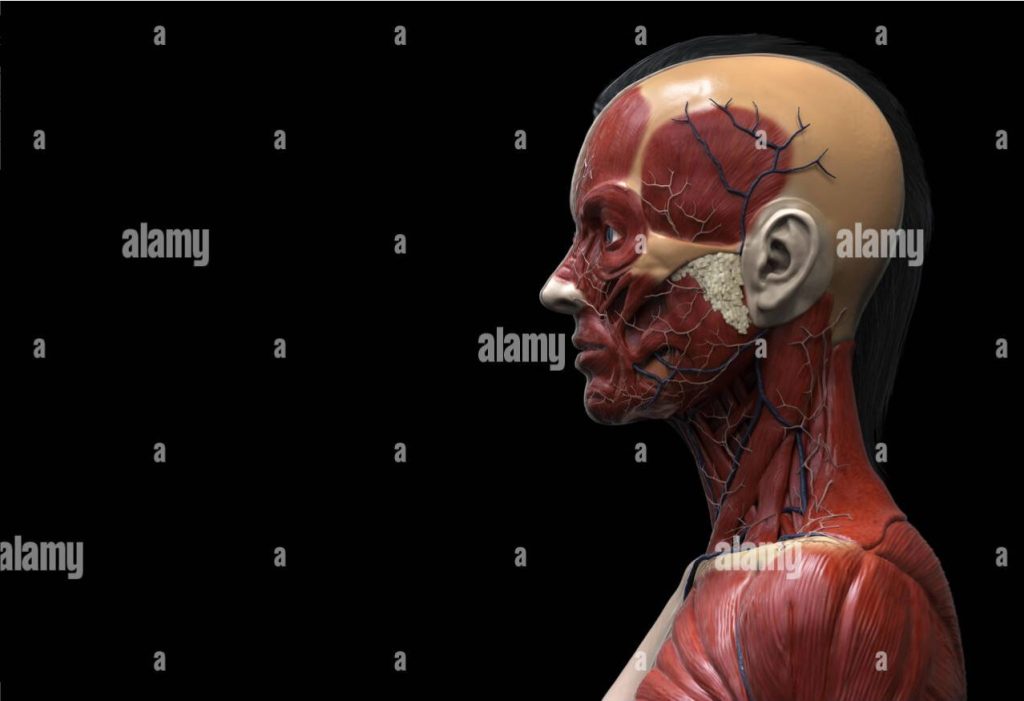
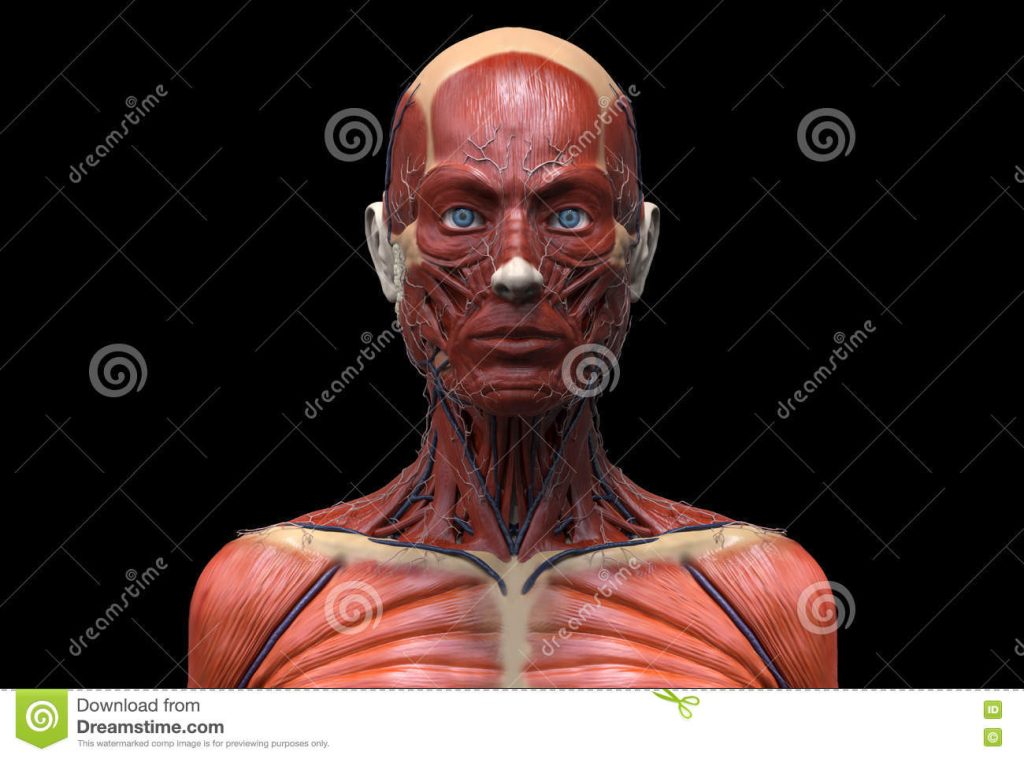
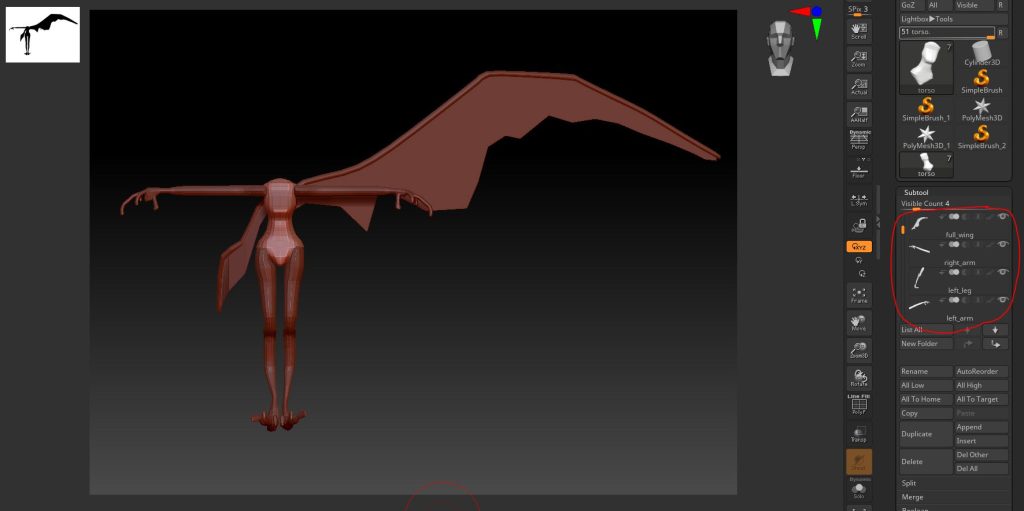
There are two methods to create a basic body shape for character design. I can either use Zspheres within ZBrush itself to create a mannequin, or I can create a body blockout in Maya, and then export the model into ZBrush to be further sculpted.
I intend to create the various body parts separately, then stitch them together at the final stages of modelling. This I feel will lend itself more to using the Maya method than the Zspheres. Also by using Maya I can really focus on how the claws can blend to the legs and arms, and I can add things like elongated arms and legs while making sure the body shape as a whole looks good.
:: Production ::
To make the body blockout firstly I needed to understand how to model a basic organic shape in Maya. I found a good video, which shows me how to blend various cylinder shapes together to create a convincing body shape (Taylor, J. 2014). This video showed me the techniques to employ, and after finding my own references for a basic female body I could create the basic female body blockout.
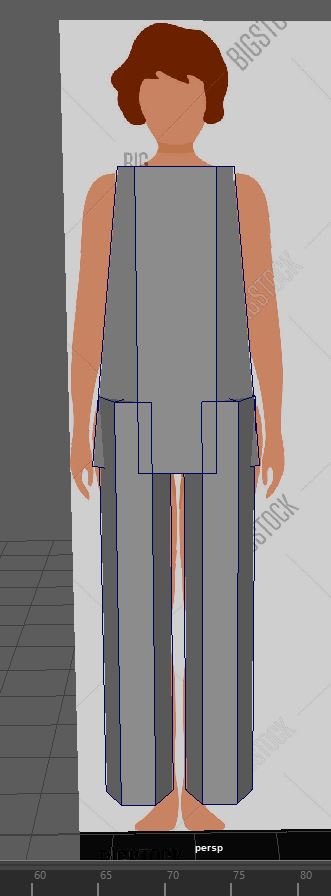
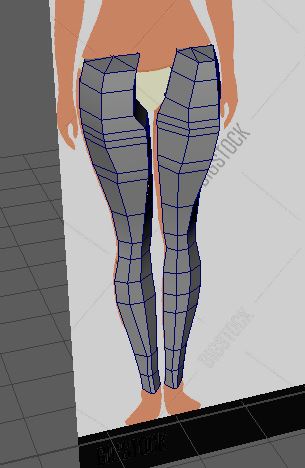
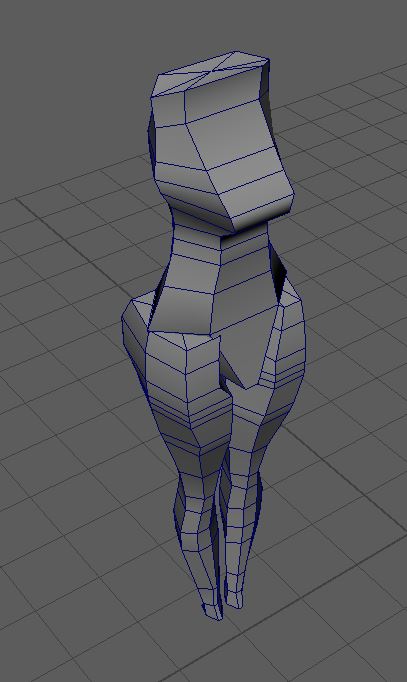
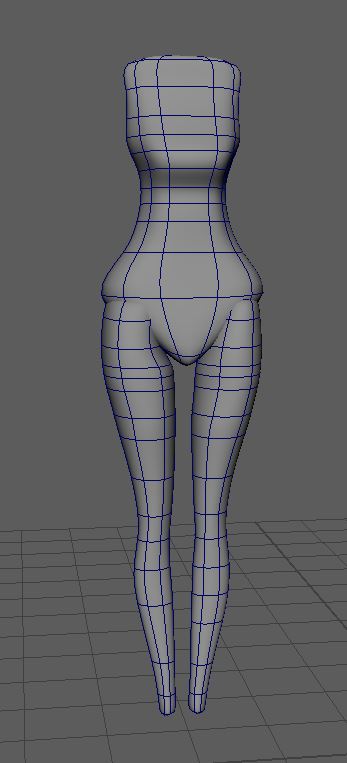
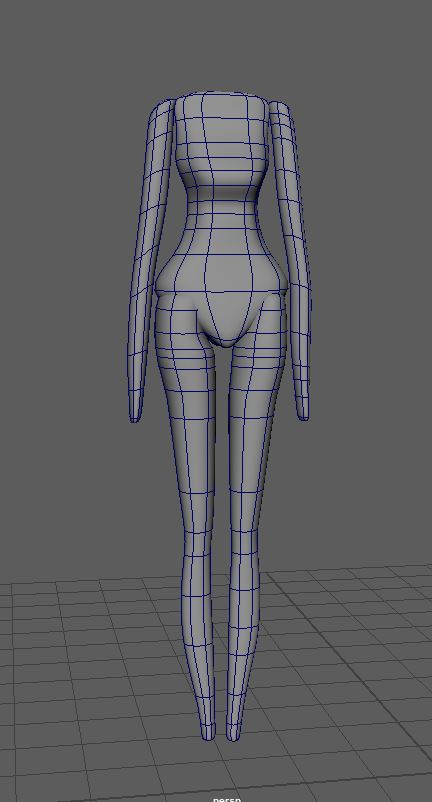
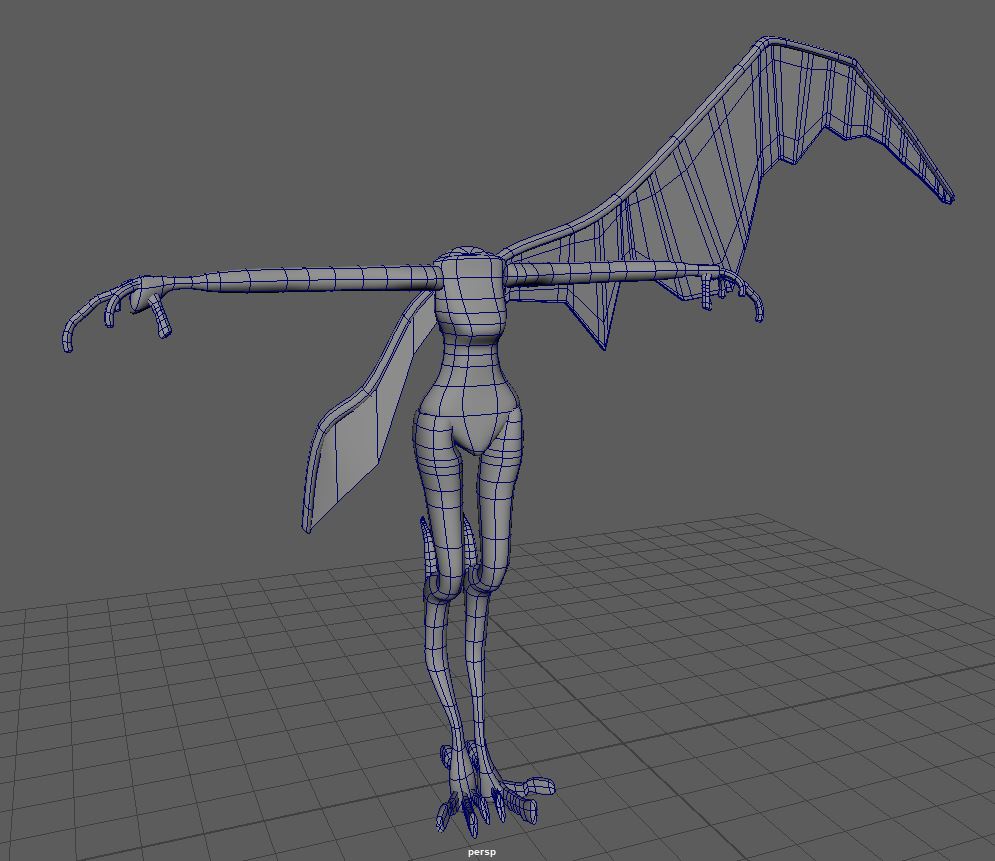
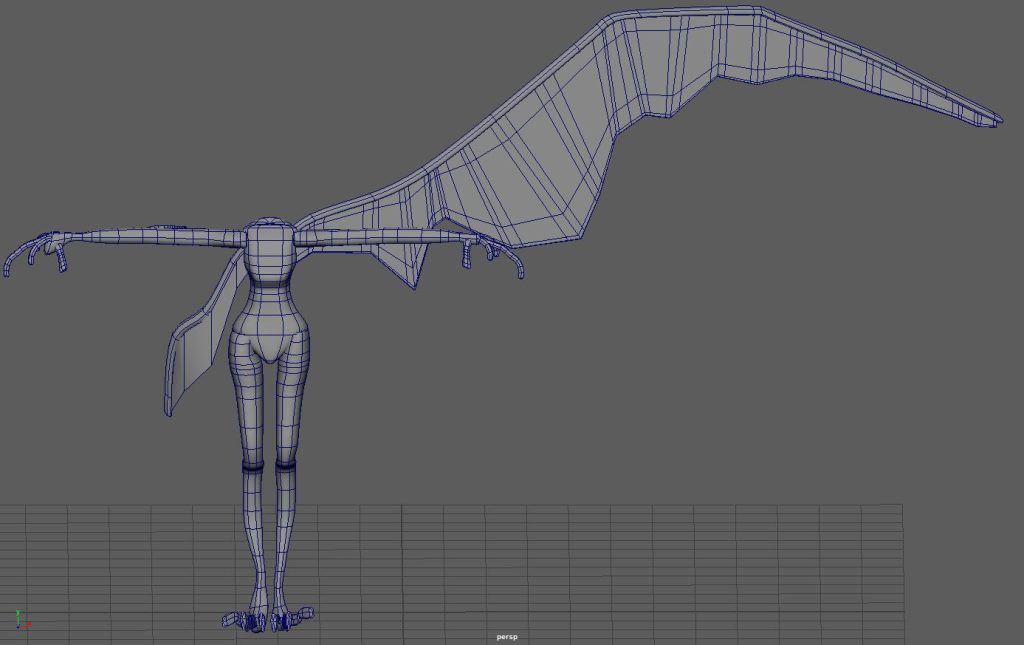
With my references in place I could now begin forming the basic shape of my character in Maya. as shown in the video above (REF.1) I used six sided cylinders to create the basic shapes of the body parts (Fig.1), then added edge loops where needed and manipulated the vertex’s to create the basic bodily shapes of the legs (Fig.2) and the torso (Fig.3)
Now, one thing to note when creating an asset in Maya to port into ZBrush is that you work on the high poly model and then create the low poly model afterward. The reverse of how I go about creating assets purely in Maya. This means that it was very important to model the body with smooth preview activated as the model will need to be smoothed when exported.
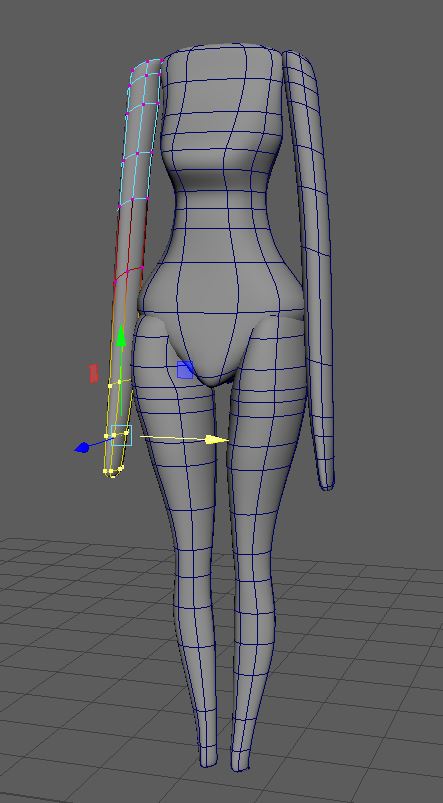
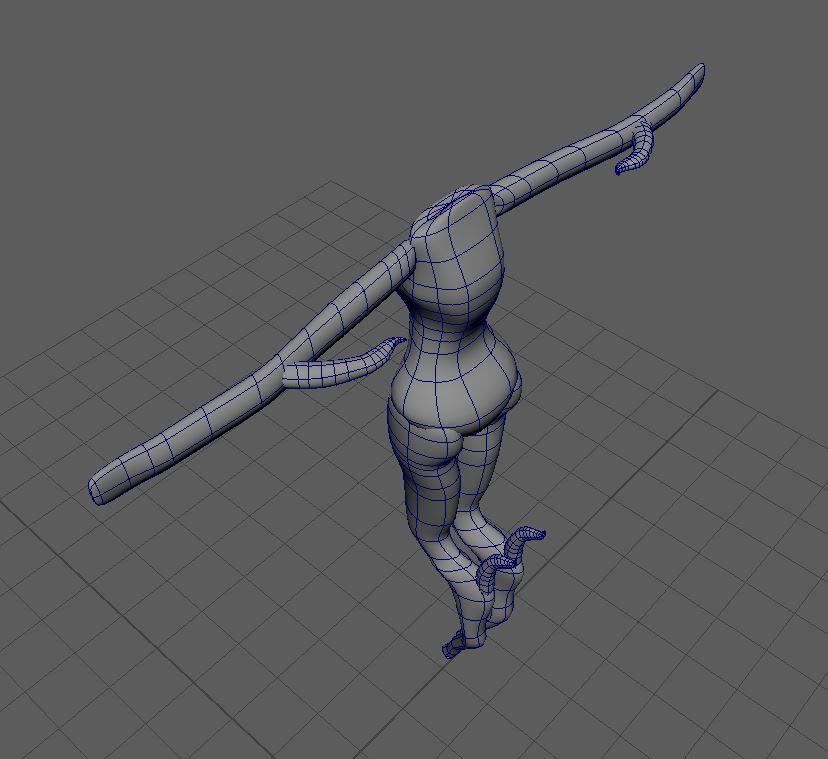
to me creating the blockout in Maya. However, from this point on I can start to add the elements more unique to my character which I would have struggled to do using Zspheres alone. Next, I extended the arms and legs of the character using soft select (Fig.5) in such a way to just make the proportions seem a little unnerving to the viewer (Fig.6)
From here, the unique aspects of the character can begin to take shape. Using the leg design, I created previously (See my ‘Legs’ post). I added more edge loops where needed and created the extreme backwards knee shape; I also added the leg spike to draw further attention to the leg design (Fig. 7). I also added these spikes to the elbow region of the arms, which I had not planned to do originally, however I thought it might help tie the arms and legs of the character together (Fig. 8).
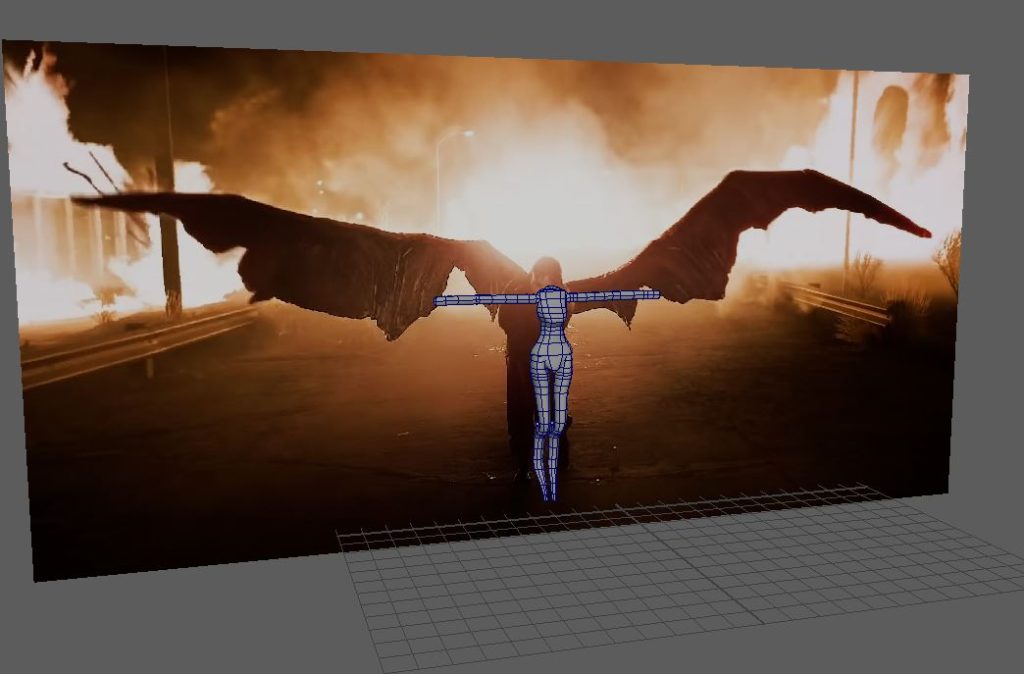
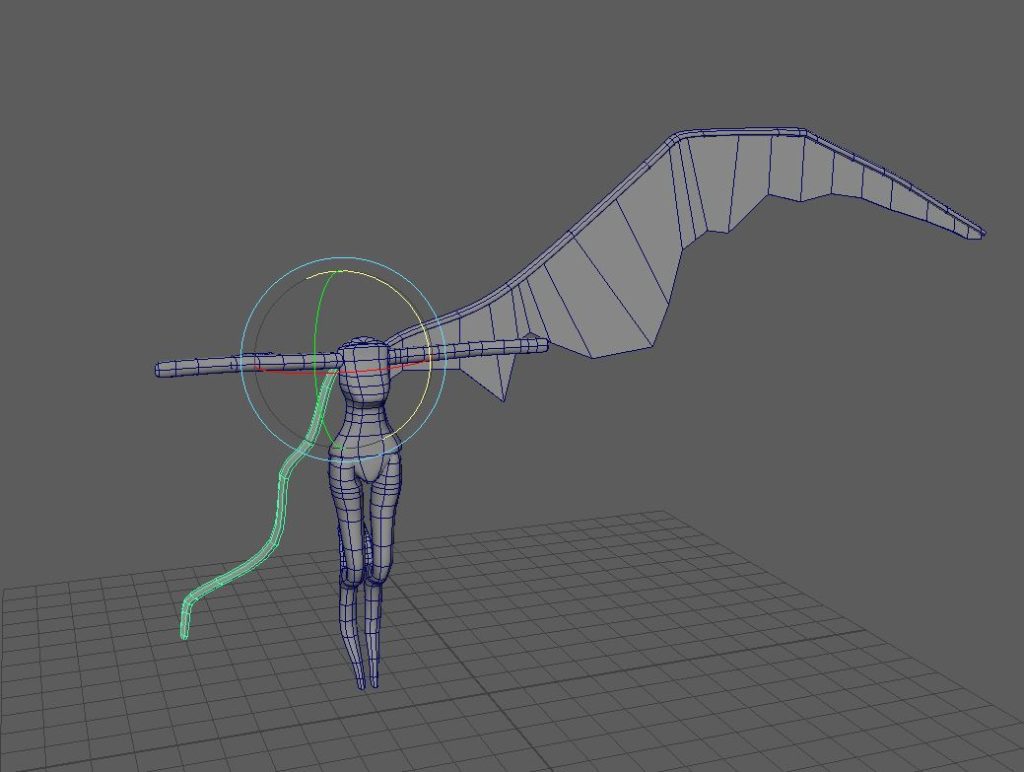
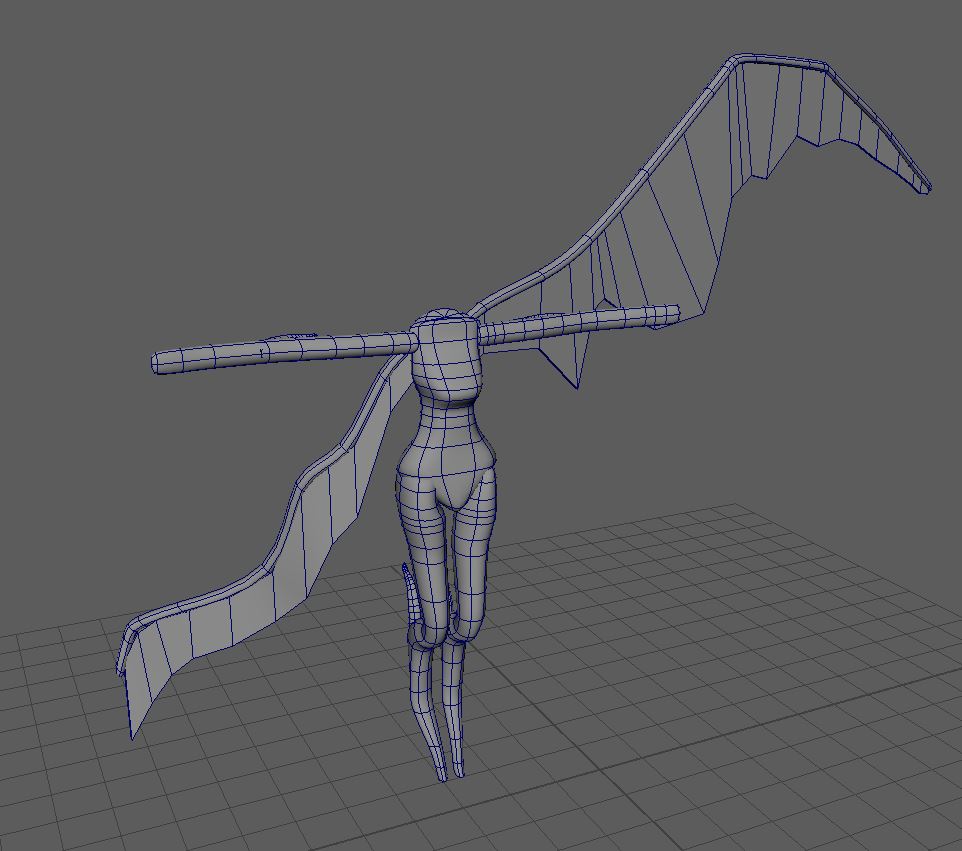
Next came the wings. Which are arguably the single most important piece of the character and certainly the most eye-catching element. I used one of my sourced references to create a realistic large scale (Fig.9). This was important for two reasons, as by increasing the scale on the 2D design (shown in my ‘wings’ post) I can create a more striking image as well as making the wings seem like they could reasonably lift a figure as large as a grown woman.
The skin of the wing doesn’t look good in Maya, however, to make the leathery effect I only needed the rough sheet to export, and the rest will be made in Zbrush (Fig.10). The broken wing is still something I wasn’t to experiment with further, and I plan to make the turns of the arm more angular in Zbrush later. I will be using the torn bat wing reference (shown in my ‘wings’ post) to create my broken wing effect, which will be done by removing and adding clay to the thin wing made in Maya (Fig.11).
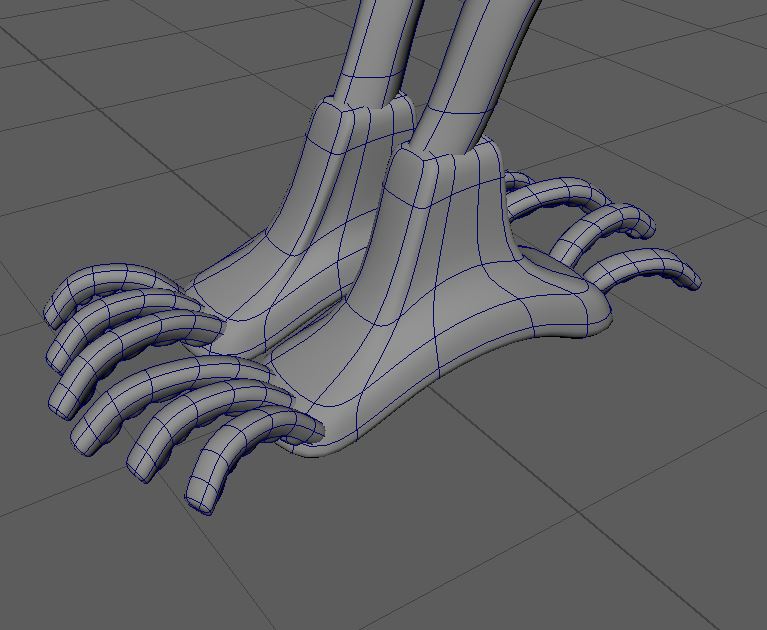
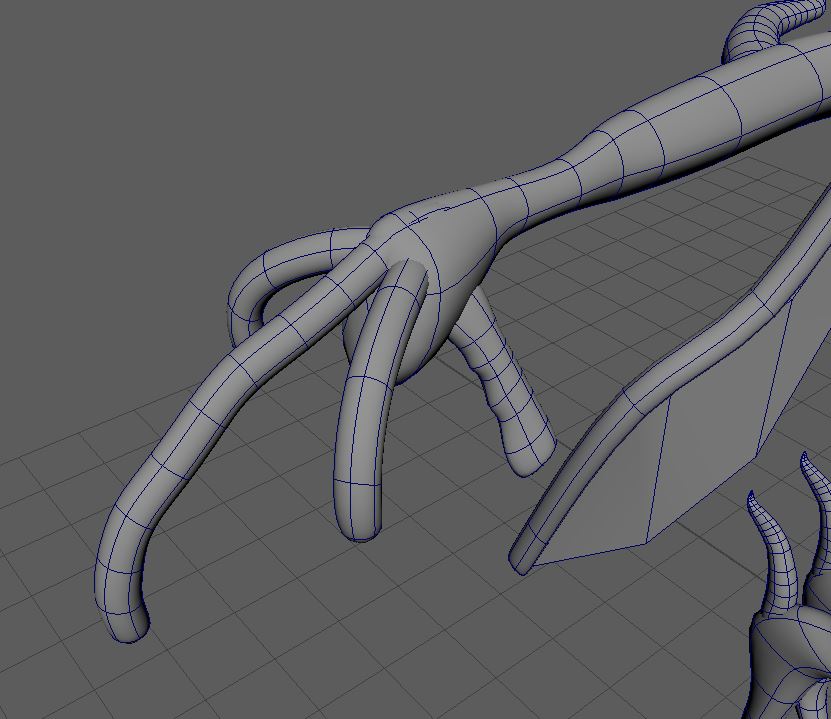
Next, I turned my attention to the most difficult part of the design. Creating the feet and hands in a realistic manner. Trying to make birds claws a size that would support a grown woman’s figure was challenging, and at the blockout stage even the result I am happy with doesn’t look good yet, but will once built upon on ZBrush.
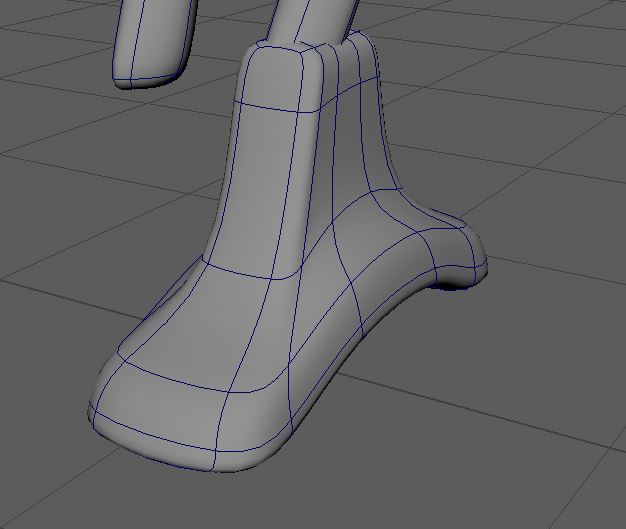
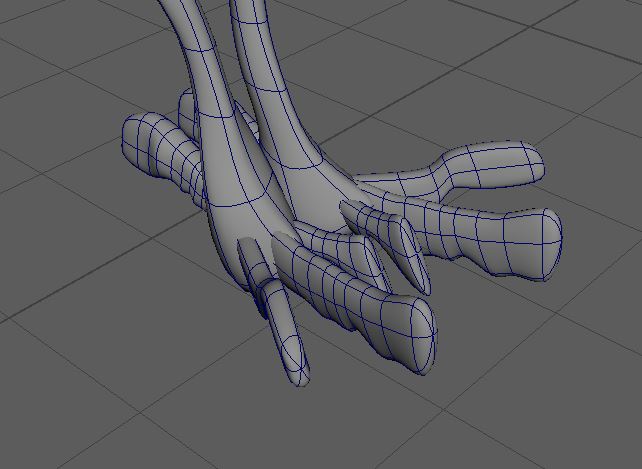
My first attempt at the feet I really wasn’t happy with, they were too large and blocky even for a blockout stage (Fig.12). The toes/claws were very bulky and would need a wasteful amount of editing in Zbrush to create a realistic appearance (Fig.13).
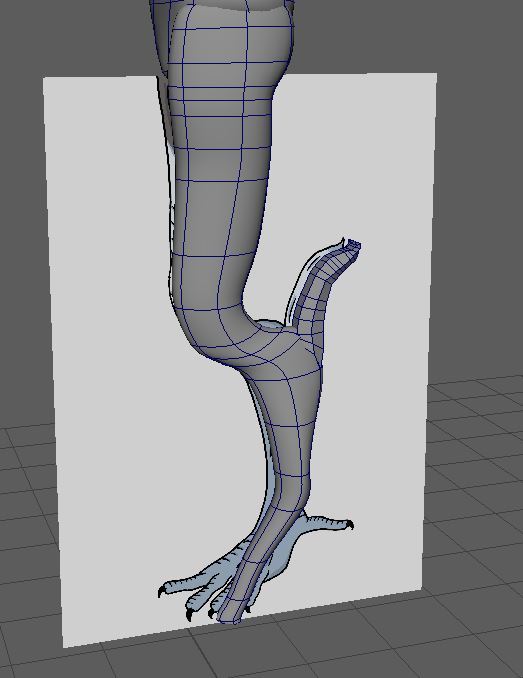
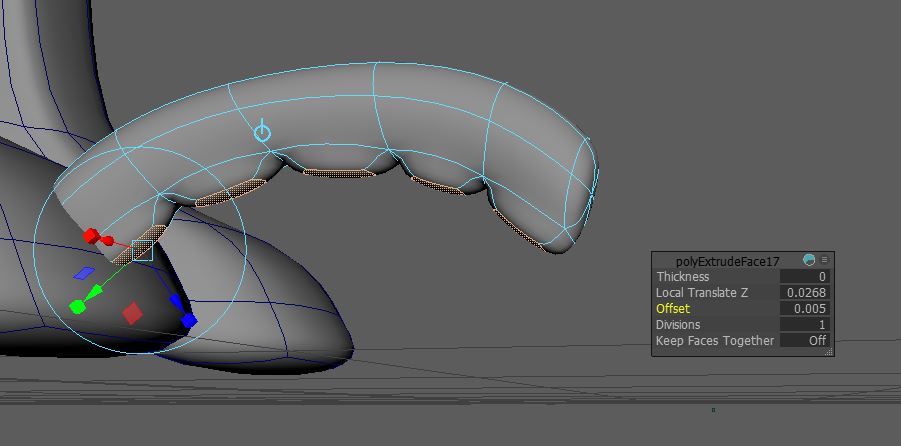
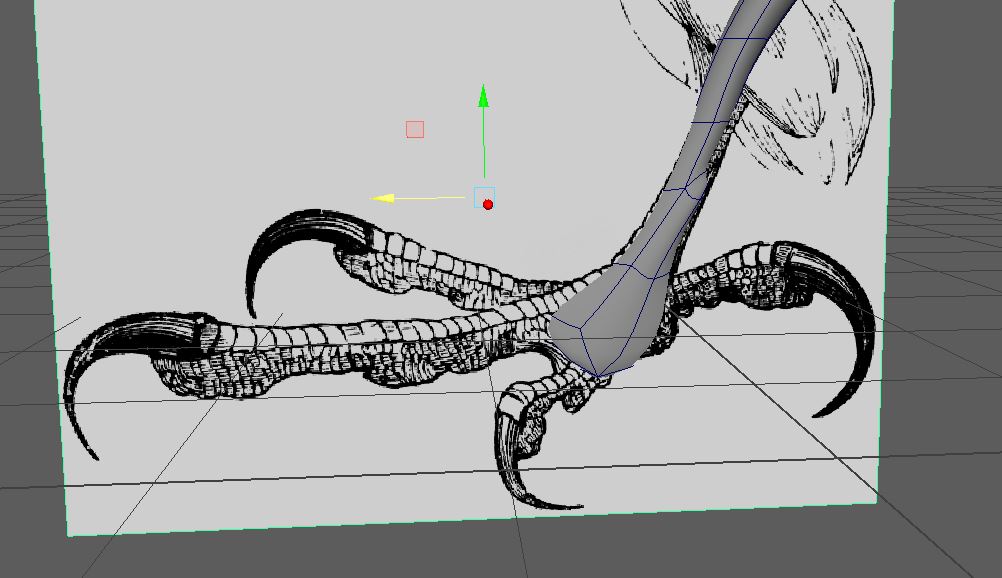
I used one of the references I found in my ‘Arms’ post, which gave a kind of side view I could use to sculpt a foot (Fig.15). I modelled the tows separately and then widened the foot body section in order to accommodate the toes (Fig.16).
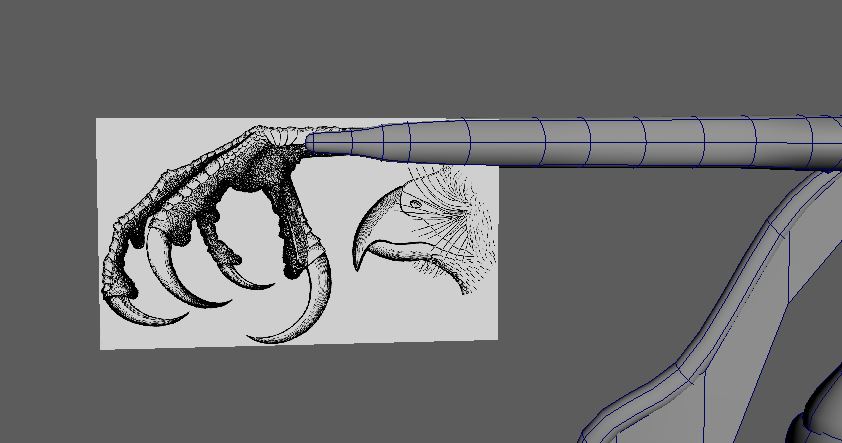
Likewise, I used a reference from my ‘Legs’ post (Ironically enough) to create the hands of the character (Fig.17). Again, I couldn’t find a reference that lined up with the first to create the depth of the hand and so had to fill this in without the guide (Fig.18).
Finally, I booleaned the hands and feet into the arms and legs respectively. Which did cause issues with the topology in Maya, however this will be remedied within ZBrush. This gave me 7 body parts within a group that I could export as a fbx file (Fig.20). The result of this method is a model with those same 7 parts, but with the major alterations already created, leaving me with just the details and head to add in ZBrush (Fig.21). for which I will use the female head template and edit from there.
:: References ::
Abidal / Dreamstime.com (n.d.). [Online Image]. Available online: https://www.dreamstime.com/stock-illustration-human-body-anatomy-female-isolated-model-muscle-face-neck-medical-image-reference-realistic-image76190823 [Accessed 12/10/2021]
apvaper (n.d.) [Online Image]. (bigstockphoto.com). Available online: https://www.bigstockphoto.com/image-374754229/stock-vector-female-anatomy-human-character%2C-woman-people-dummy-front-and-view-side-body-silhouette%2C-isolated-on [Accessed 12/10/2021]
jim / Alamy Stock Photo (2016). [Online Image] (alarmy.com). Available online: https://www.alamy.com/human-body-anatomy-of-a-woman-muscles-structure-of-a-female-front-view-side-view-and-perspective-view-3d-render-image332763217.html [Accessed 12/10/2021]
Taylor, J (2014). ‘Maya bodybuilder CHARACTER MODELING tutorial’ [YouTube Video]. Available online: https://www.youtube.com/watch?v=spi4lGxnMZg&ab_channel=JamesTaylor [Accessed 12/10/2021]
