Hello and welcome to the first of my production posts for the 2021 rising star environment art competition. In these posts I will take you through the different aspects that went into making the different elements of my scene from modelling through to having a usable scene in Unreal Engine 4.
Reference 1.
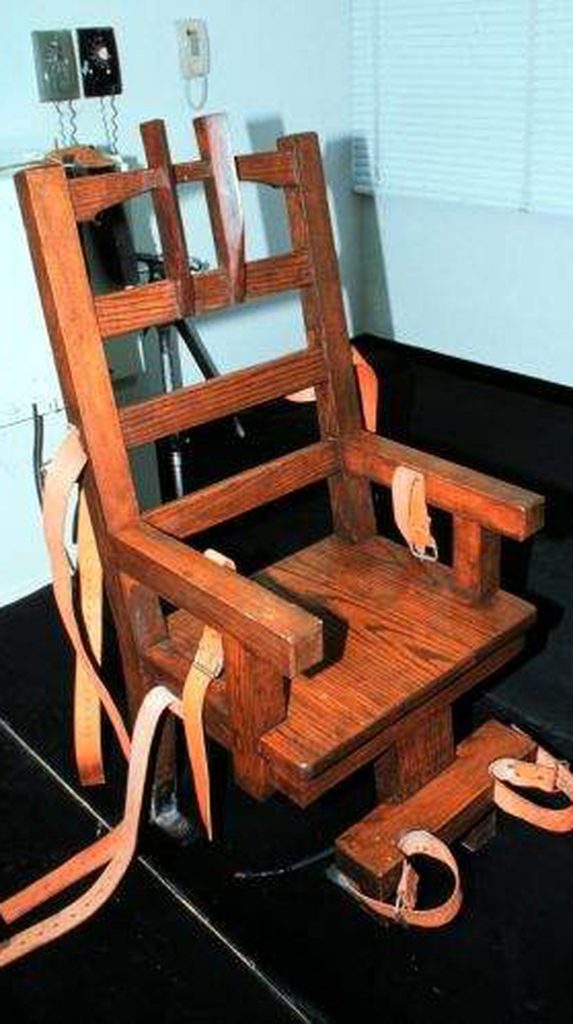
Steve Bousquet, [Article]. Photographer unknown. Tampa Bay Article [2015]. https://www.tampabay.com/news/politics/stateroundup/florida-death-row-inmate-is-first-to-demand-electric-chair/2250847/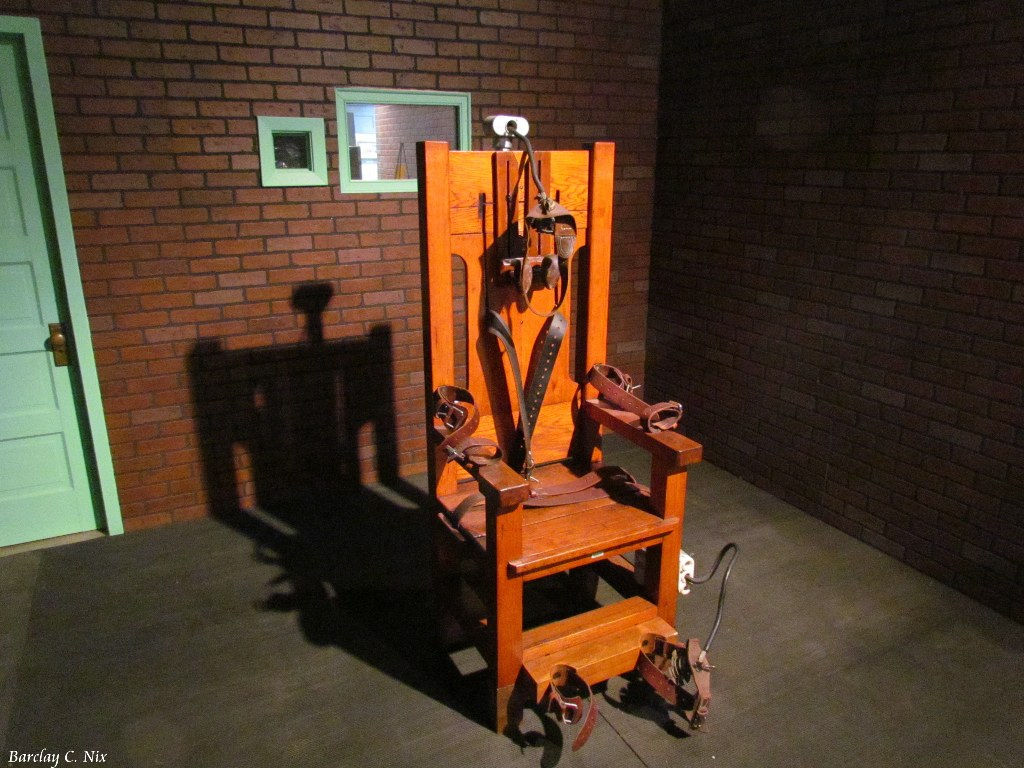
Reference 2.
Barclay C. Nix (Date Unknown). DigitalJournel.com. Yukio Strachan (Uploader). 2013. Available: http://www.digitaljournal.com/image/160421
I went with a combination of these two references along with some spontaneous input from myself. I liked the unusual legs of the first reference (Left) but also liked the use of a headpiece found in the second (Right).
Modelling
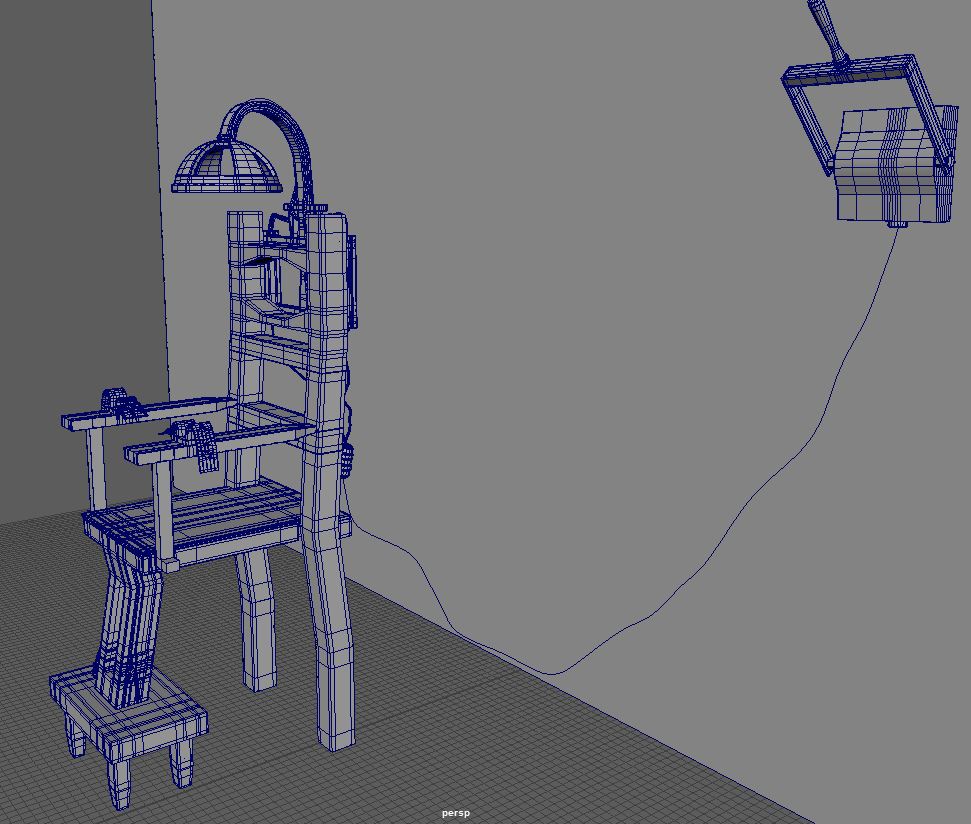
The first asset I made was the electric chair. This is the focal point for my scene and so I wanted to devote to it as much time as was needed. I used the two references above to create the base chair and then created the backpiece myself. As the headpiece of an electric chair is very basic I thought it would be nice to incorporate more wires and cables, to give a slightly more intimidating look.
I started with a basic poly cube, which I scaled to give me a tall rectangle. To this shape I then added the edge loops where I needed them and moved the newly created middle vertex outward slightly. I thought this look worked well as it just added that little extra touch to make the scene model more interesting. I then duplicated this shape and moved it to give me the width I wanted. When I placed the edge loops, I created faces which I then extruded outward so that the two parts were connected. I then simply target welded the vertex together to give me one piece with functioning topology (Fig.1).
Next I made the seat. This again started with a basic cube that I scaled to the size I wanted. I then added two edge loops, which gave me faces I could intrude to surround the back legs. Again, I felt like this would just be a nice little detail to the model. I then added edge loops along the outside of the seat, which I could extrude and bevel to give a slight hint of luxury to an otherwise very industrial design. For the central leg I made it largely the same was I made the back legs, with an extrude and then moving the verts to follow the singular design. I also deleted faces from the centre of this piece and bridged the gaps to give a hollow leg look. This would later be used to tie the chair and camera models together (Fig.2).
The footstool is a very basic shape. Just a cube with edge loops placed where I needed them to extrude the feet outward. A small thing I did was add edge loops to the bottom of these feet and scale the vertex down to give the slight taper you can see, another slight hint and luxury to the chair (Fig.3).
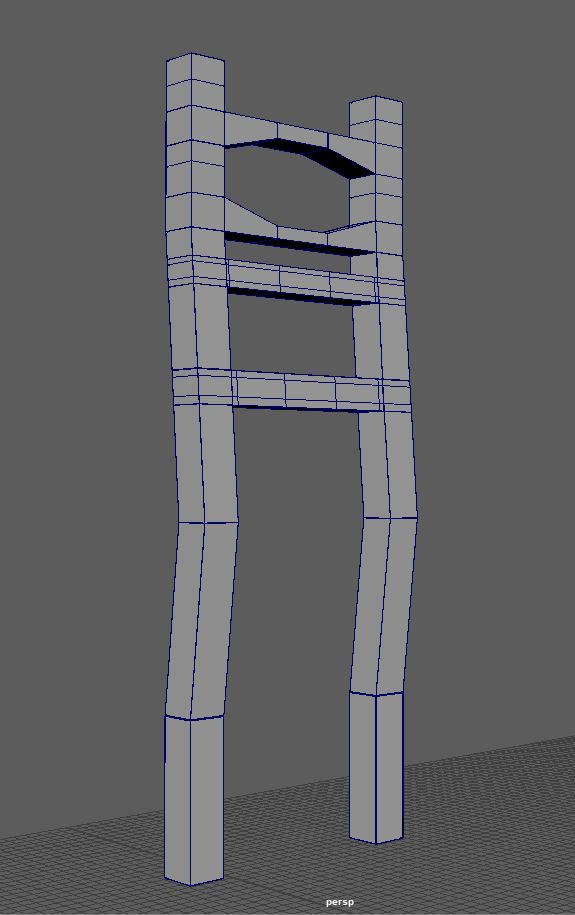
Fig.1 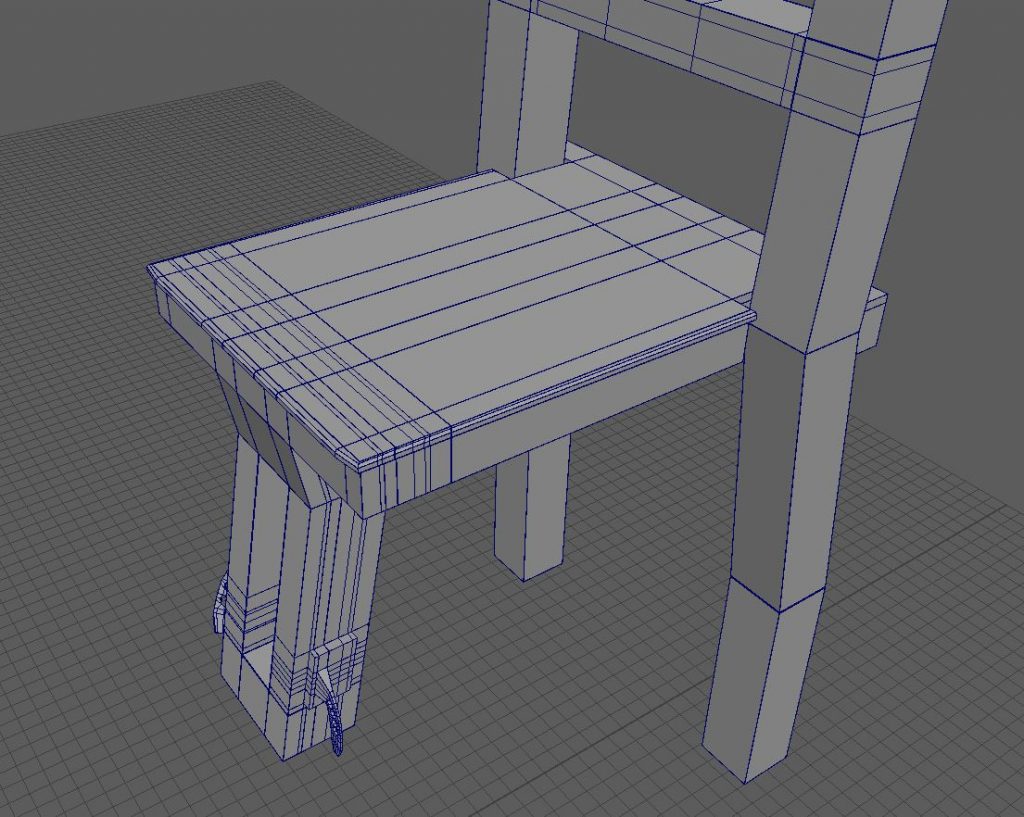
Fig.2 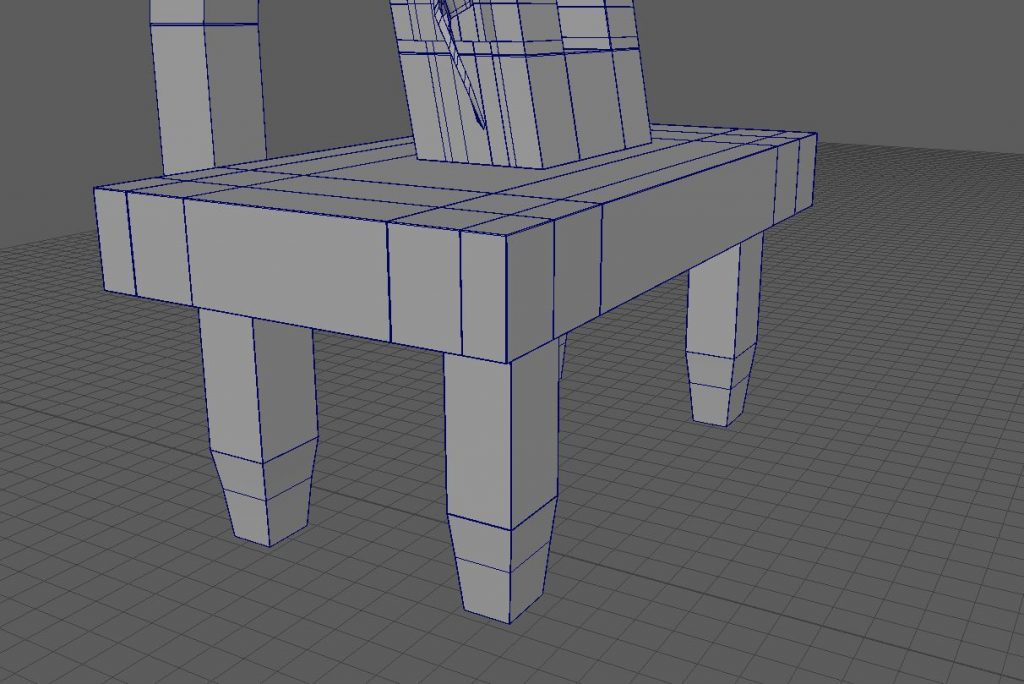
Fig.3 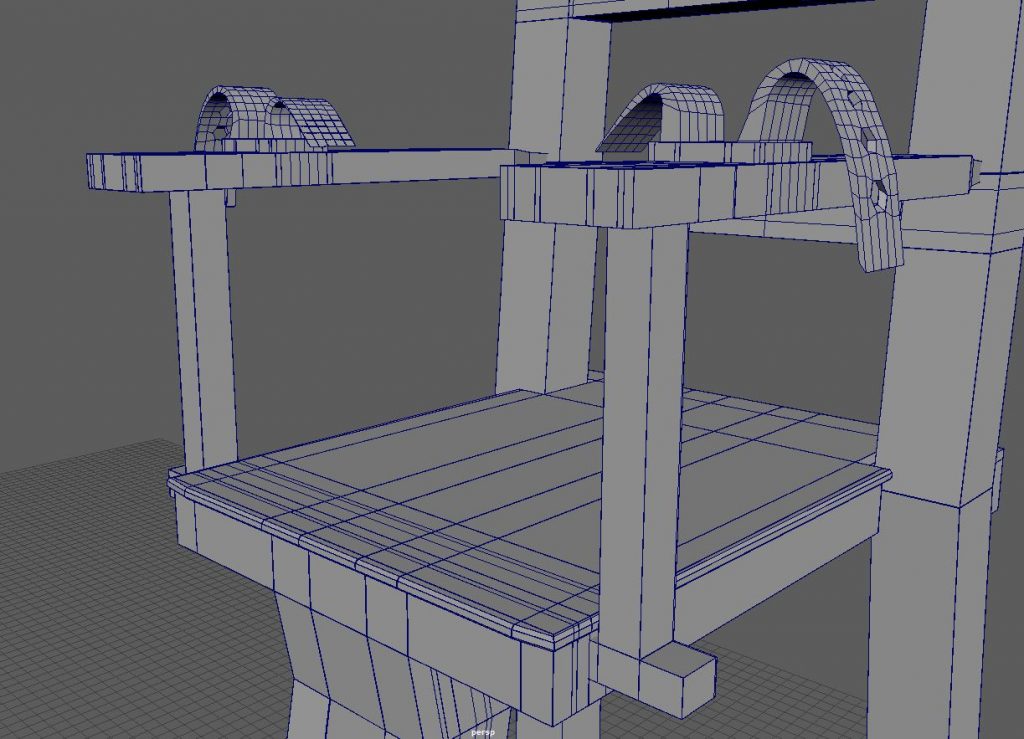
Fig.4 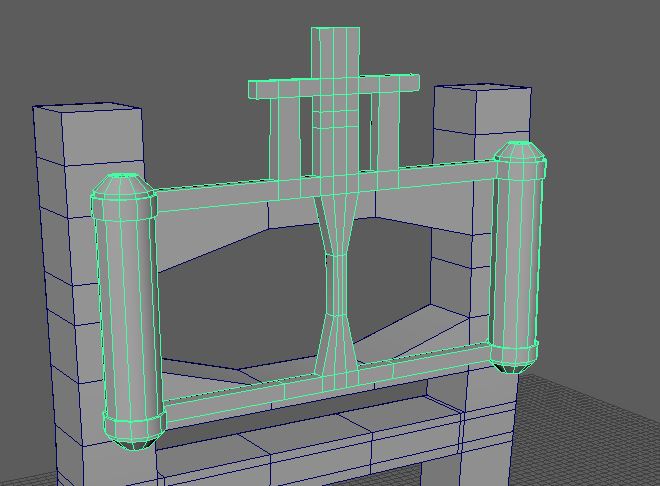
Fig.5
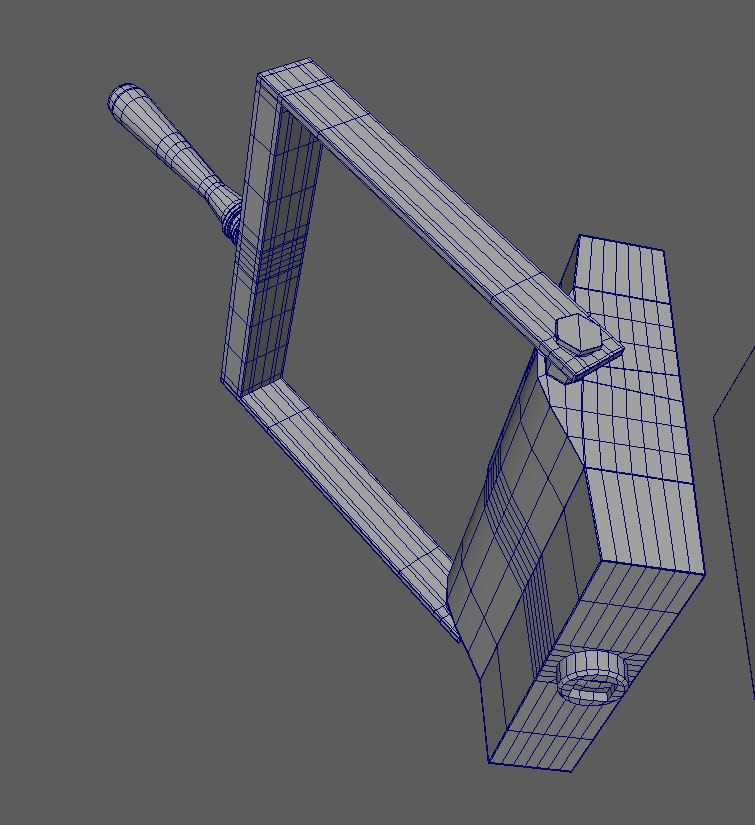
Next, I moved to the armrests. Again, these were very simple to make. A cube which I extruded sideways where they would connect to the seat and upward to where they meet the rest of the armrest. I then extended the top shape and just like with the feet I tapered the edge, both to give a hint of luxury and to make them fit into the back of the chair perfectly (Fig.4). I’ll come onto how I modelled the straps later.
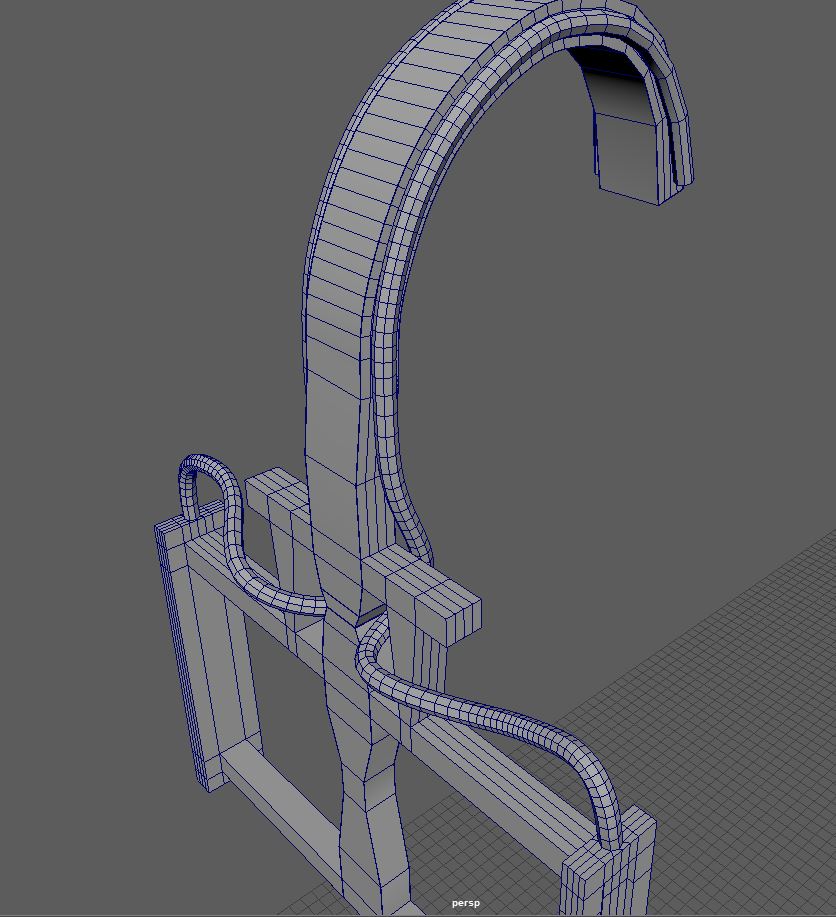
With the chair frame done I turned my attention to the electrical piece that would hang over the back of the chair. I started with a basic cylinder, to which I bevelled the far edges before adding and extruding two channels outward. Then I duplicated this shape and placed in position before extruding selected faces and target welding together just like I did with the back of the chair. I then extruded and connected different faces until I had the shape you see (Fig.5).
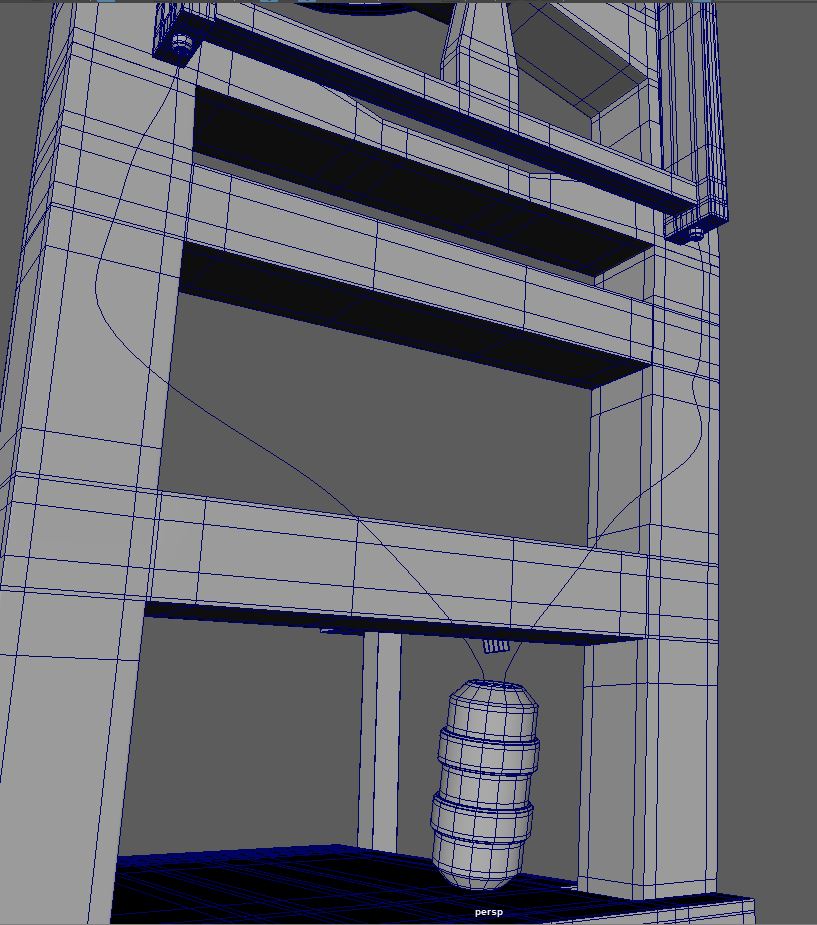
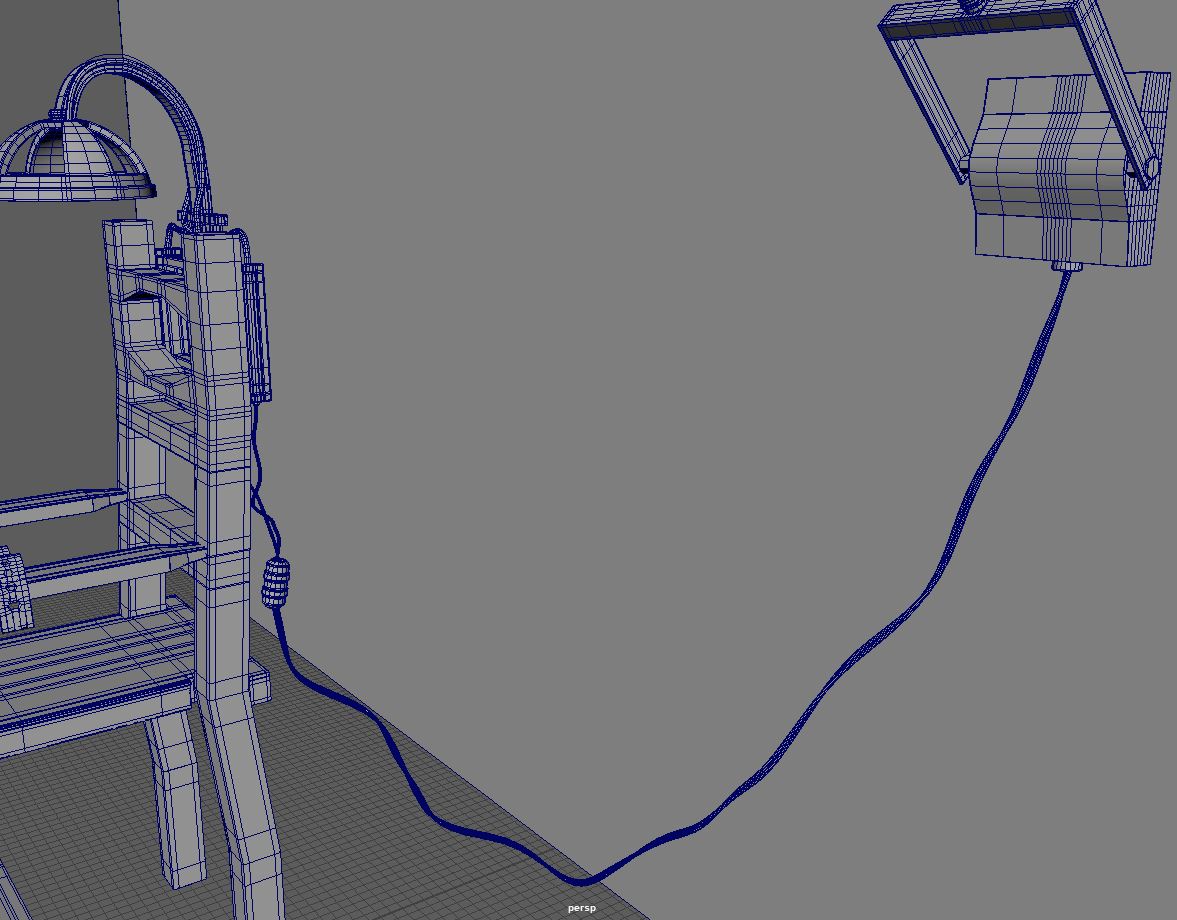
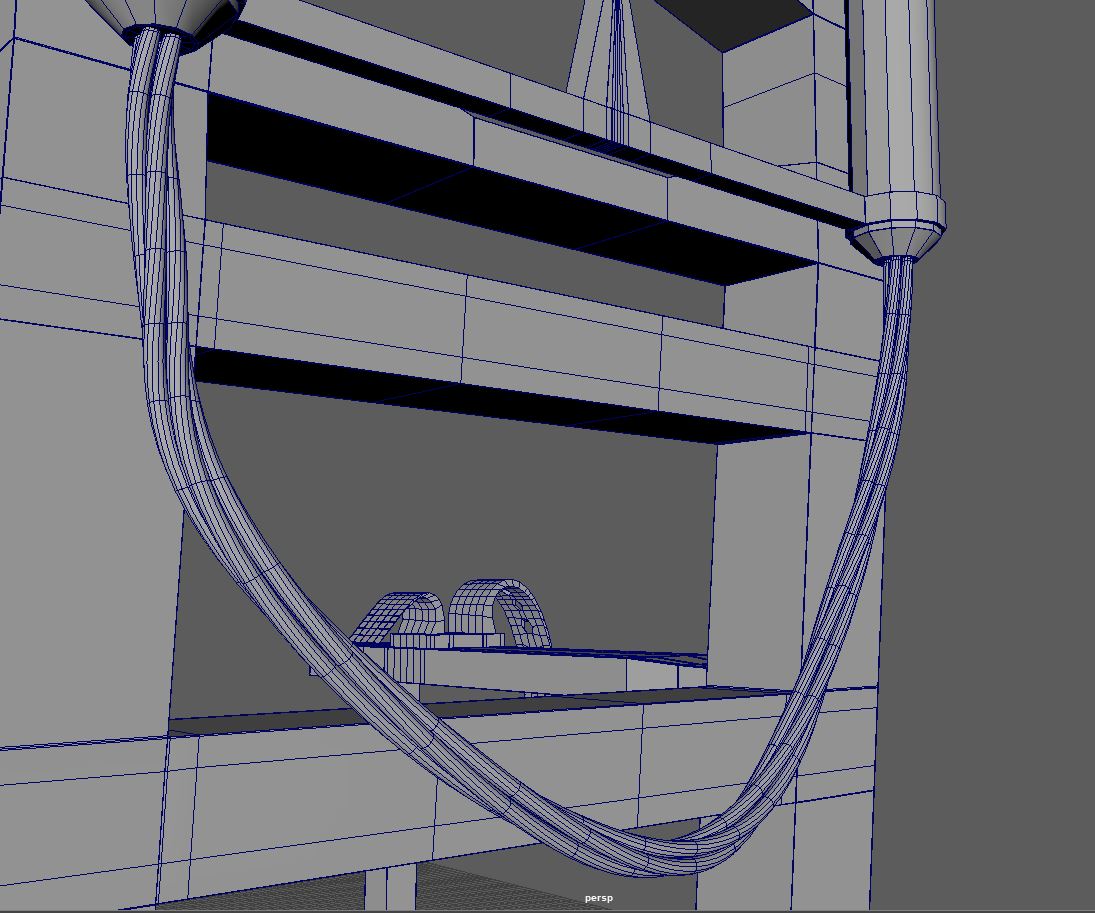
Next, I turned my attention to the cabling. I used curve lines to make the path I wanted by manipulating the vertex points, these curves could then go through the gaps I made in the framework which I thought gave a nice effect. I also used a curve to give the line of the wood which would connect to the headpiece, all of which I then extruded faces along to give me the final product (Fig.6).
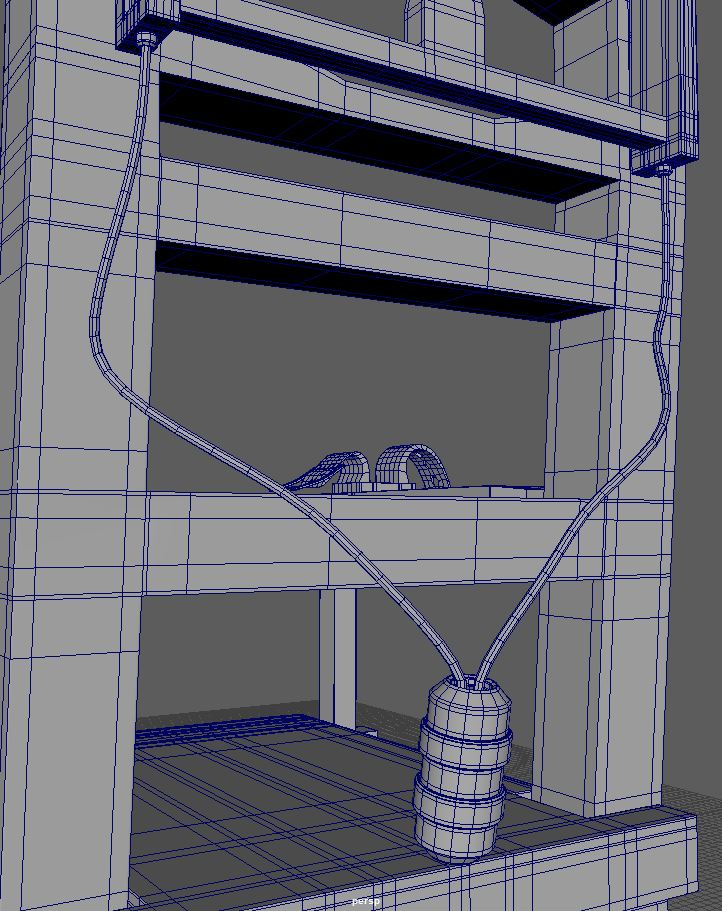
The top two cables are going to lead to the headpiece, but I wanted the cable that went between the two cylinders to be curved to add a little more detail to the design. This was done by simply making four planes which I grouped together and placed by the curve line, then extruded along and twisted until I was happy (Fig.7).
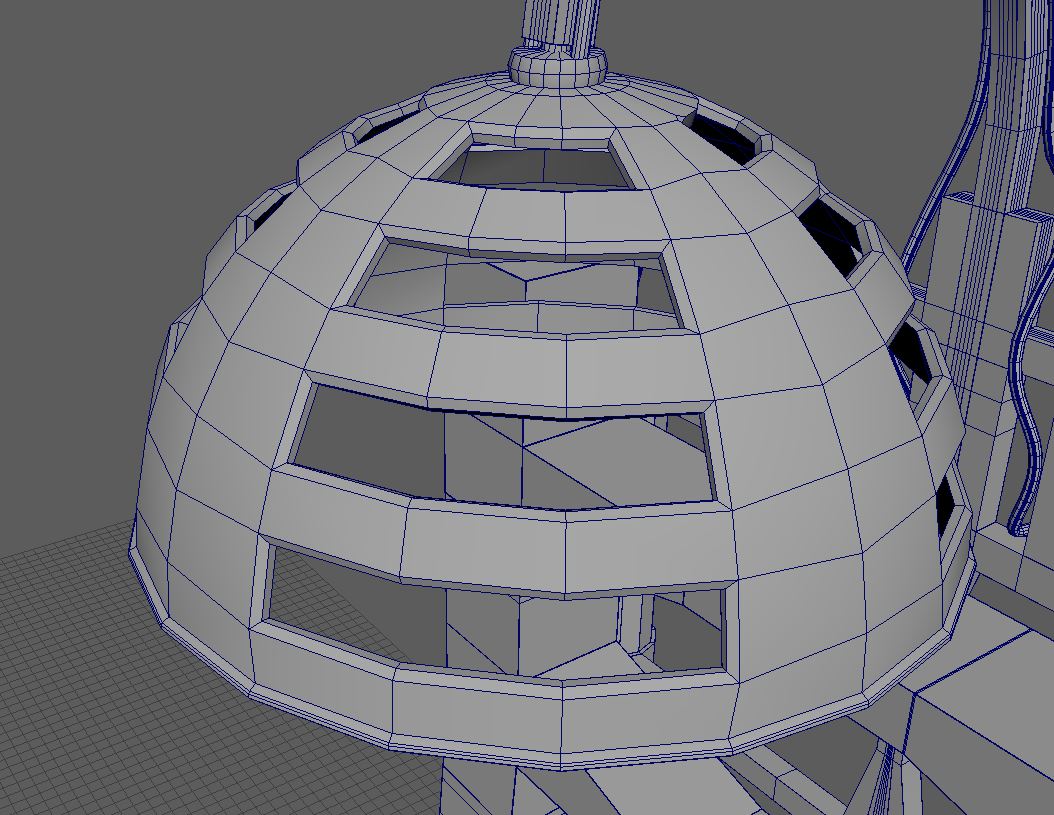
To make the head piece I began with a sphere, which I scaled to the size I wanted and deleted half the faces to give me a half circle. I then added a thickness and extruded and deleted faces until you have the shape I have (Fig.8). One thing to note here is that the shape I ended with had some strange topology that required me to remake it later on, while I remade it I decided to make it a little less ornate as I preferred the simplistic design of the reference for just this element.
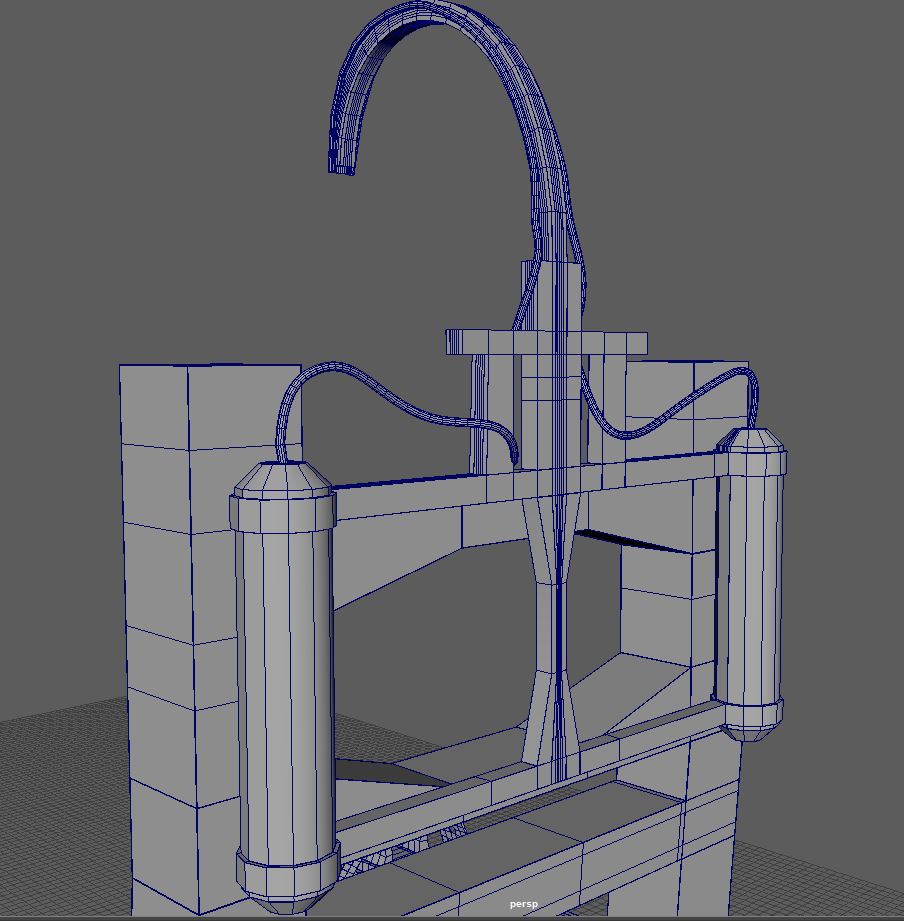
Fig.6 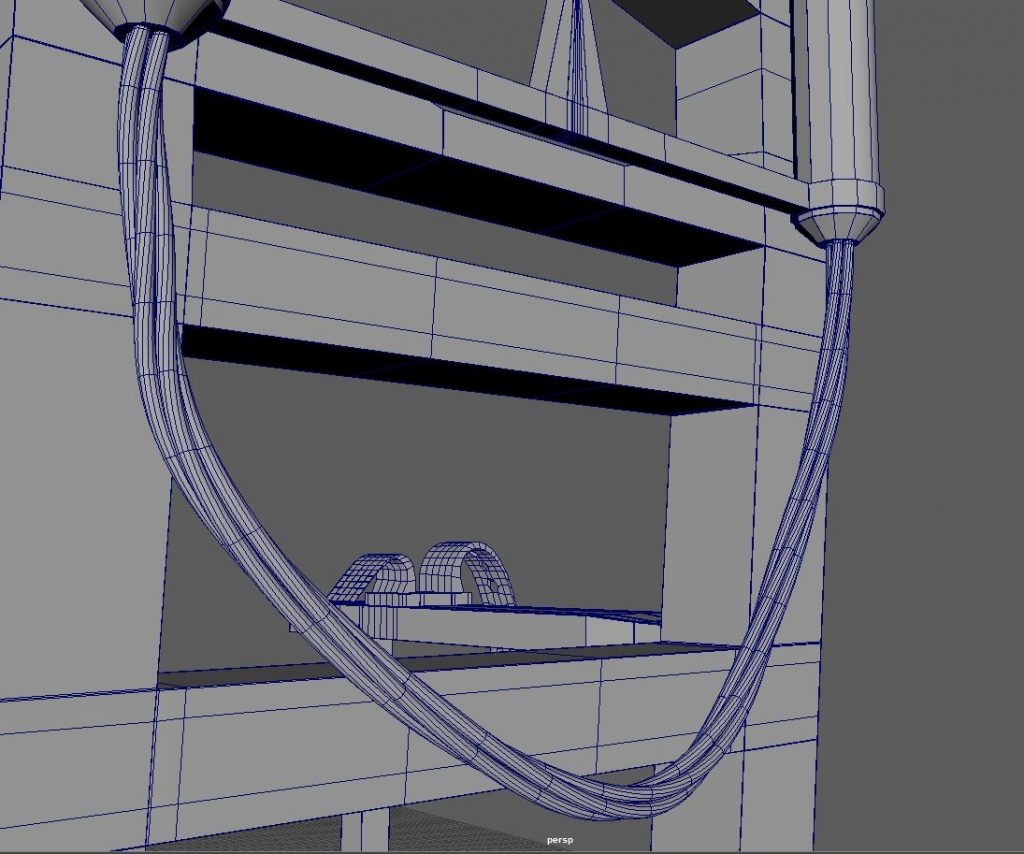
Fig.7 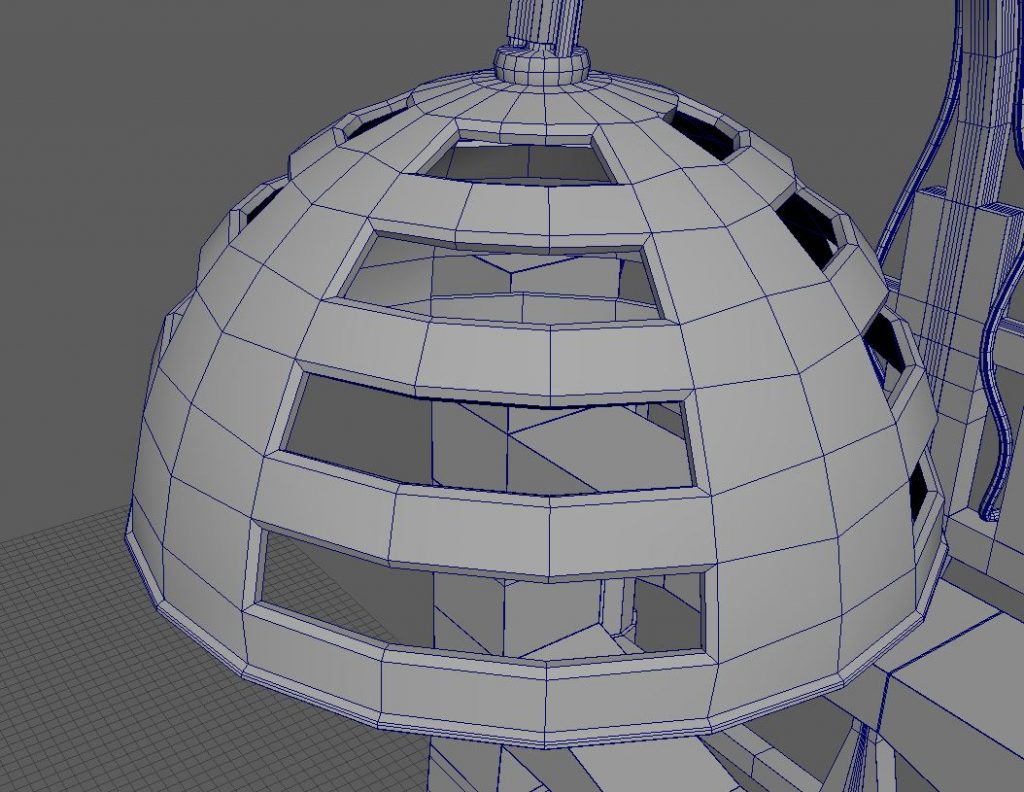
Fig.8 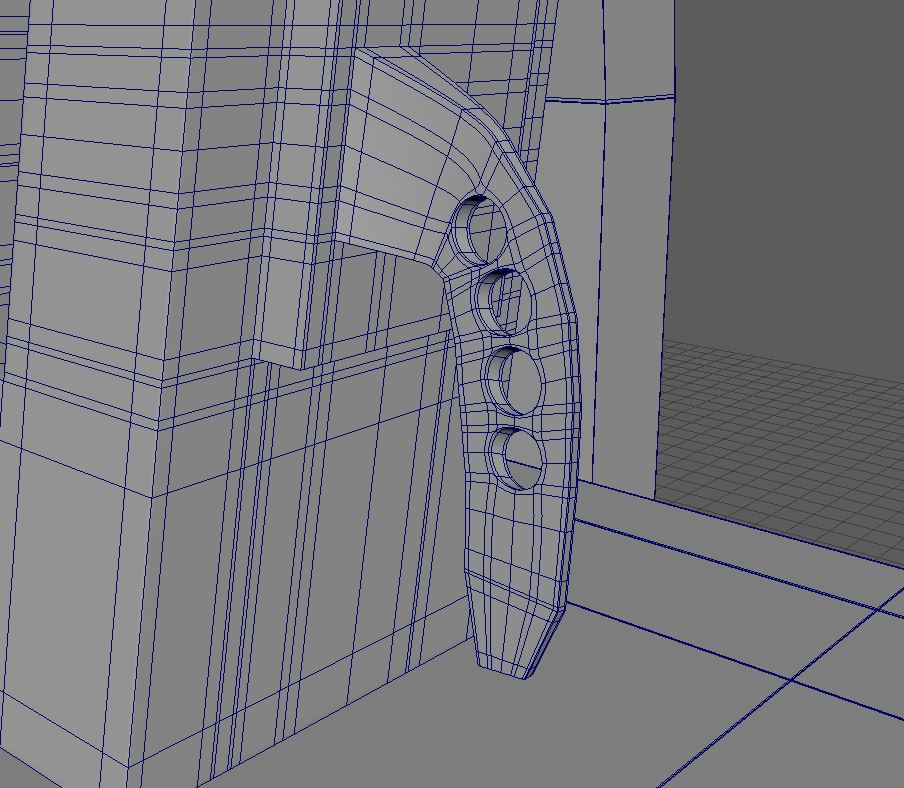
Fig.9 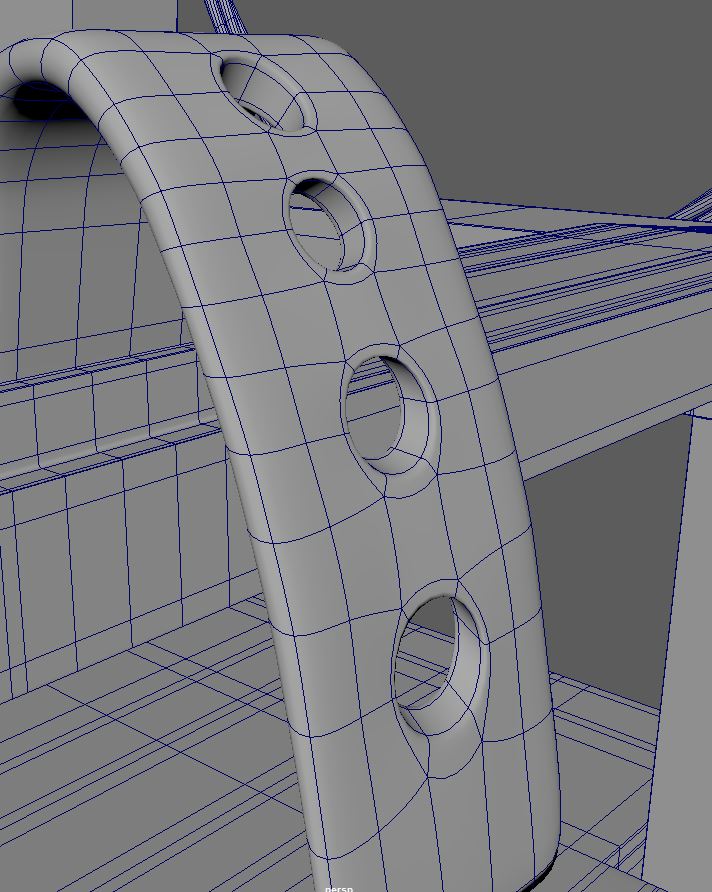
Fig.10
Here you have the leather straps I designed for the chair. I used the same technique for all the straps, which was done simply. I added edge loops where needed to give me multiple circularised faces. As these were made with edge loops it was simply a case of deleting the circularised faces and then selecting the exposed edges and bridging the gap.
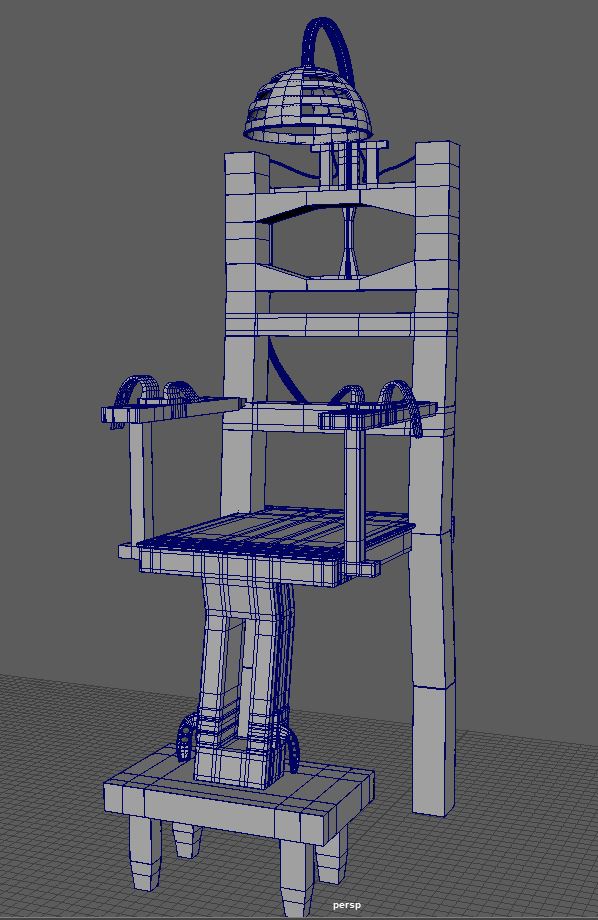
Fig.11
At this stage you can really see the model more or less as it will look once finished. I have to add buckles to the straps and I need to solve some topology issues I have.
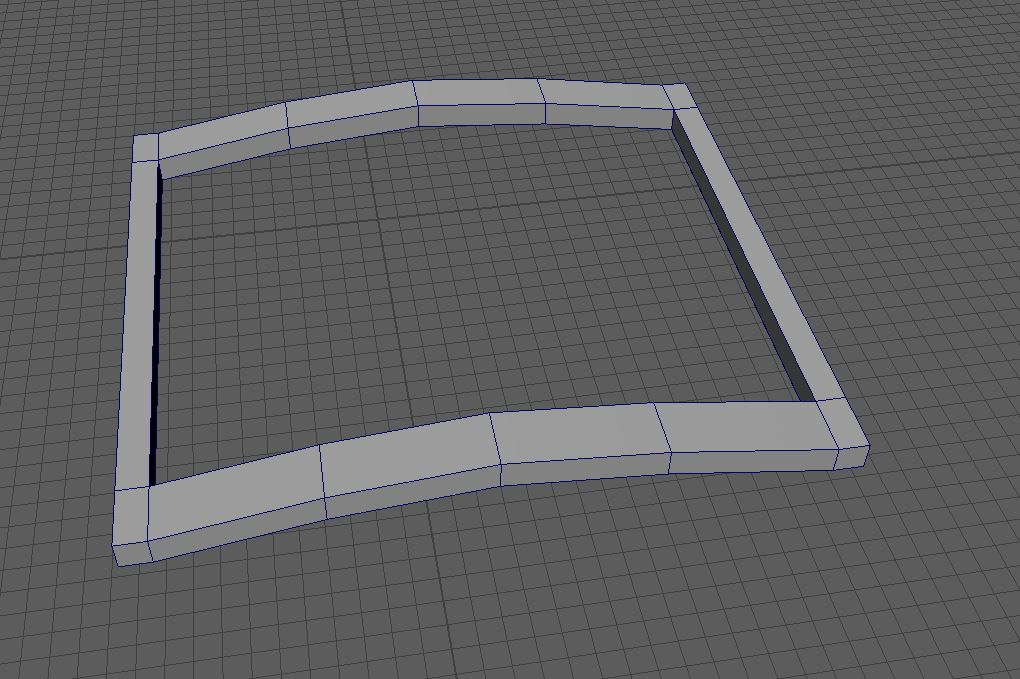
Fig.12 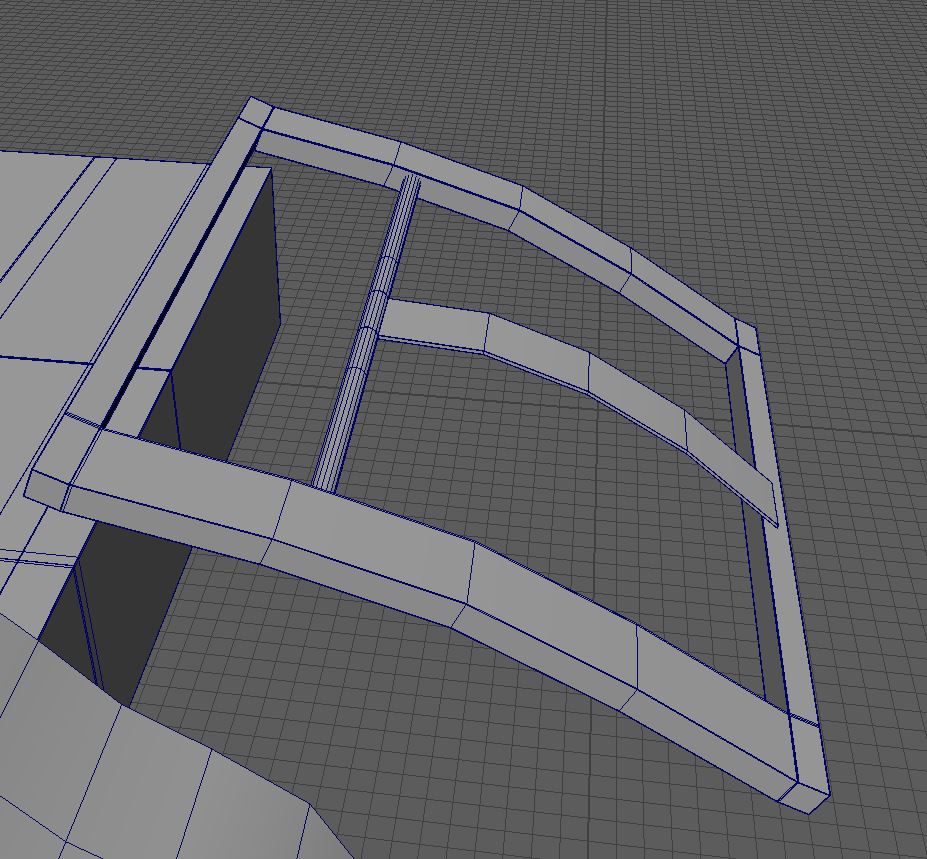
Fig.13 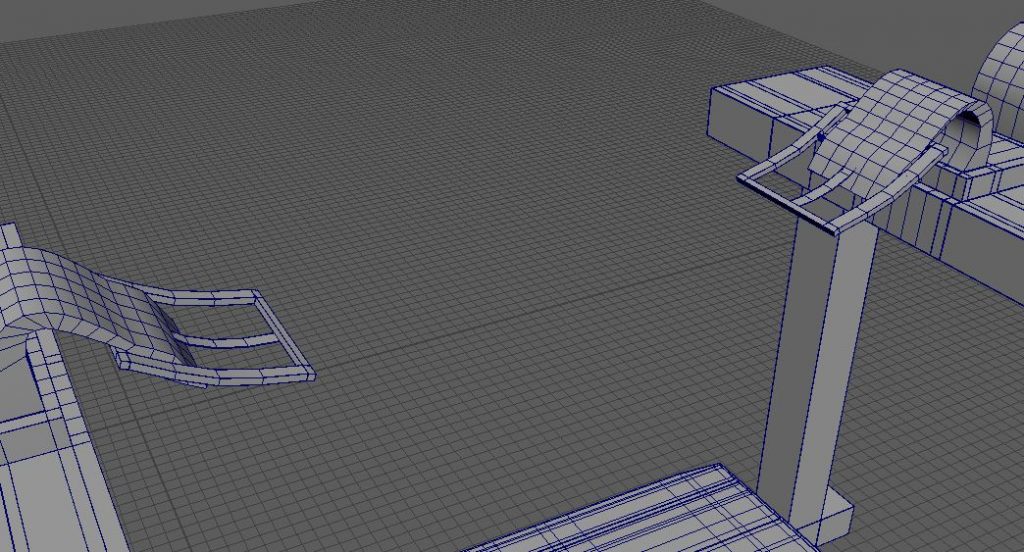
Fig.14 
Fig.15

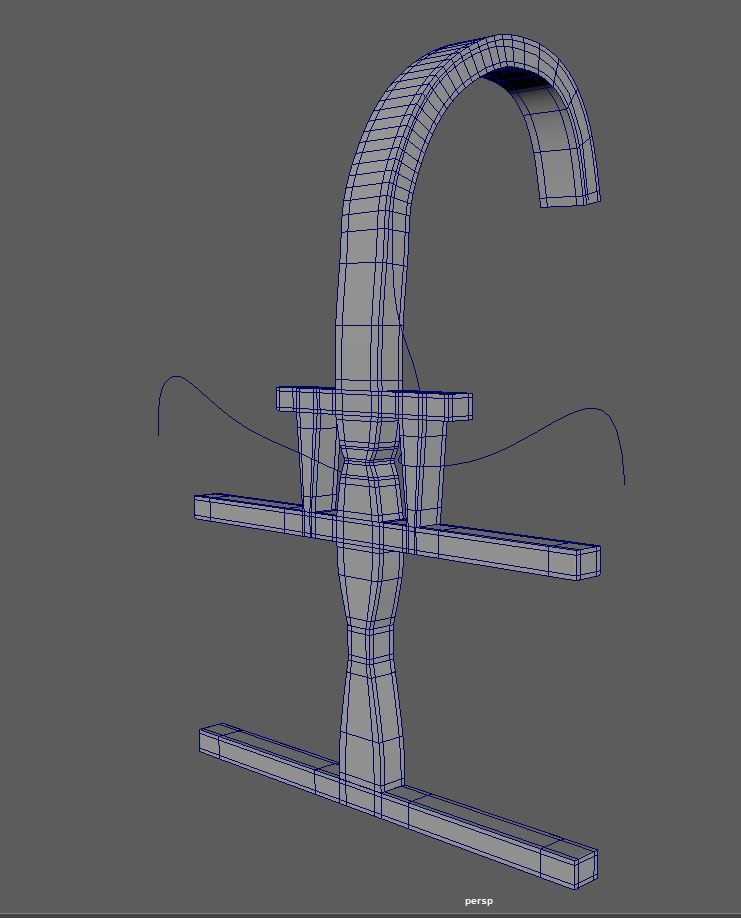
Fig.16