For my second assignment I was allowed to make a piece of graphic design that I wanted to make. Something that really interested me personally. I thought on the different topics I really enjoyed and came to history. I have always thoroughly enjoyed history and thought that this would be a very good opportunity to produce a propaganda piece in the style of what was made during world war 2.
I decided to make a piece that would have worked on the eastern front. I had previously made a soviet inspired design for the Atomic Bomber logo previously and really enjoyed researching the time period and the culture behind the Soviet Union. It was very fun learning of the differences between the Joseph Stalin led WW2 USSR and the Nakita Khrushchev led cold war USSR.
I had some trouble trying to find what the focal point of my design should be. The driving focus of communism was the idea that the people together could overcome the enemy. This naturally led to most of the soviet propaganda being focused on showing the people, large armies, and the USSR’s industry capacity. However, I knew I needed to practise creating realistic people in Illustrator and didn’t want to waste time teaching and experimenting on my final piece. You can see this focus on people in propaganda works in the reference below (REF.1).
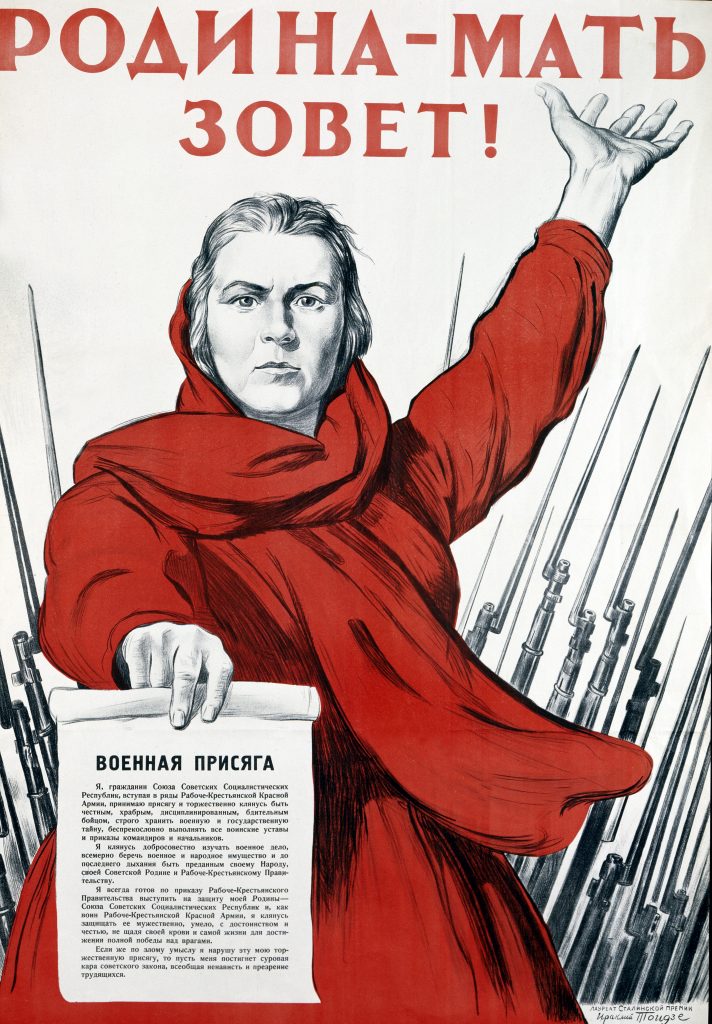
Unknown Artist (a). Epatko, Larisa (2017) [Online Article]. These Soviet propaganda posters once evoked heroism, pride and anxiety. Available online: https://www.pbs.org/newshour/world/these-soviet-propaganda-posters-meant-to-evoke-heroism-pride [Accessed 10/12/2020]
Production
It was the second propaganda piece that got the ball rolling on my focal point (REF.2). Namely the idea of the knife smashing through the swastika. I felt like this was something that would work well as the main talking point, following the thought of communism smashing the idea of fascism that was prevalent throughout the USSR.
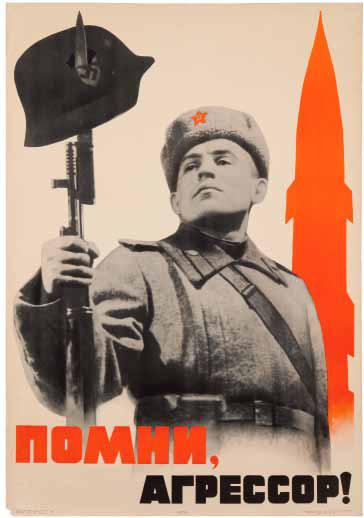
Unknown Artist(b). Summers, Neil (2012) [Online Article].Koretsky: The Soviet Photo Poster, 1930-1984. ProperMag.com Available online: https://www.propermag.com/site/koretsky-the-soviet-photo-poster-1930-1984-2012-11 [Accessed 10/12/2020]
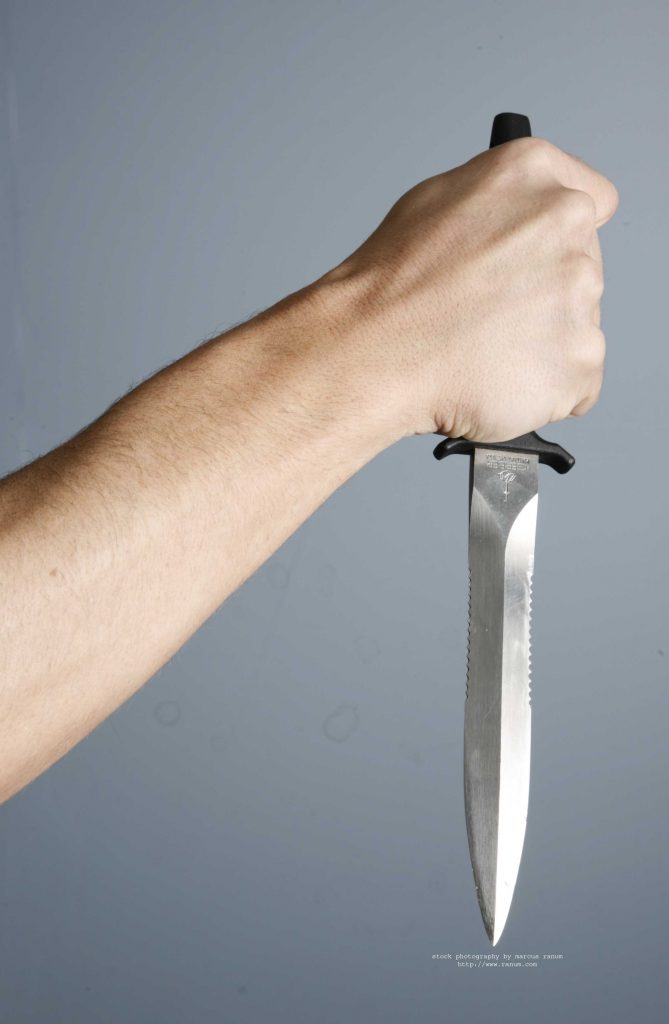
Ranum,Marcus (2013). SketchDaily. Available online: http://reference.sketchdaily.net/en/view/BodyParts?BodyPart=Hand&Time=class [Accessed 10/12/2020]
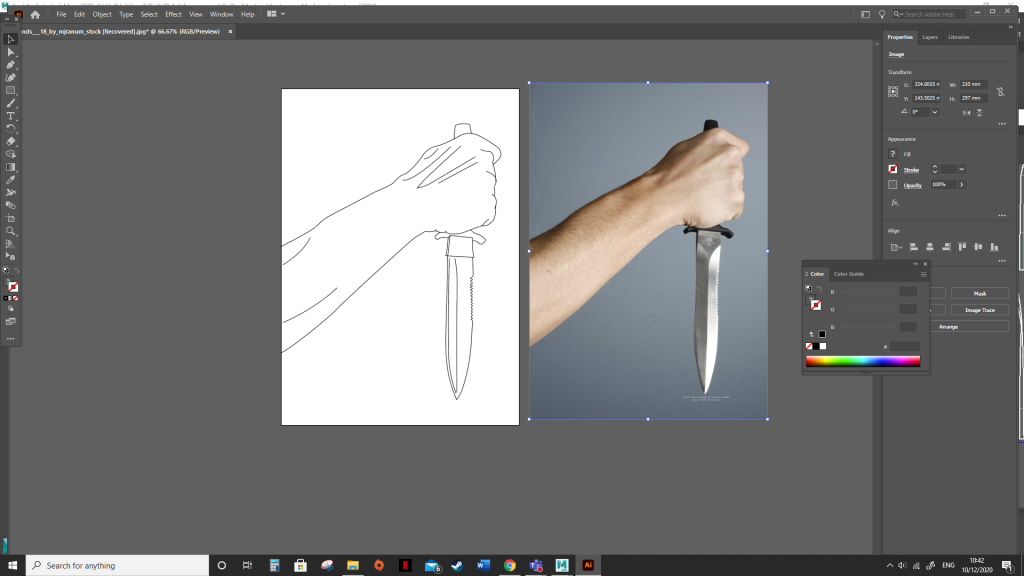
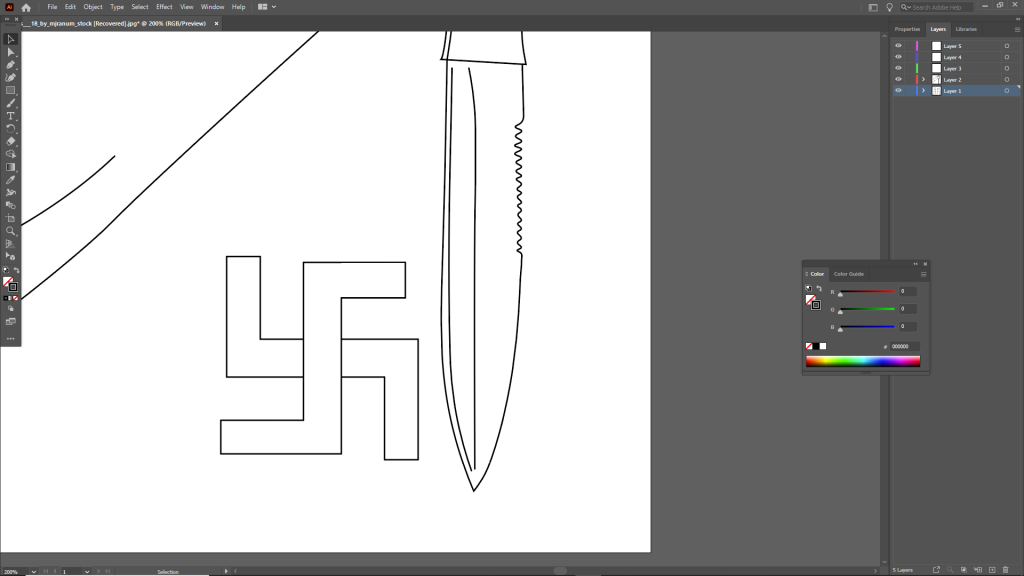
Now that I had an idea in mind, I used sketch daily to find my reference. Strangely enough the first image to appear when I put in the filters, I needed was perfect for my piece. I took this image and I recreated it in Adobe Illustrator using the pen tool. Using this reference was vital as I have tried to create human anatomy using the pen tool before and it is a hard balancing act to make your design complex enough to look sophisticated while also not being difficult on the eye. I did however change the blade to be broader, giving me enough space to place the hammer and sickle on the blade itself.
Next, I made the swastika for the knife to break through. I used the perspective tool and changed the grid to be a one-point perspective, I then placed the shape on the bottom plane of this perspective. This added depth to my design and looks convincing when placed below the knife.
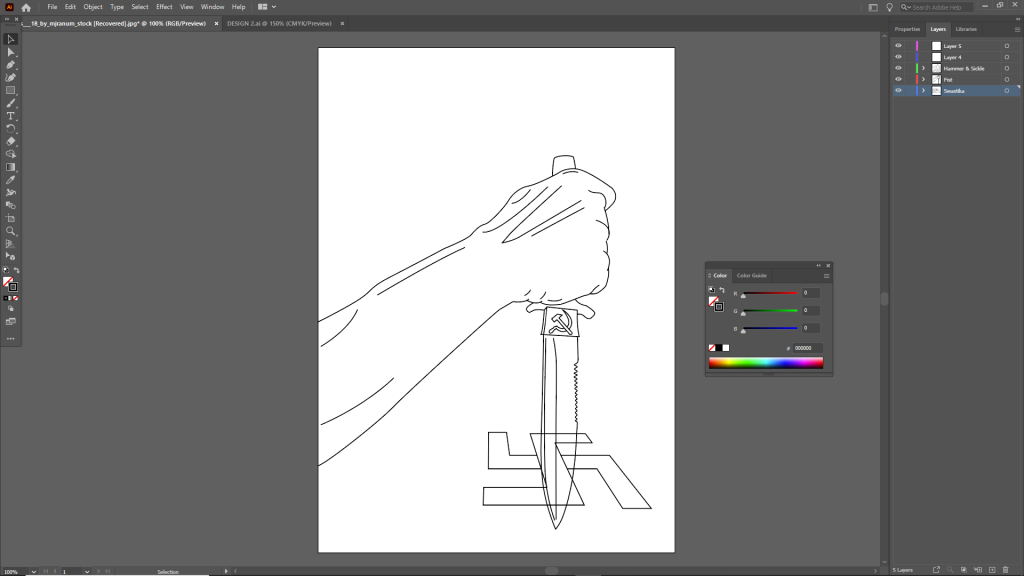
I wanted the poster to look realistic, and as such felt that if the title was in English it would take away from the design. I also believe that the final design works well enough just with visual that the viewer can understand what the poster is trying to say without understanding the text. I used google translate to make the title, which in English is ‘Stand for Stalingrad.’ This was a key turning point during the second world war. Infamously leading to the issuing of order 227, (The not a step back order).
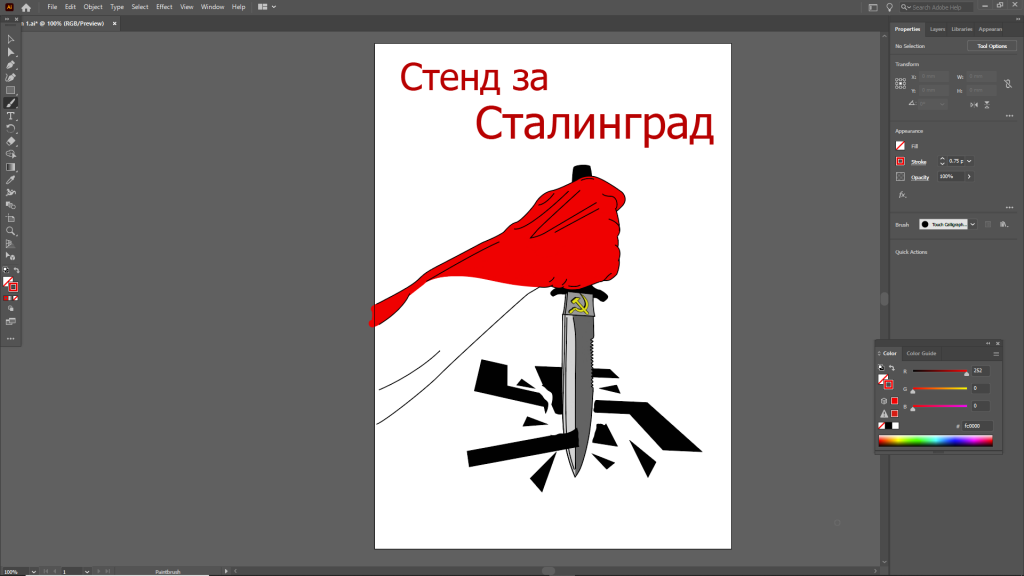
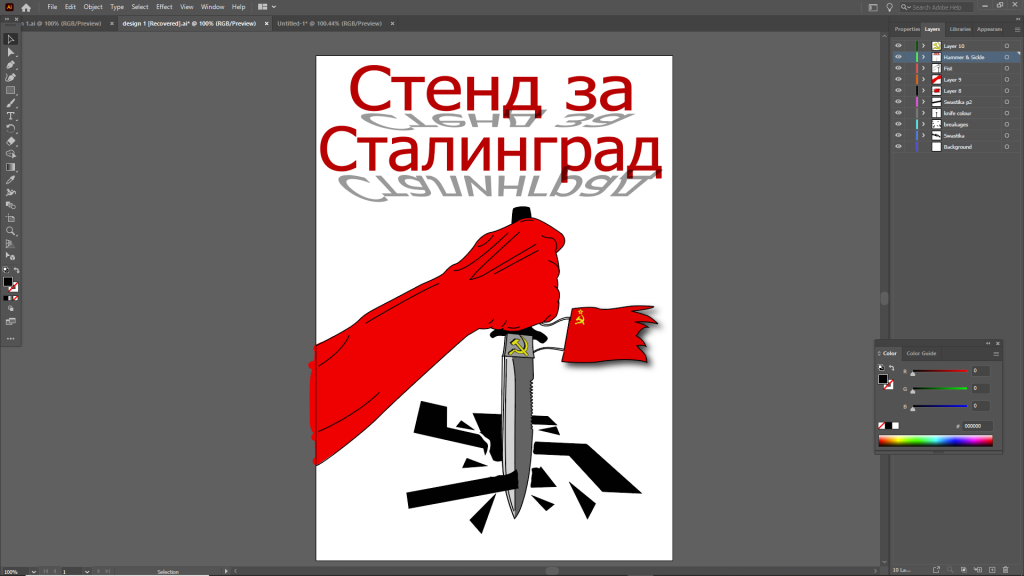
Without the colouring this design could just have easily been a propaganda poster designed by the allies as it could have been the comintern. Soviet propaganda naturally used Red rather heavily, this is acknowledged by colouring the fist soviet red; symbolising the fist of the red army smashing through the fascist Germans.
I created a caricature of the USSR flag, using the wave distort feature to give the impression of waving cloth. In this image you can see how I intended to tear the top and bottom of the flag also, however I later changed this as I couldn’t find a way to change the shape to using the new smaller linework.
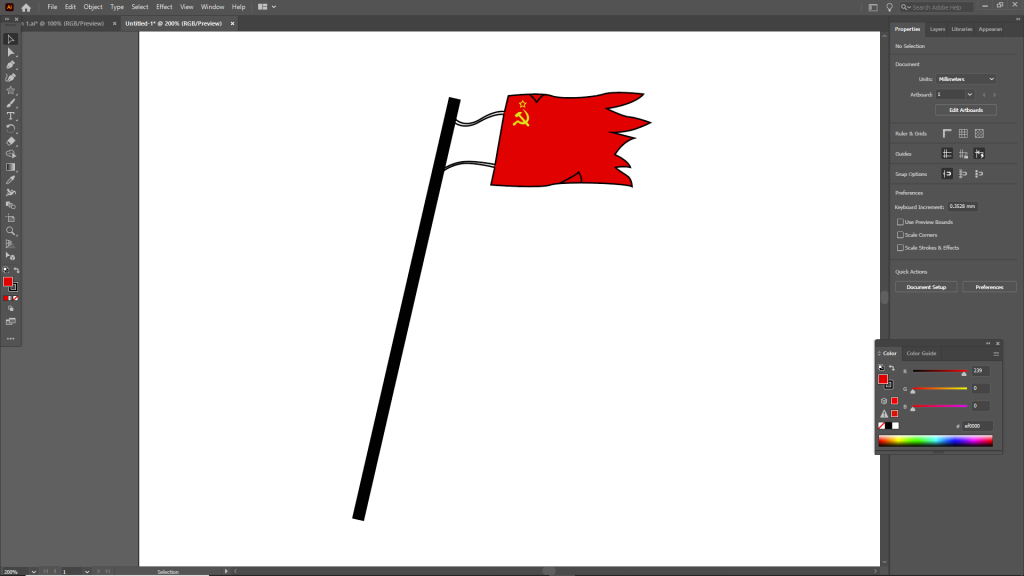
I ended up not using the flagpole as it was too large and really took away from the overall design. But I did place it against the knife in such a way to make the knife a pseudo flagpole and really shows the idea of communism breaking the swastika.
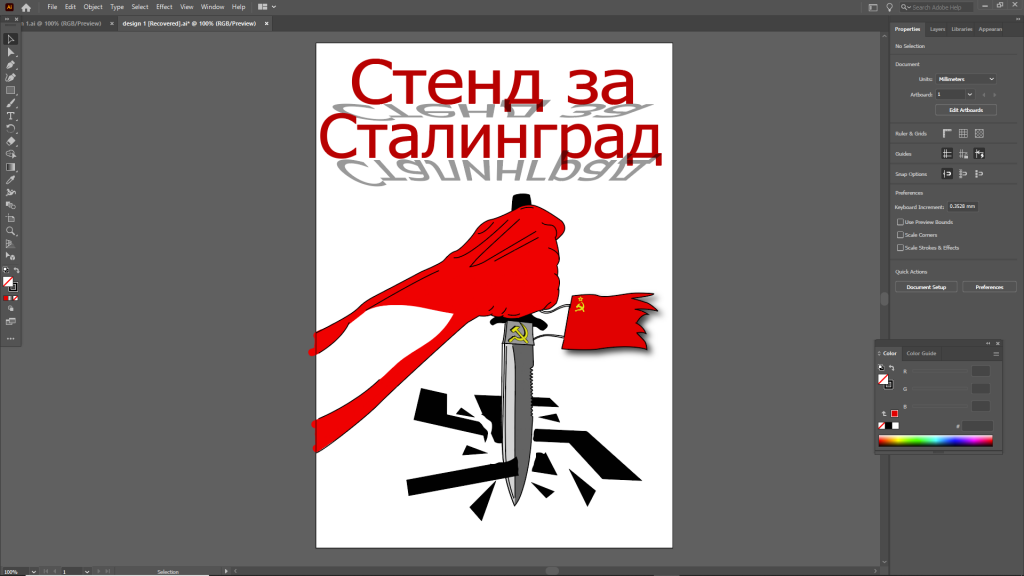
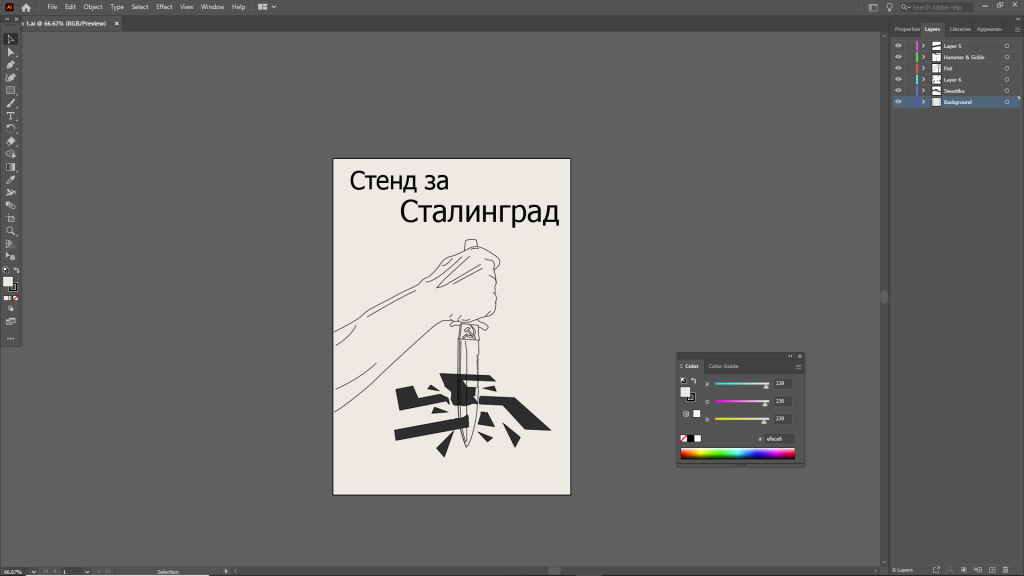
I played with the idea of adding many small figures into the characters arm, so as to show the idea of the people working together. However, I found that adding blacker to this part of the design made it look more cluttered than I would like. I ended up just filling the arm in soviet red, which I felt really draws the eye nicely. Also, I wanted to add an effect to the lettering, but didn’t feel like a drop shadow would work well. Ultimately, I copied the text and placed it on the same one-point perspective plane as the swastika, then lining the two up to look like a shadow.
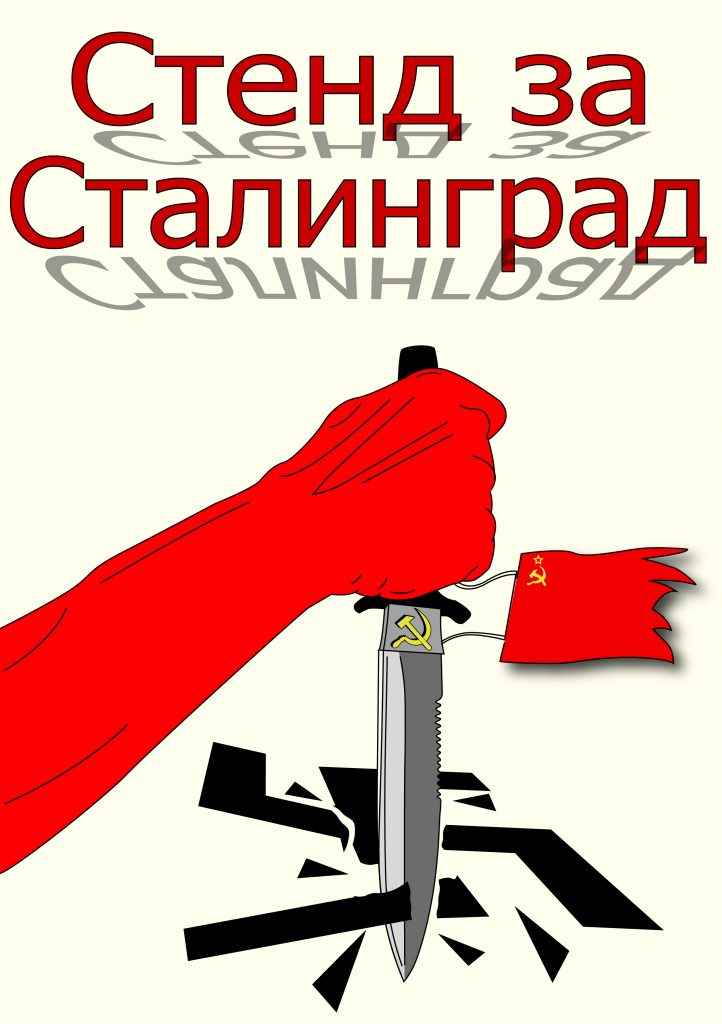
Overall, I am very happy with this design. I feel like the simplicity lends itself well to the concepts behind soviet propaganda and the bold colours work well. I feel like the swastika is not too broken to become unrecognizable and the final image is very clear in its meaning and intent. I would have liked to add some kind of homage to the first reference I used but couldn’t find a way to do this without cluttering the design.
References
Ranum,Marcus (2013). SketchDaily. Available online: http://reference.sketchdaily.net/en/view/BodyParts?BodyPart=Hand&Time=class [Accessed 10/12/2020]
Unknown Artist (a). Epatko, Larisa (2017) [Online Article]. These Soviet propaganda posters once evoked heroism, pride and anxiety. Available online: https://www.pbs.org/newshour/world/these-soviet-propaganda-posters-meant-to-evoke-heroism-pride [Accessed 10/12/2020]
Unknown Artist(b). Summers, Neil (2012) [Online Article].Koretsky: The Soviet Photo Poster, 1930-1984. ProperMag.com Available online: https://www.propermag.com/site/koretsky-the-soviet-photo-poster-1930-1984-2012-11 [Accessed 10/12/2020]