For my second week I was tasked to create a scene with a table; tablecloth and a fruit bowl. In order to do this, I would have to experiment with a number of tools and methods that I had not used previously.


When being met with this task the first thing I thought was that I had to create the scene in such a way as to show all three elements (the table, the cloth, and the fruit bowl). I thought the best way to achieve this was to have the table broken, allowing me to place the cloth strategically so as to show the table too. As such I began by creating two poly spheres, one of which I simply reshaped to be a solid leg and duplicated and the other I used the multi cut tool to give a break line. After then manipulating the different faces of the broken leg I duplicated this to give me the table legs.
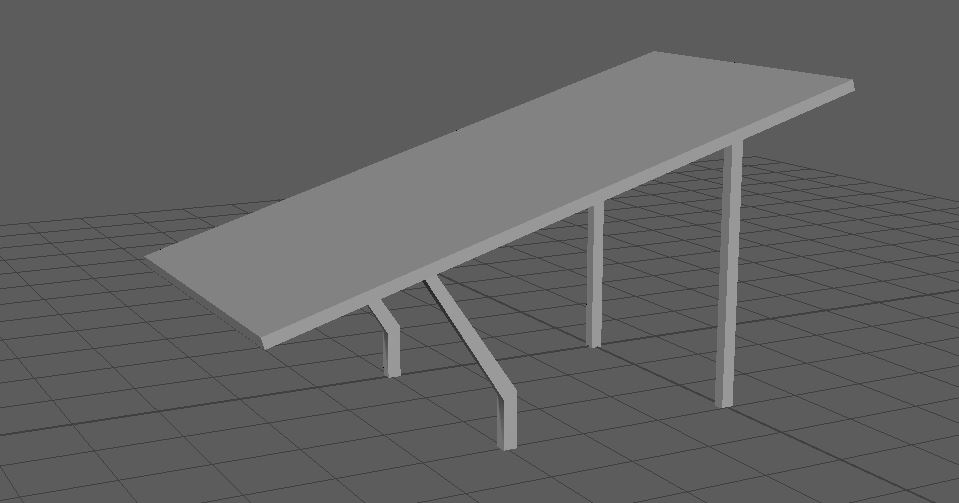
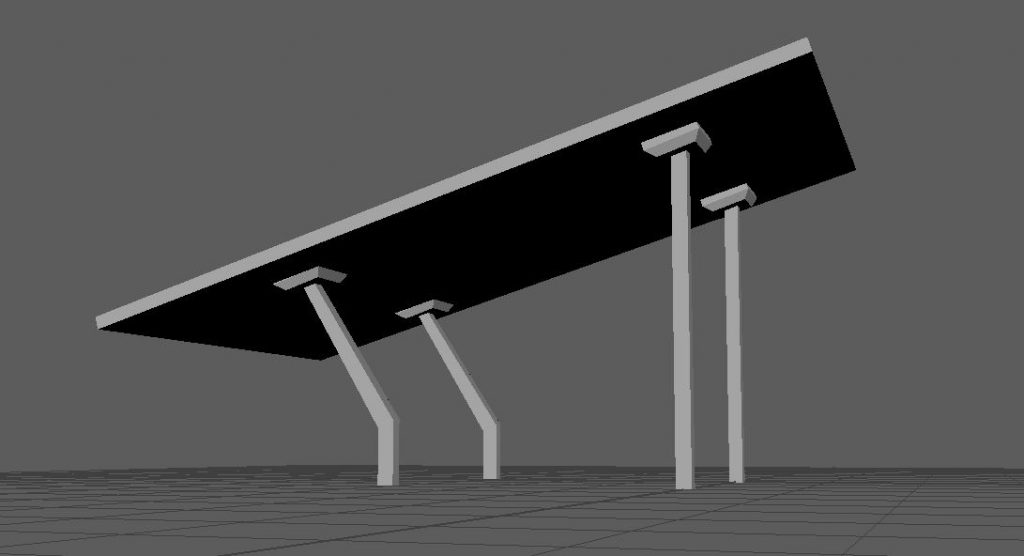
After evenly spacing the legs I created the tabletop. Using a basic poly sphere which I reshaped into making a long plank I would have used the multi cut tool and faces to ‘damage’ the tabletop. However, as I would later find out as I do not yet know how to texture or render my objects it would have been impossible to see this detail with the cloth over the top of the table. At this stage I also created some leg mounts to give a little more detail to the table, I did this with another poly sphere to which I bevelled and extended one face and then duplicated for all four legs.
Once the table stood completed, I moved to the tablecloth. It was at this stage I ran into an issue. See while I could use the nurbs curve tool to slowly create the shape I needed I found this to be overly complicated with the broken table. So, at this stage I had one of two options. I could either change my table to be a more standard shape or I could use a tool called n-cloth. I found a very useful tutorial on youtube which helped me greatly in using n cloth to create my tablecloth.
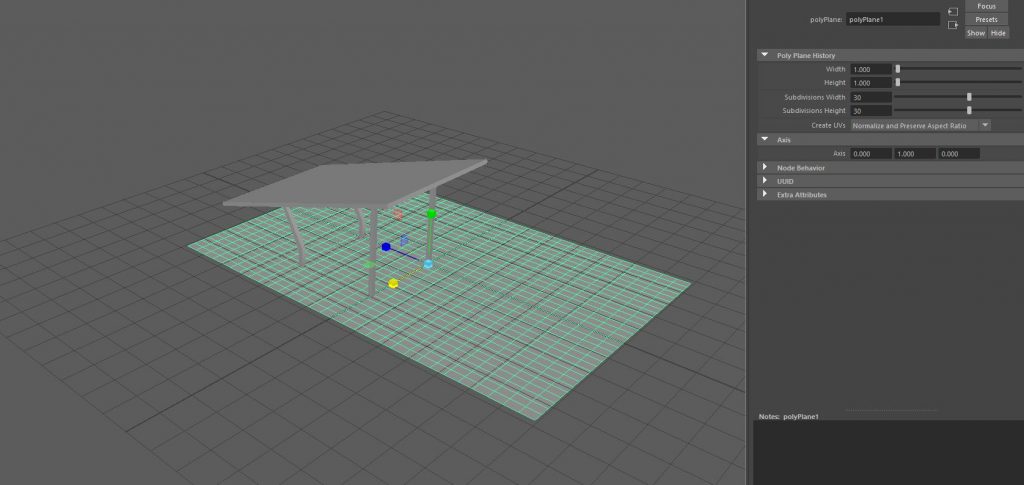
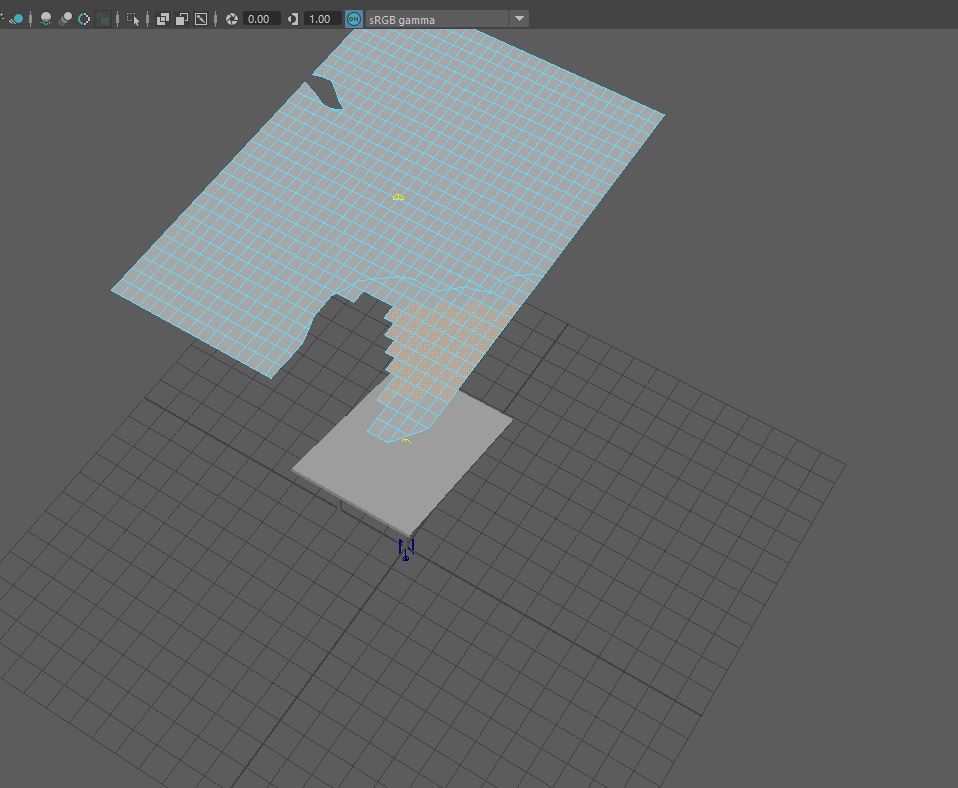
After having watched the video I felt confident in using n cloth for my model. I create a poly plane which I made larger and increased the number of subdivisions to 30 x 30. This was so that the cloth would flow nicely however once the model was completed, I did notice the cloth fell in a rough manor, this may have been to do with the high subdivision width number. During this stage I did encounter a problem where the cloth would slide off the table even after I had created a collider and had it working correctly. I fixed this by increasing the stickiness of that collider shape to 0.2 which made the cloth stay on the table.
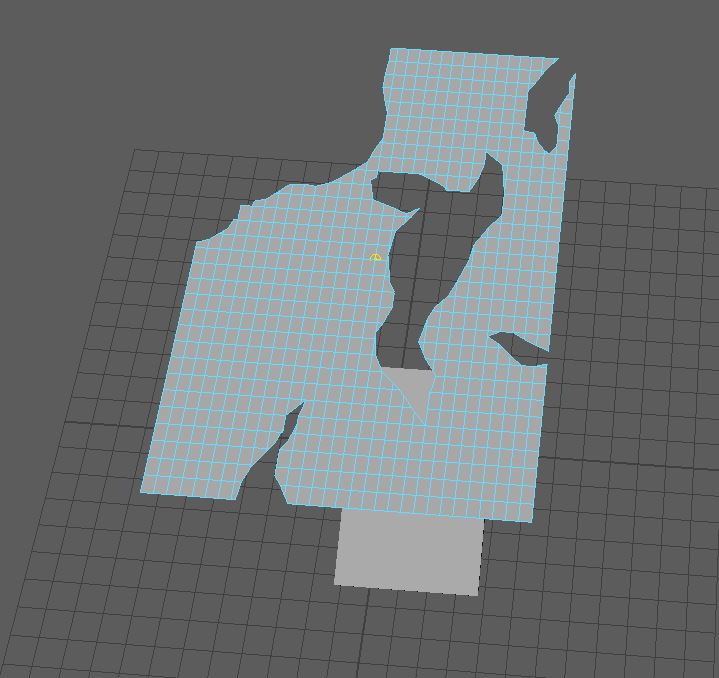
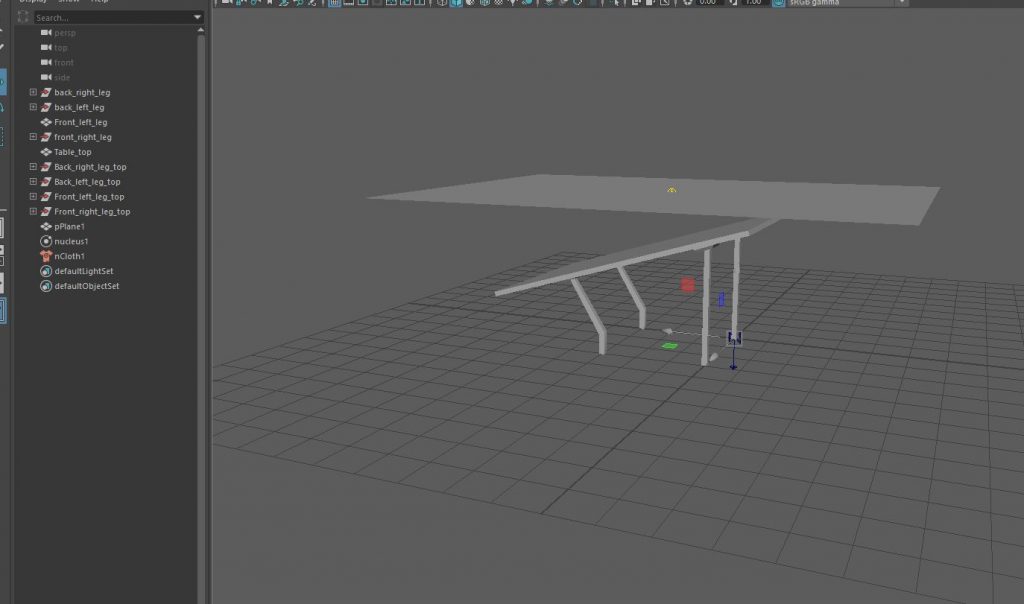
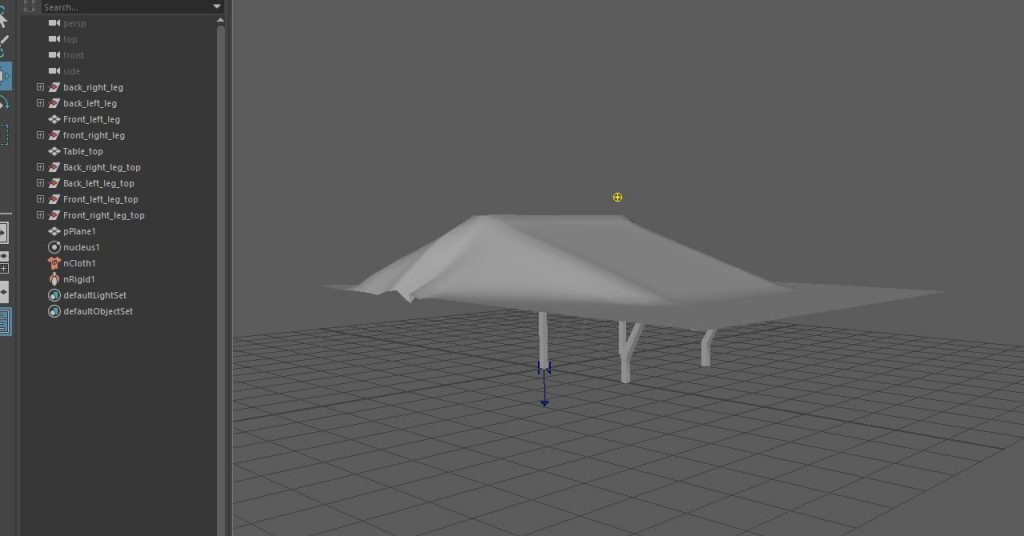
Now that the tablecloth was working as intended and sticking to the table, I used the multi cut tool to ‘tear’ the cloth. This allowed me to add interest to the design as well as allowing the table to show through from under the cloth. While this is hard to see in the models untextured state I hope you can see how nice this would look once textured and rendered.


It was time to move onto the third aspect of the task, the fruit bowl. I attempted to use the loft tool in order to create the bowl however found that when converting the NURBS shape into a poly shape that it would add odd faces and angles. In the end I used a poly sphere, deleted the top half of the bowl and also the bottom rounded faces. I then filled in the bottom face which gave the bowl a flat bottom, as they are in real life.


After this I used the extrude tool on the bowl and set the object to a thickness of 0.25 which made a nice bowl shape. In order to add a little more detail to the bowl I used the edge loops tool to create a nice engraved look for the bowl, which I felt added a little interest after I used the soft mesh preview tool on the bowl.


Next, I created another poly sphere, which I scaled along different axis to give an elongated look. I then used the extrude tool and extended the faces on either side of the sphere by a small amount. This meant that once I used the smooth preview tool the shape took on a look of a lemon. This would also have benefitted from texturing in order to better show that.

Finally, I placed the bowl on top of the table (and cloth) in such a way that It looks like the table legs have just given way. I also duplicated the lemon object and rotated in different ways to give the impression the bowls contents are rolling off the now broken table.

Ultimately, I am quite proud of what I managed to achieve in week two. This was my first time using the n-cloth tool and I found the process fairly simple. I do have more to learn about the tool however, and I would have liked to know how to add gravity to objects that I want to keep solid. I tried to use n-cloth on the lemon shapes so that they would roll off the table naturally however they naturally turned to cloths instead. This meant I have to resort to simply placing the different assets in place for the screenshot.